Taula Pilonet
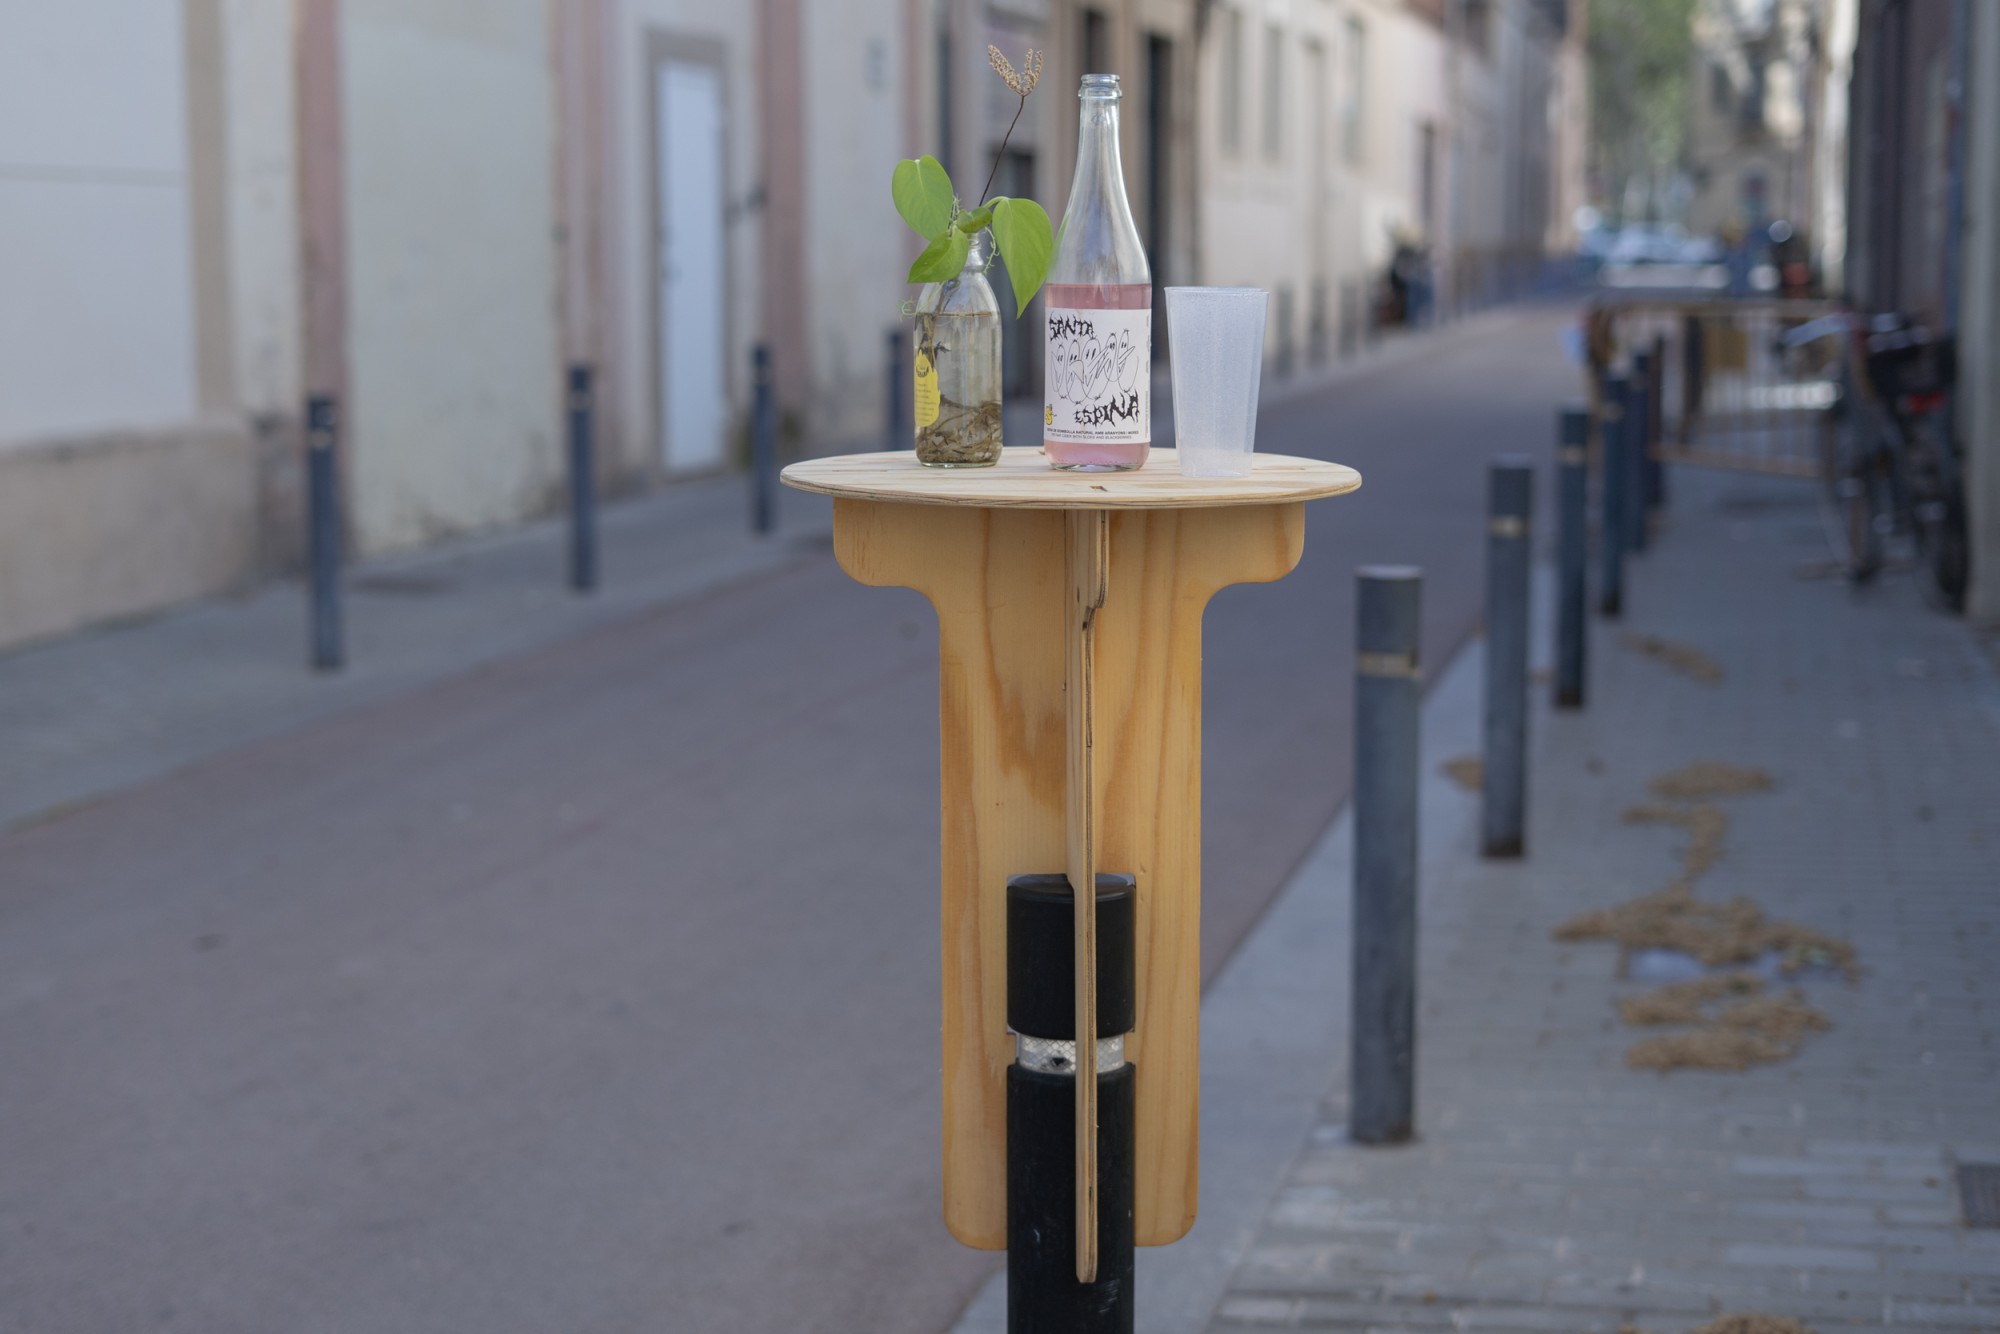
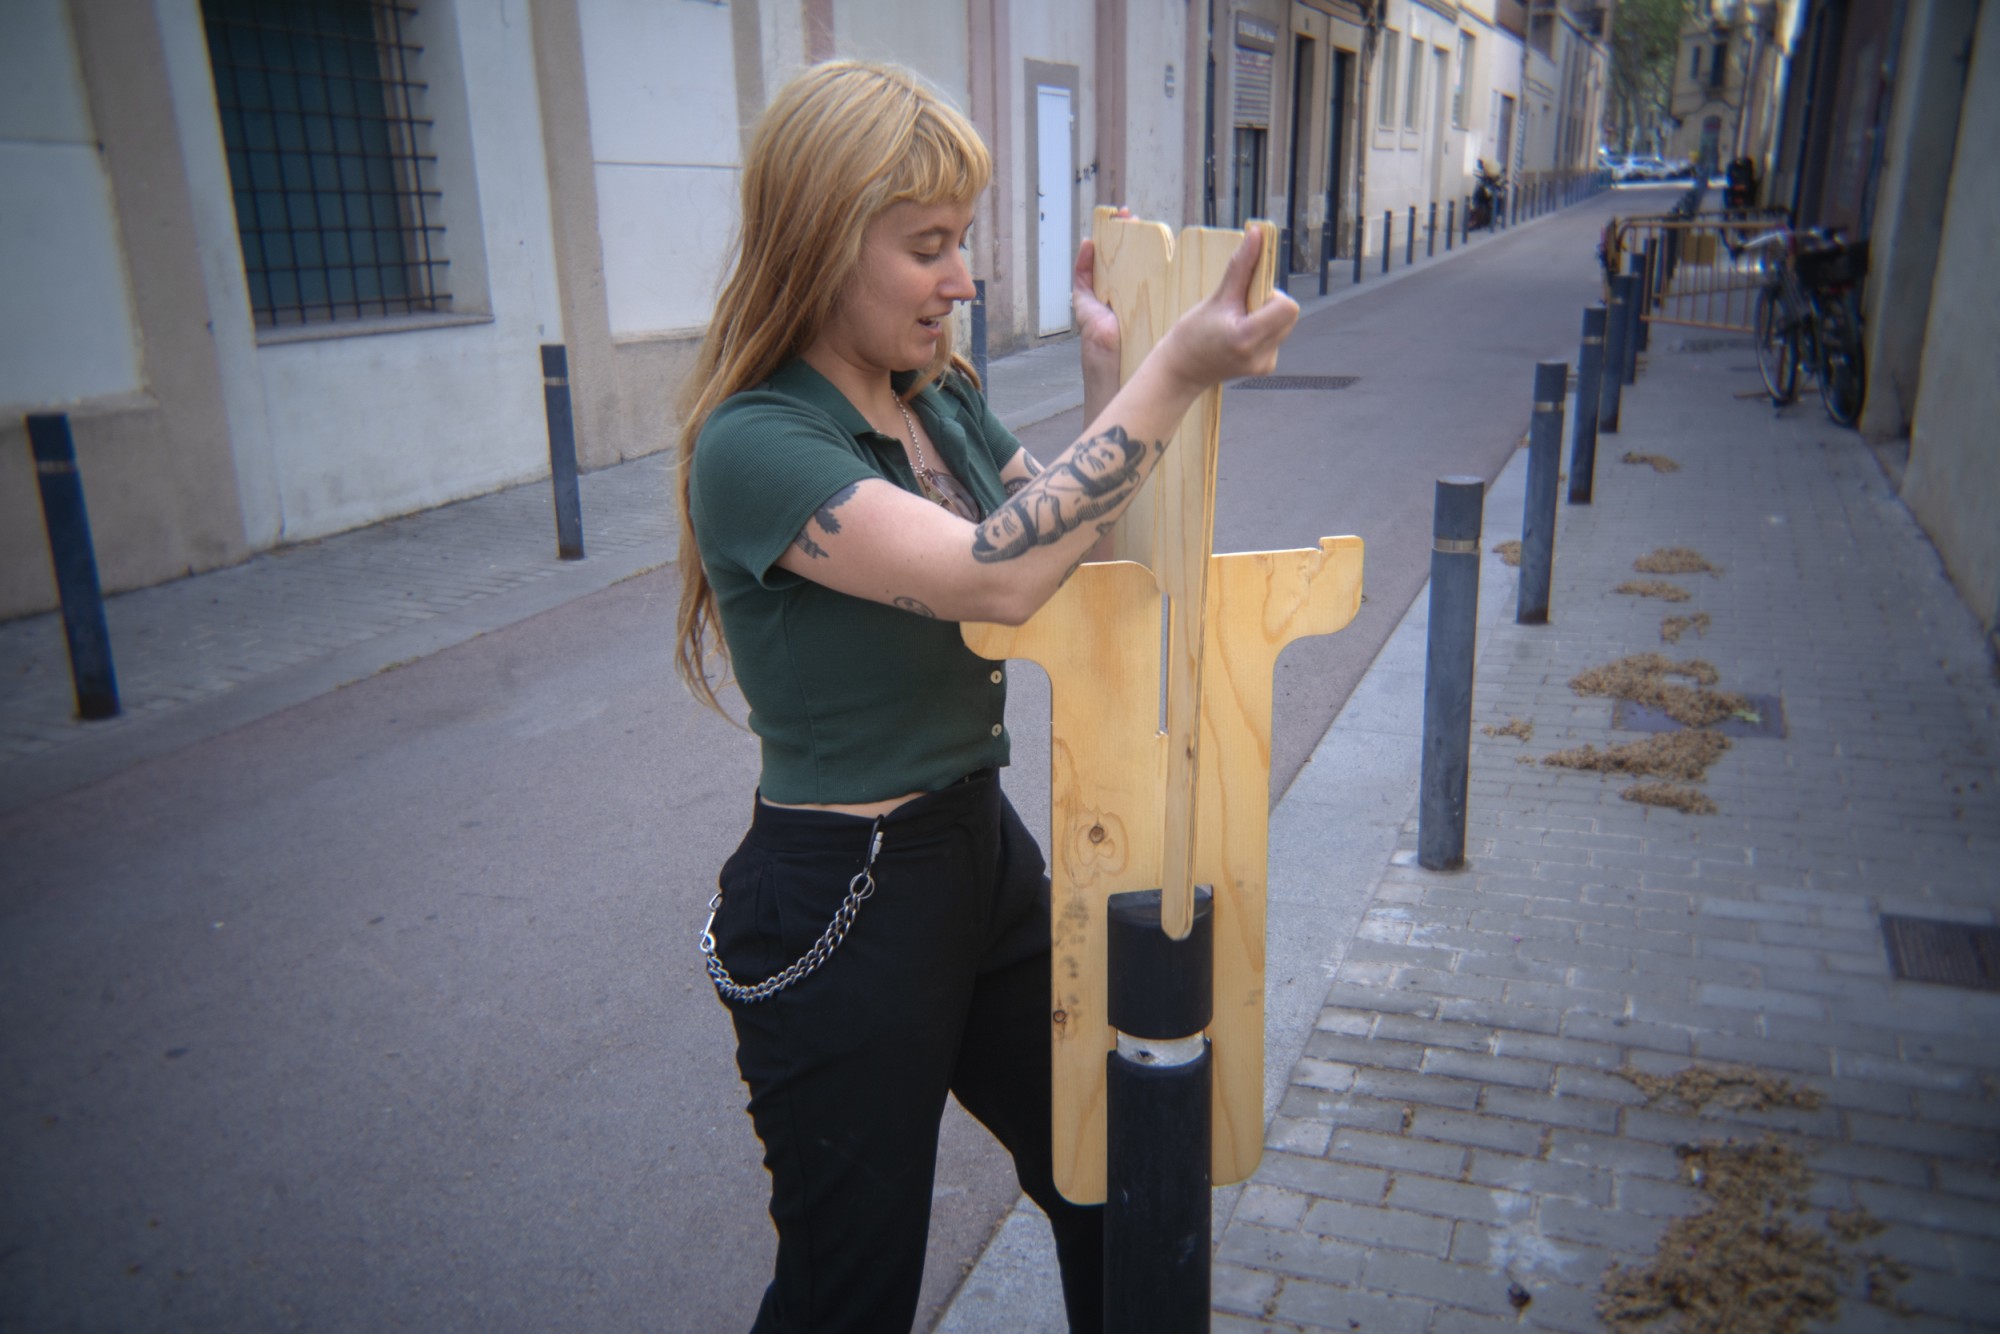
The Bollard Table is a portable table designed to be placed on urban bollards, transforming these passive control elements into meeting points and spaces for socialization. It consists of four interlocking pieces with no glue or screws: two interwoven legs, a circular tabletop, and a small bottom disc that adds stability. The entire system works through precise cuts and pressure fitting, making both assembly and disassembly quick and easy. This project was conceived, prototyped and brought to life through a collaborative process with Felipe Pinilla, combining architectural thinking, cultural programming and hands-on experimentation in public space.
Steps
- Step 01. Cardboard prototyping – understanding the bollard
- Step 02. Digital modeling – files and structure
- Step 03. CNC fabrication – cutting the final version
- Step 04. Final assembly – on-site
- Step 05. Assembly
- Difficulty
- 6
- Tools
- CNC
- Materials
- Plywood
- Duration
- 20 h
Files
Step 01.
Cardboard prototyping – understanding the bollard
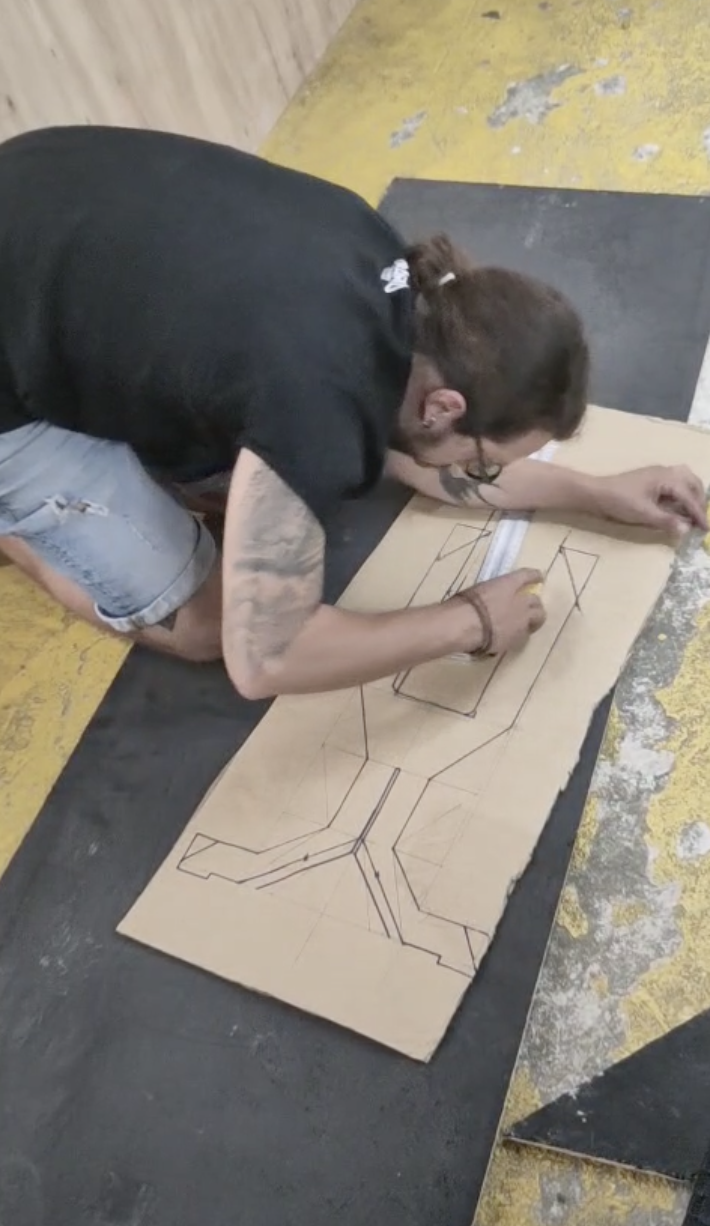
Before moving into digital design, we created a 1:1 prototype in cardboard to test the general dimensions, fitting system, and behavior of the object when placed on a real bollard.
This step allowed us to:
Measure the specific width and height of the bollard
Adjust the diameter of the table to balance between functionality and material optimization
Evaluate stability, space between legs, and potential adjustments in shape
Cardboard provided a fast and accessible way to validate the idea physically.
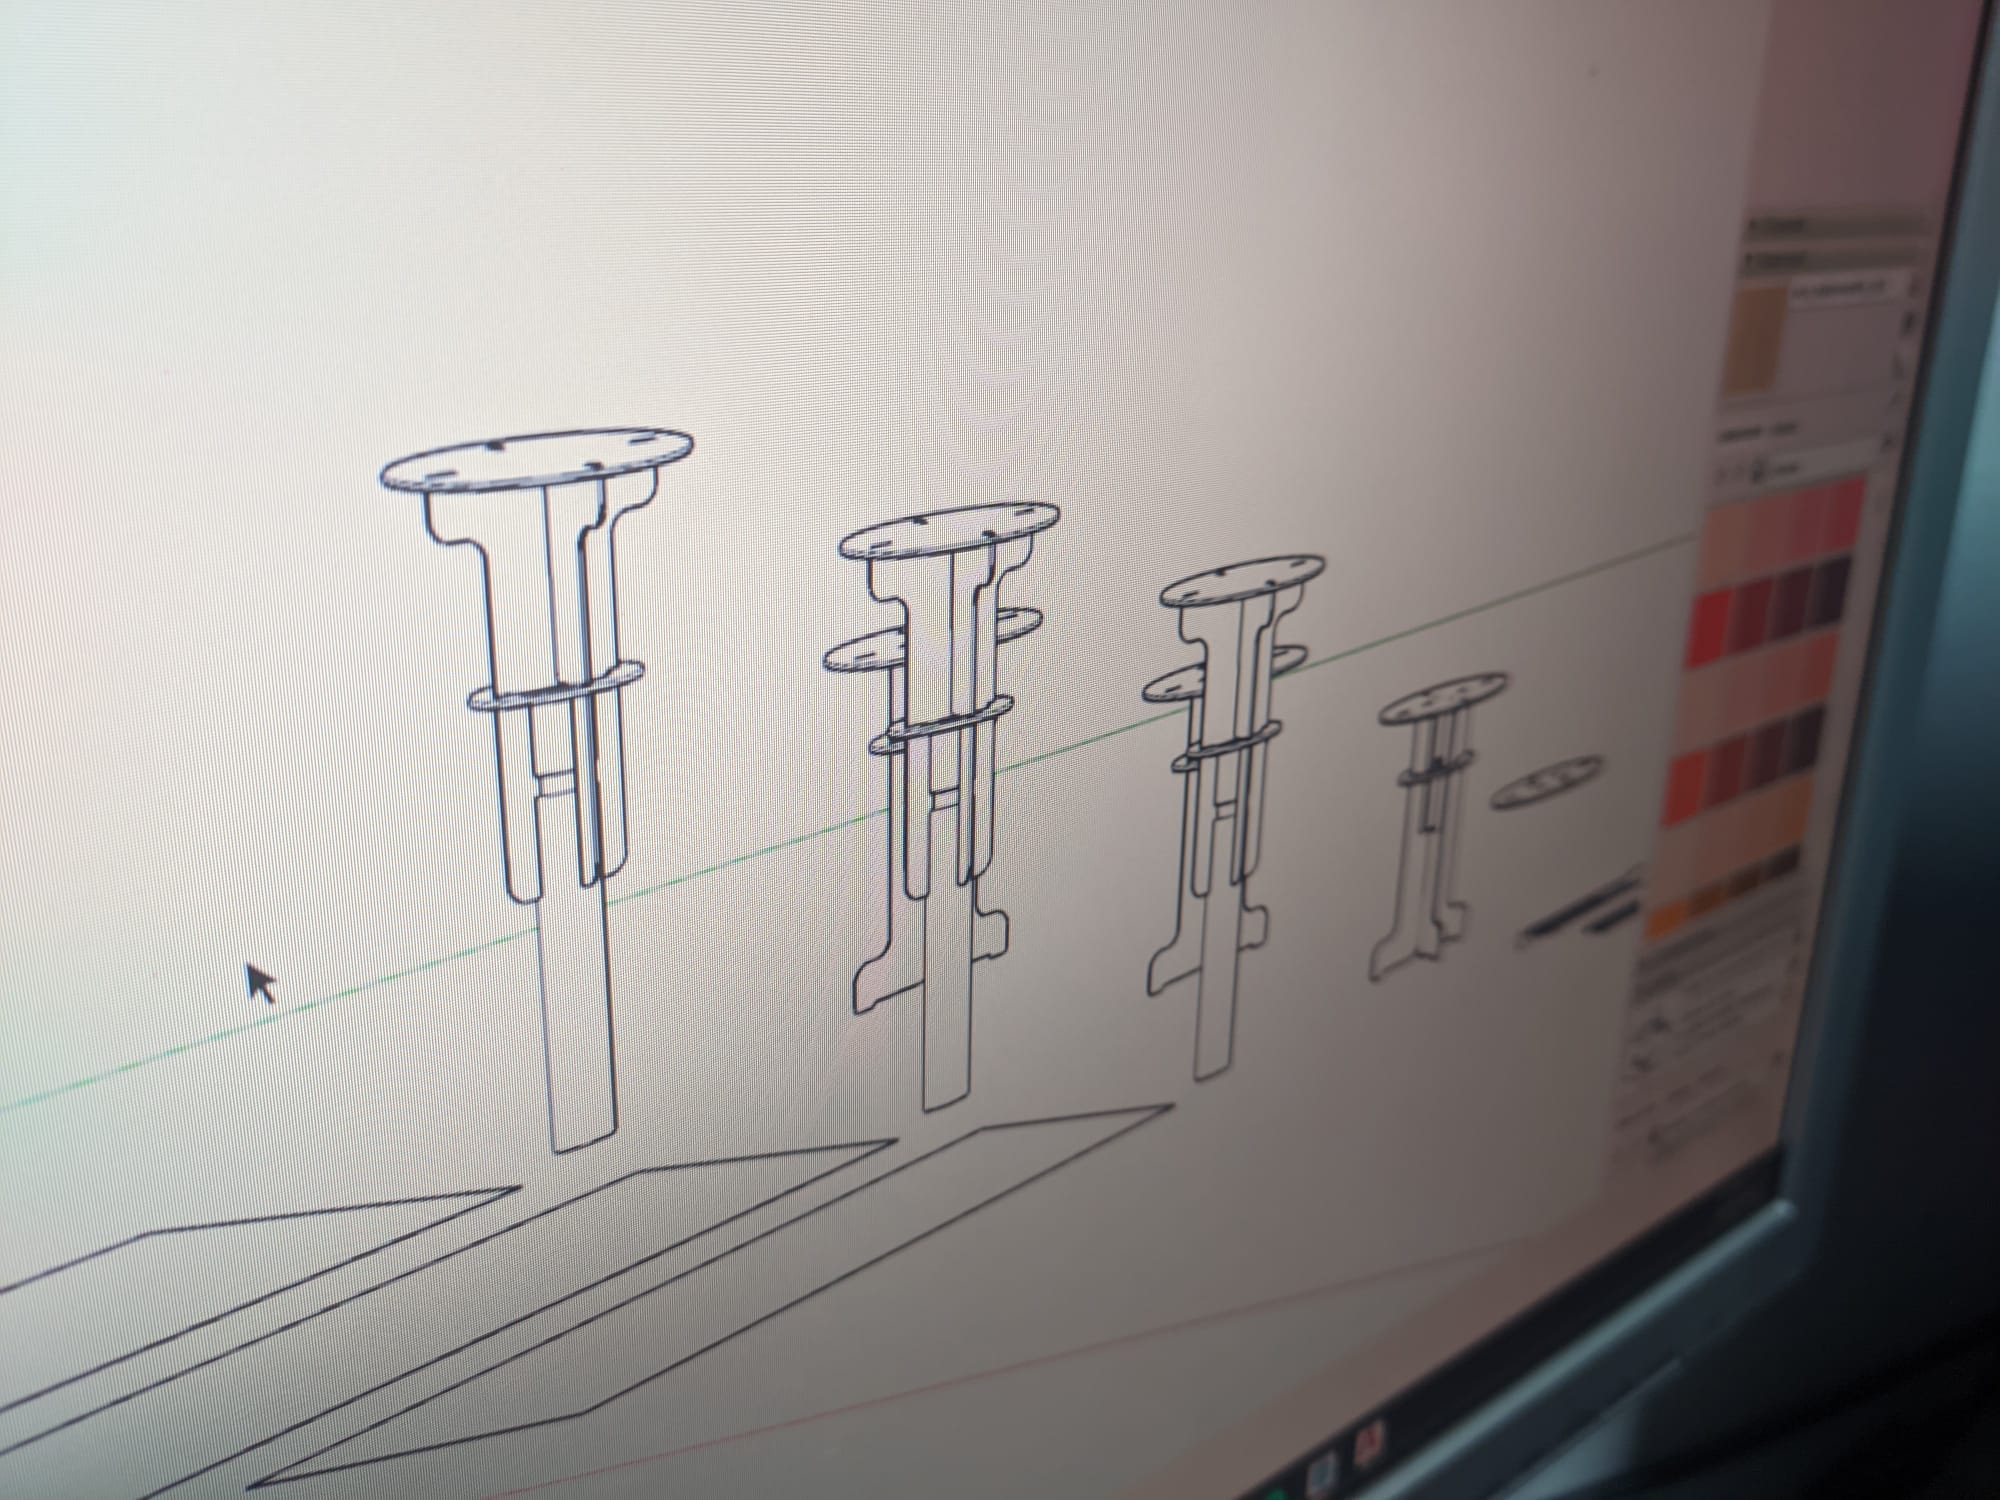
Step 02.
Digital modeling – files and structure
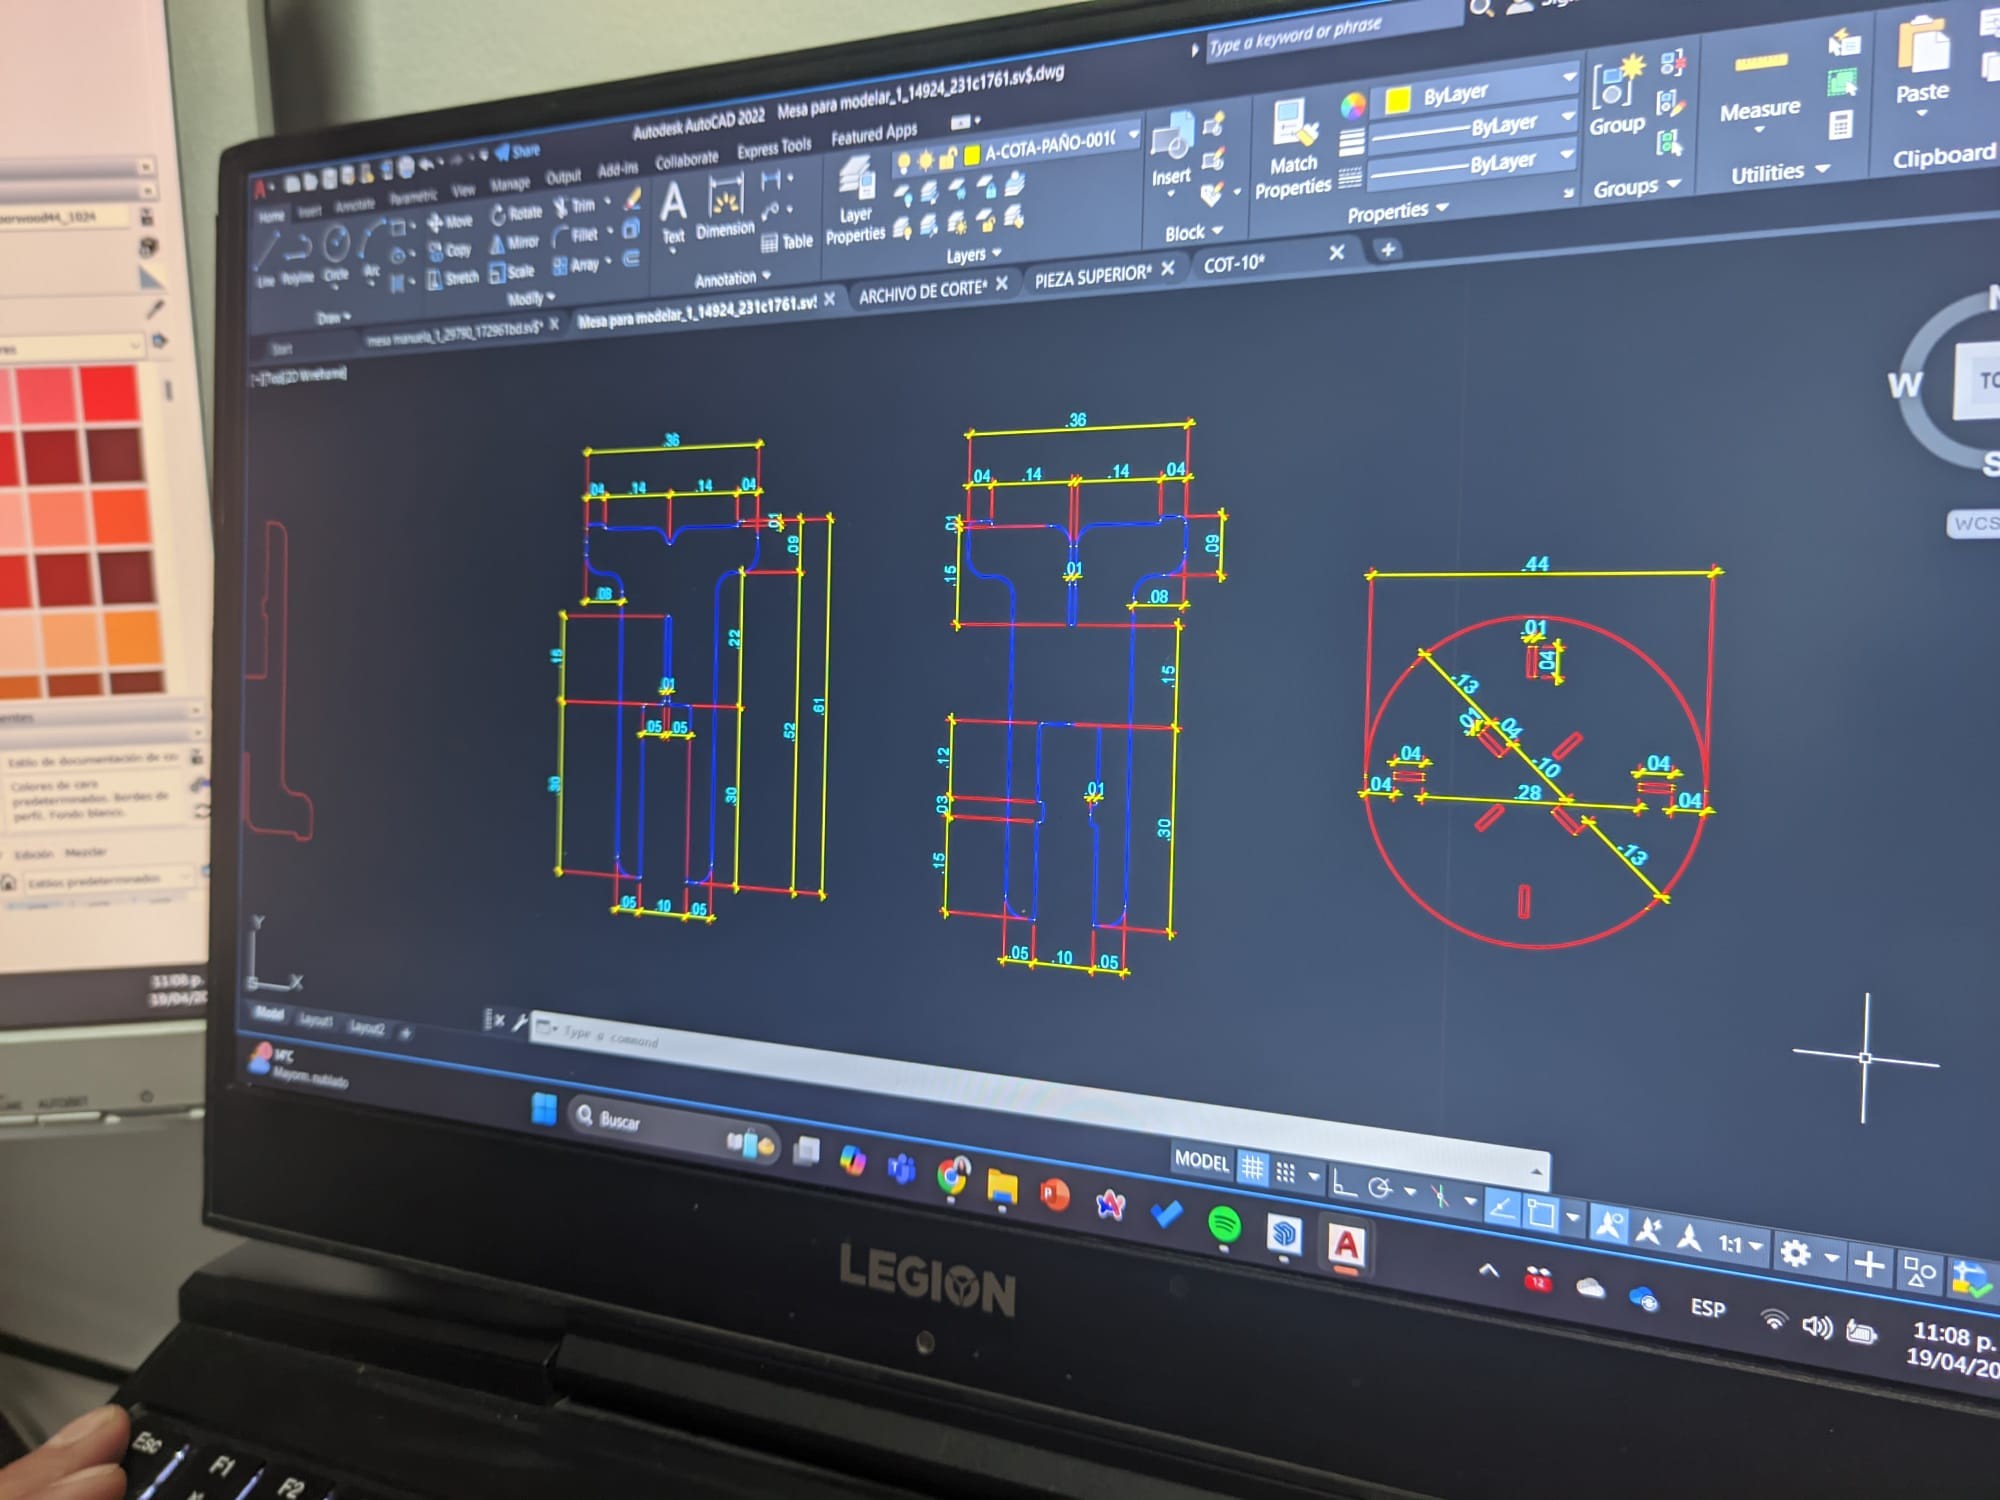
Once the physical concept was confirmed, we moved into digital modeling using parametric design tools.
At this stage we:
Designed the structure in 2D and 3D CAD software
Made all pieces fit within a single 900 x 2100 mm board
Optimized the placement of each element to minimize material waste
Simulated the interlocking system, ensuring tight tolerance for friction-fit assembly
This phase was essential for preparing clean, machine-ready files (DXF, DWG) for CNC production.
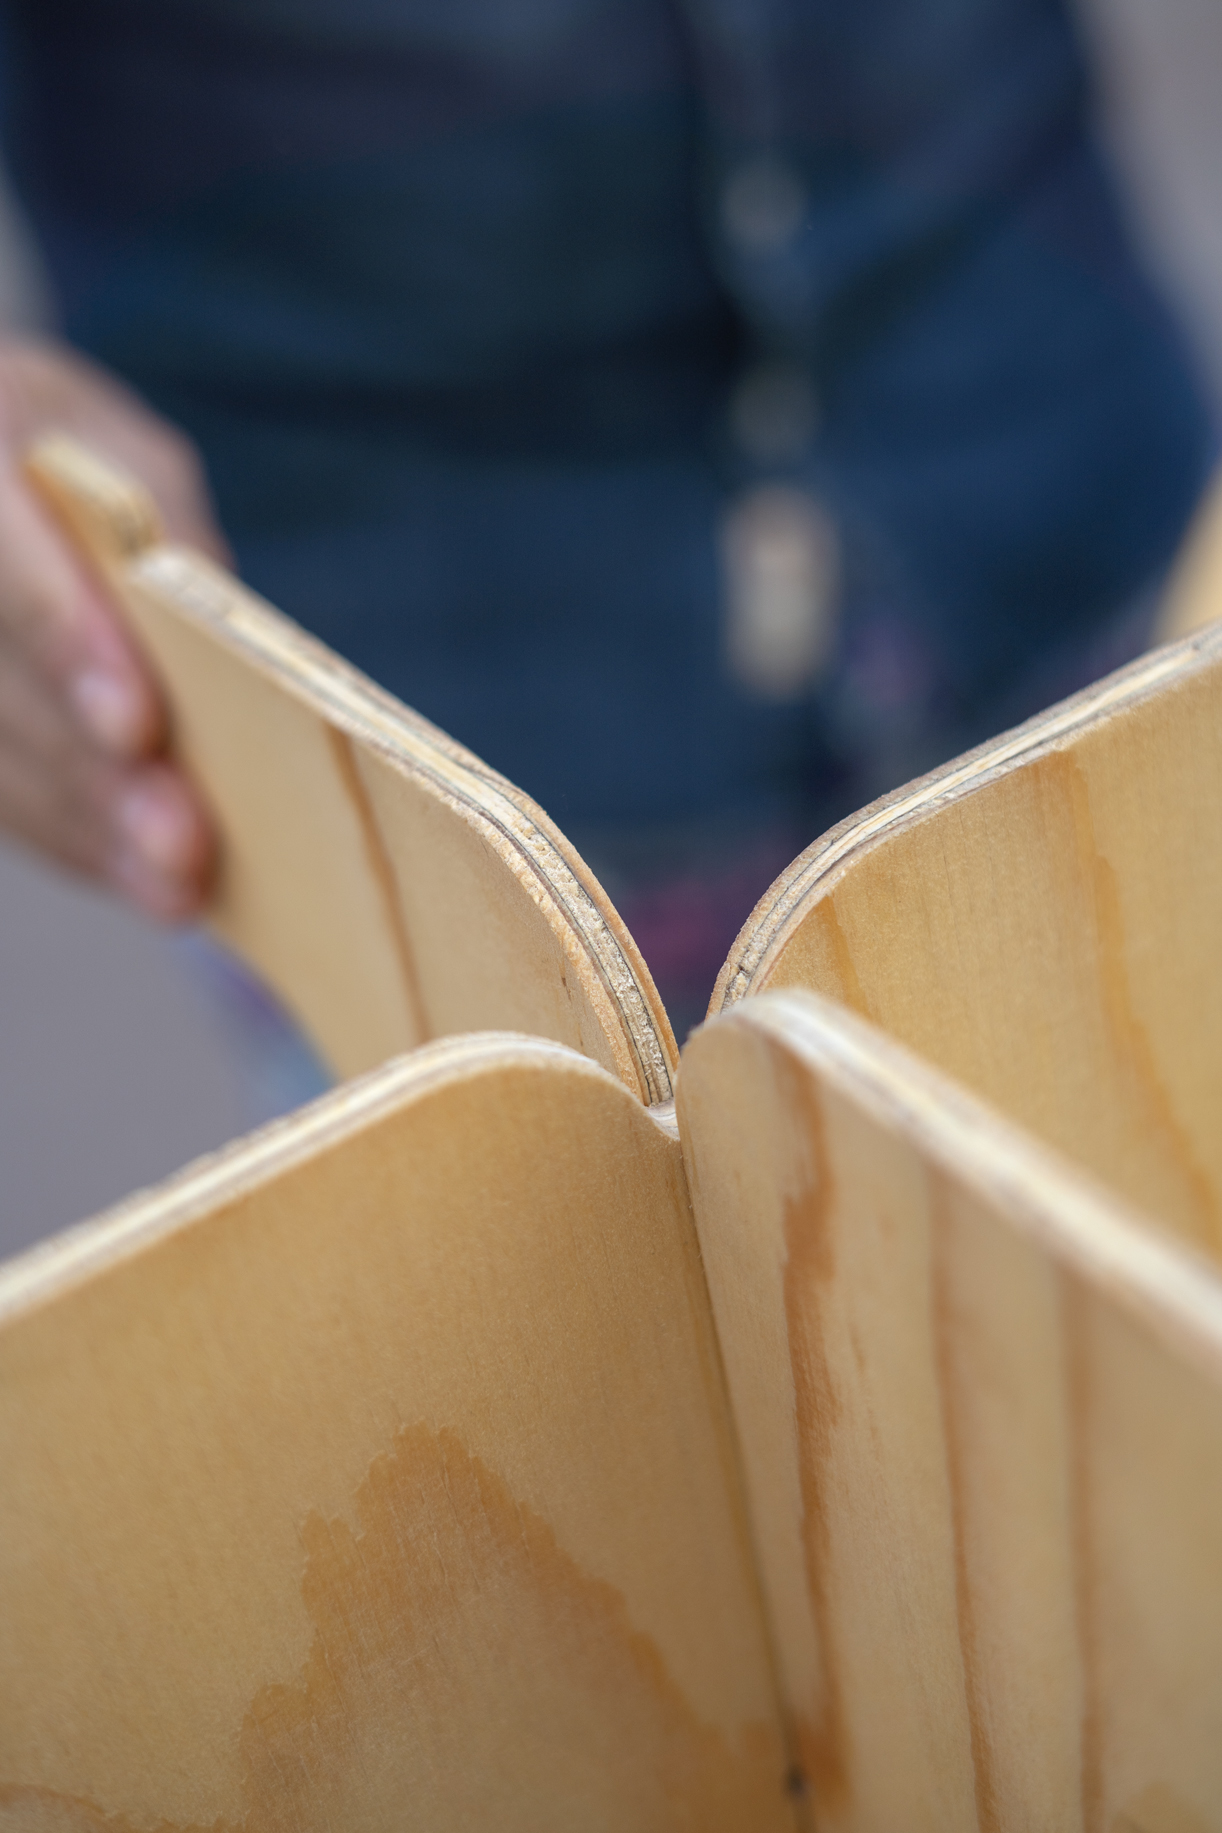
Step 03.
CNC fabrication – cutting the final version
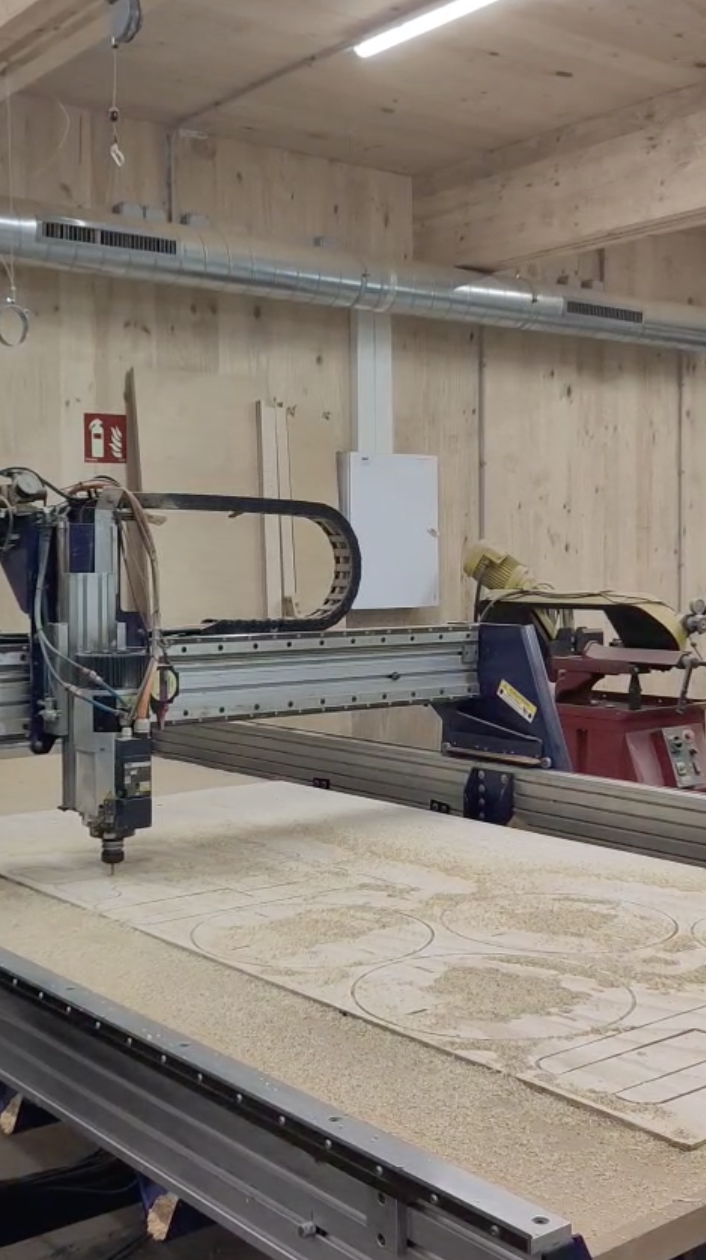
With the digital files finalized, we proceeded to cut the table on a CNC router using a single board of laminated plywood.
Here we focused on:
Testing the accuracy of the joints and slot dimensions
Ensuring each piece was clean, with no post-processing required
Verifying the strength and stability of the full-size version
This step validated that the entire design can be manufactured with a single cut job and no additional hardware, glue or tools — making it highly replicable in any fablab or makerspace. (This was a massive help of Shyam at Fab Lab)
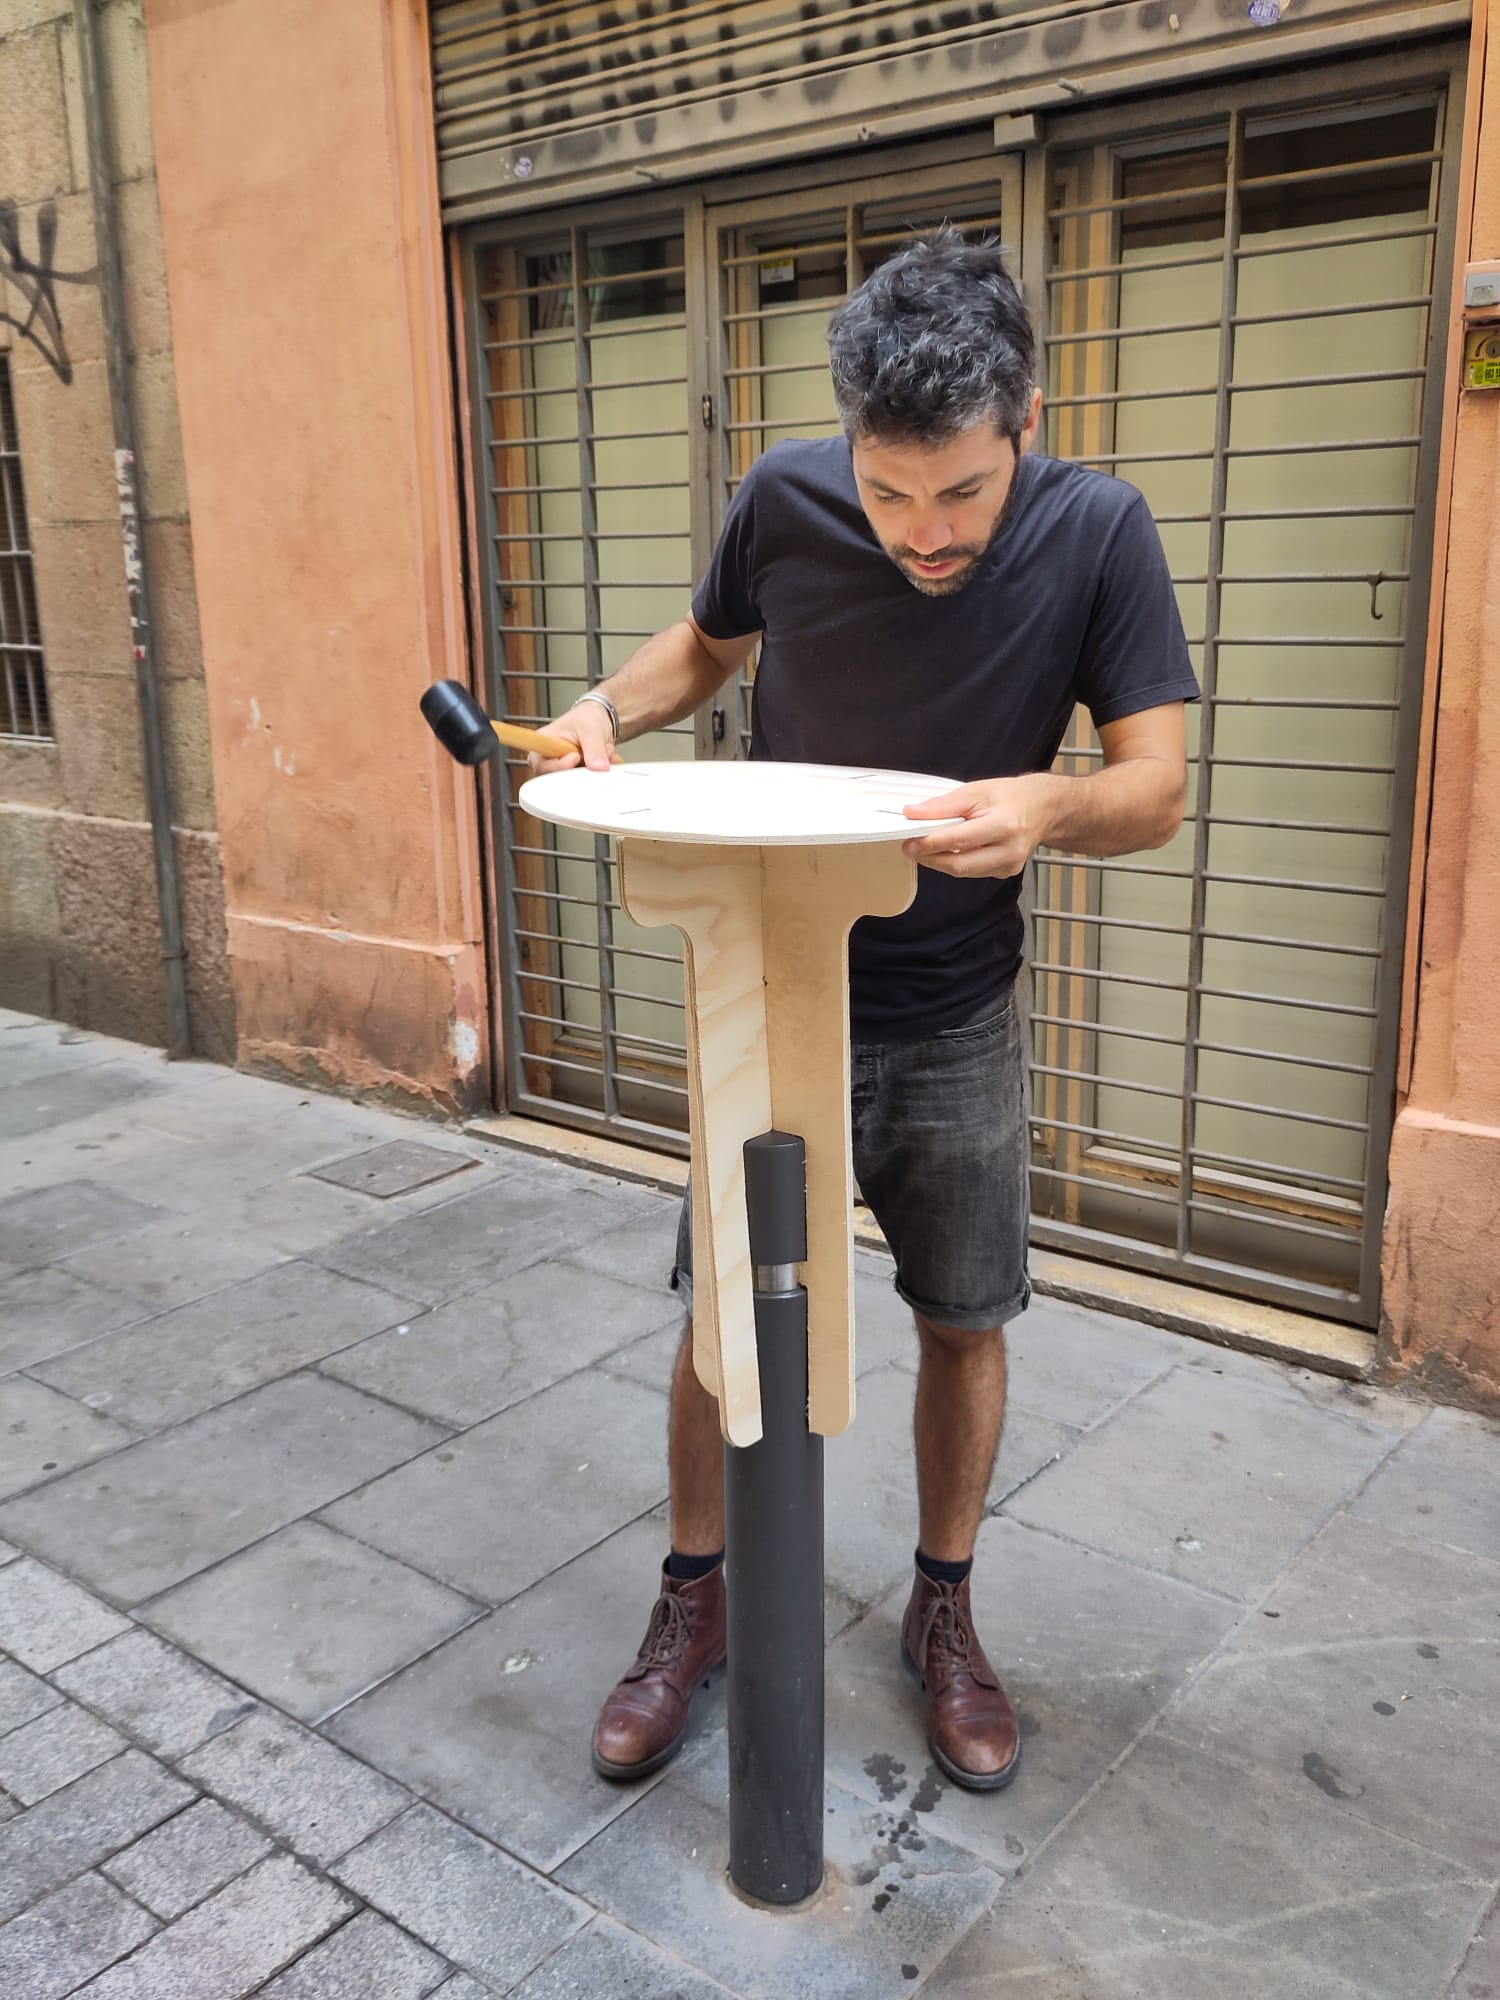
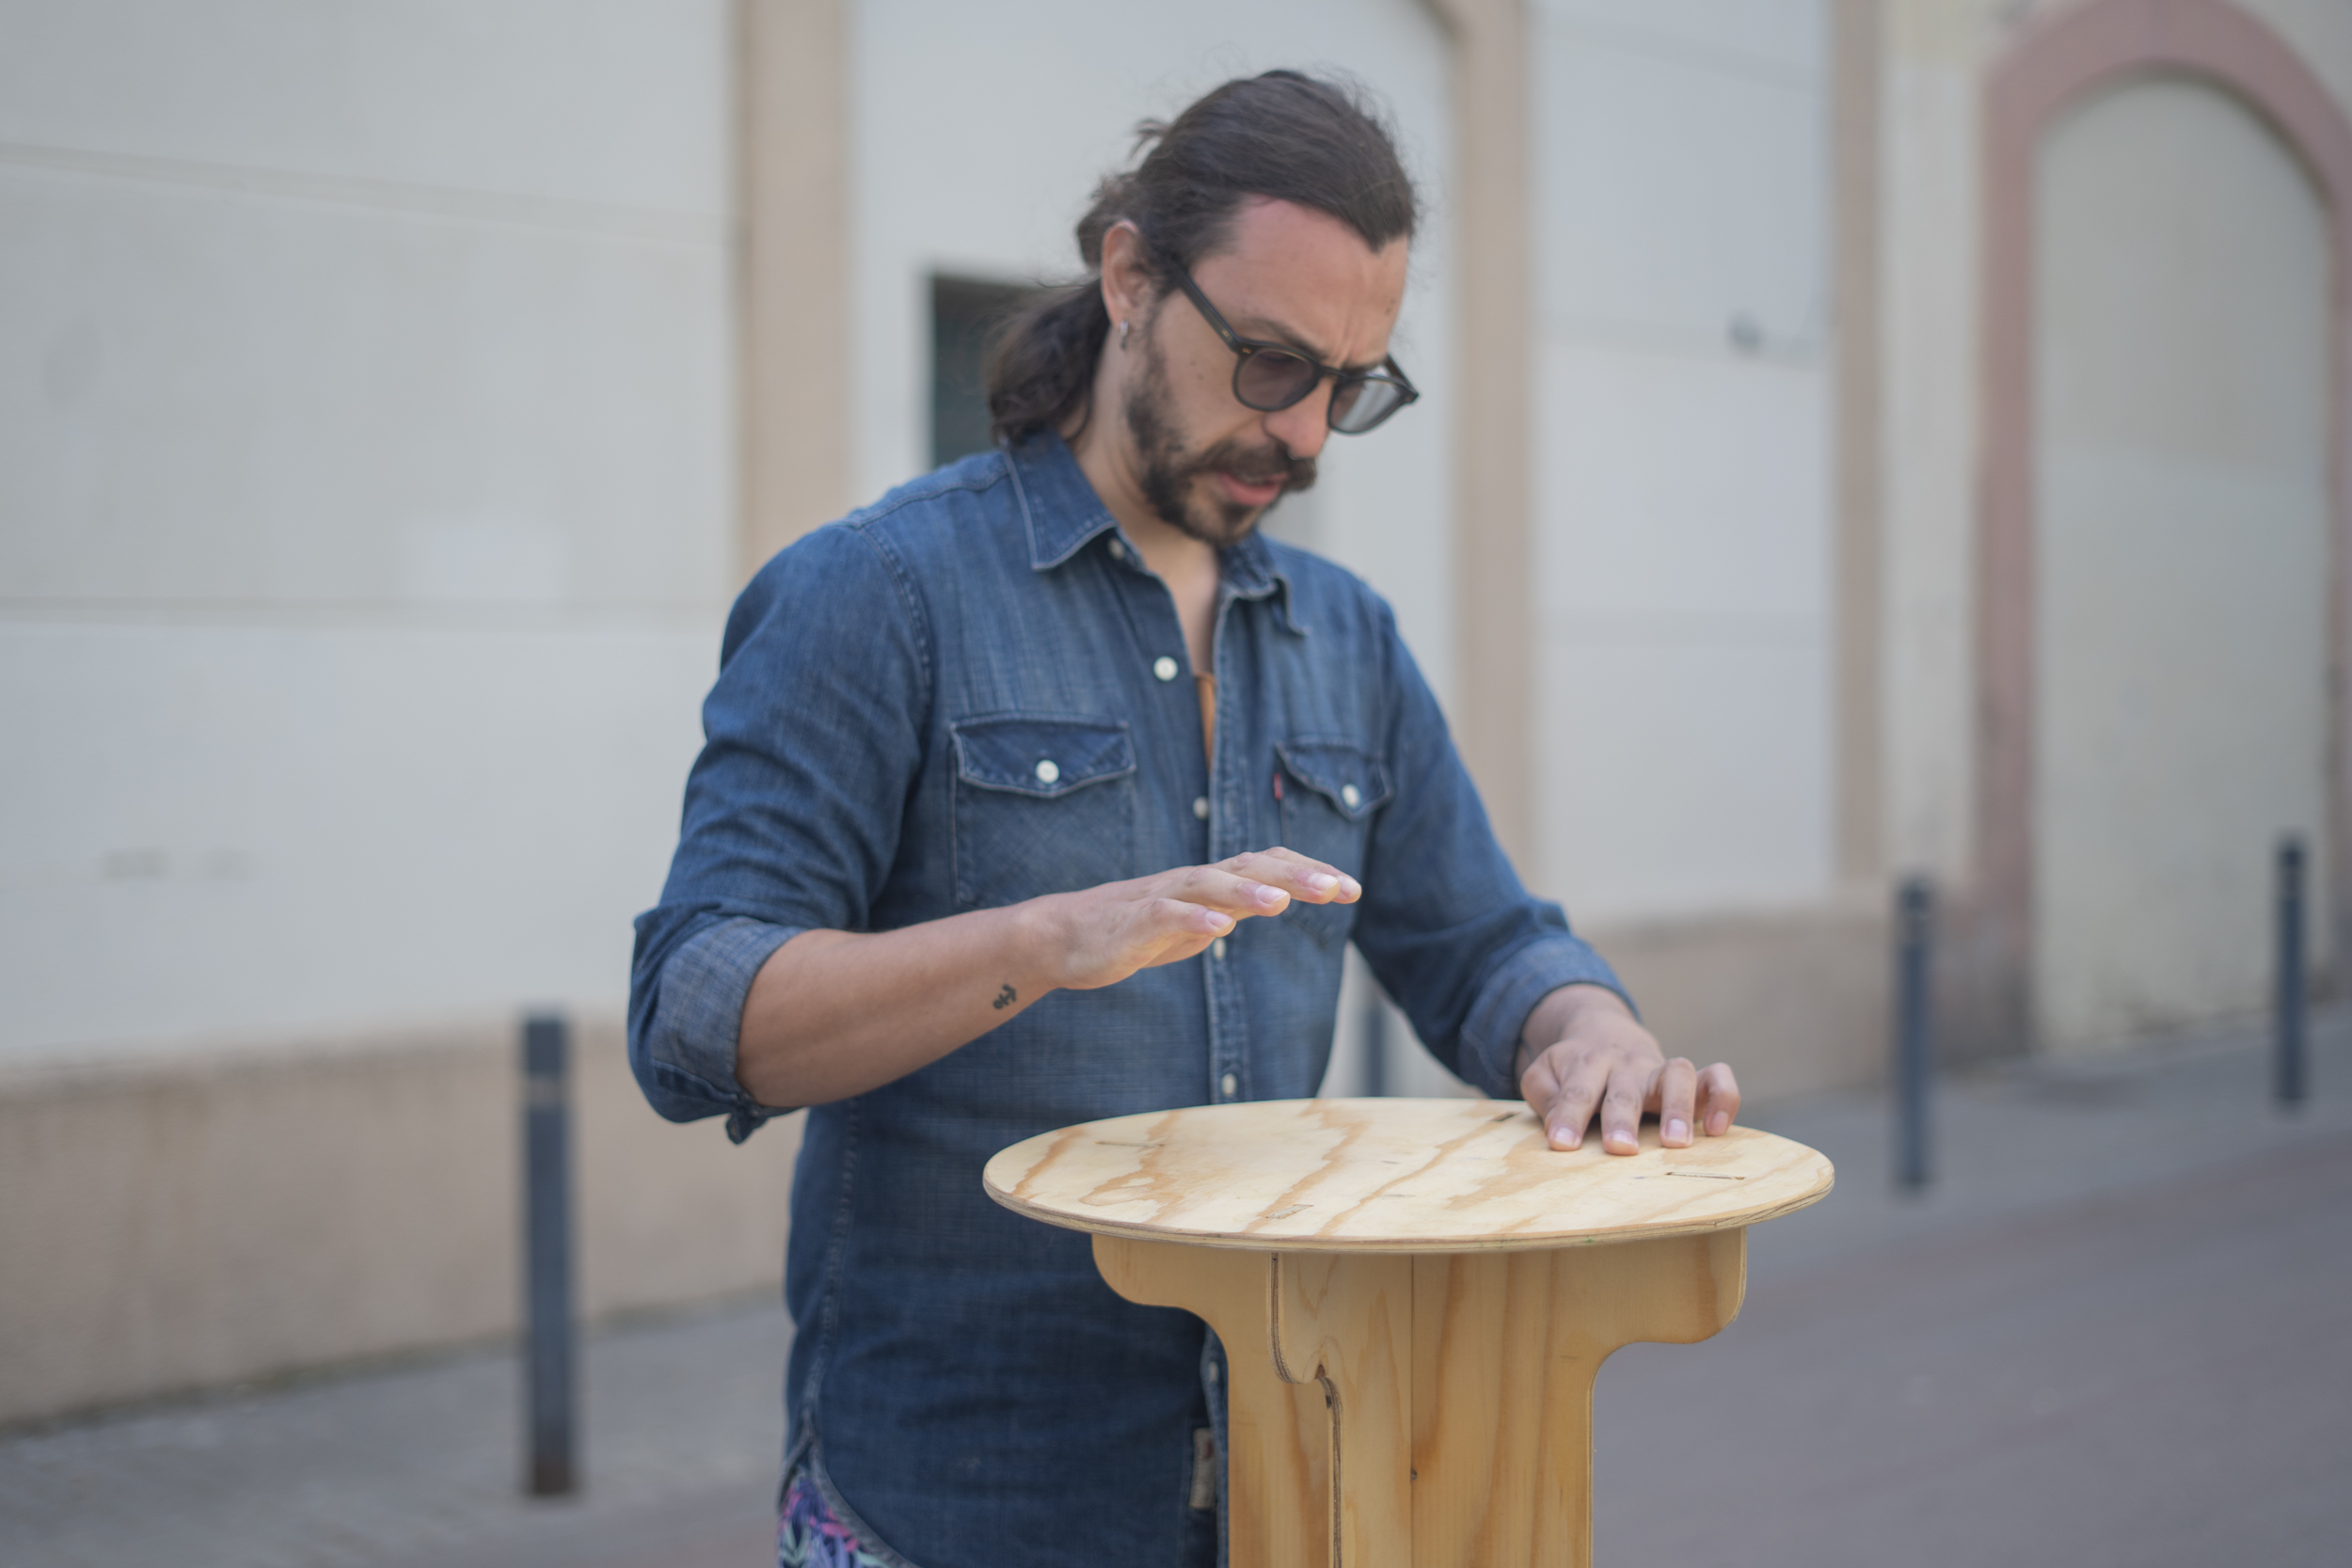
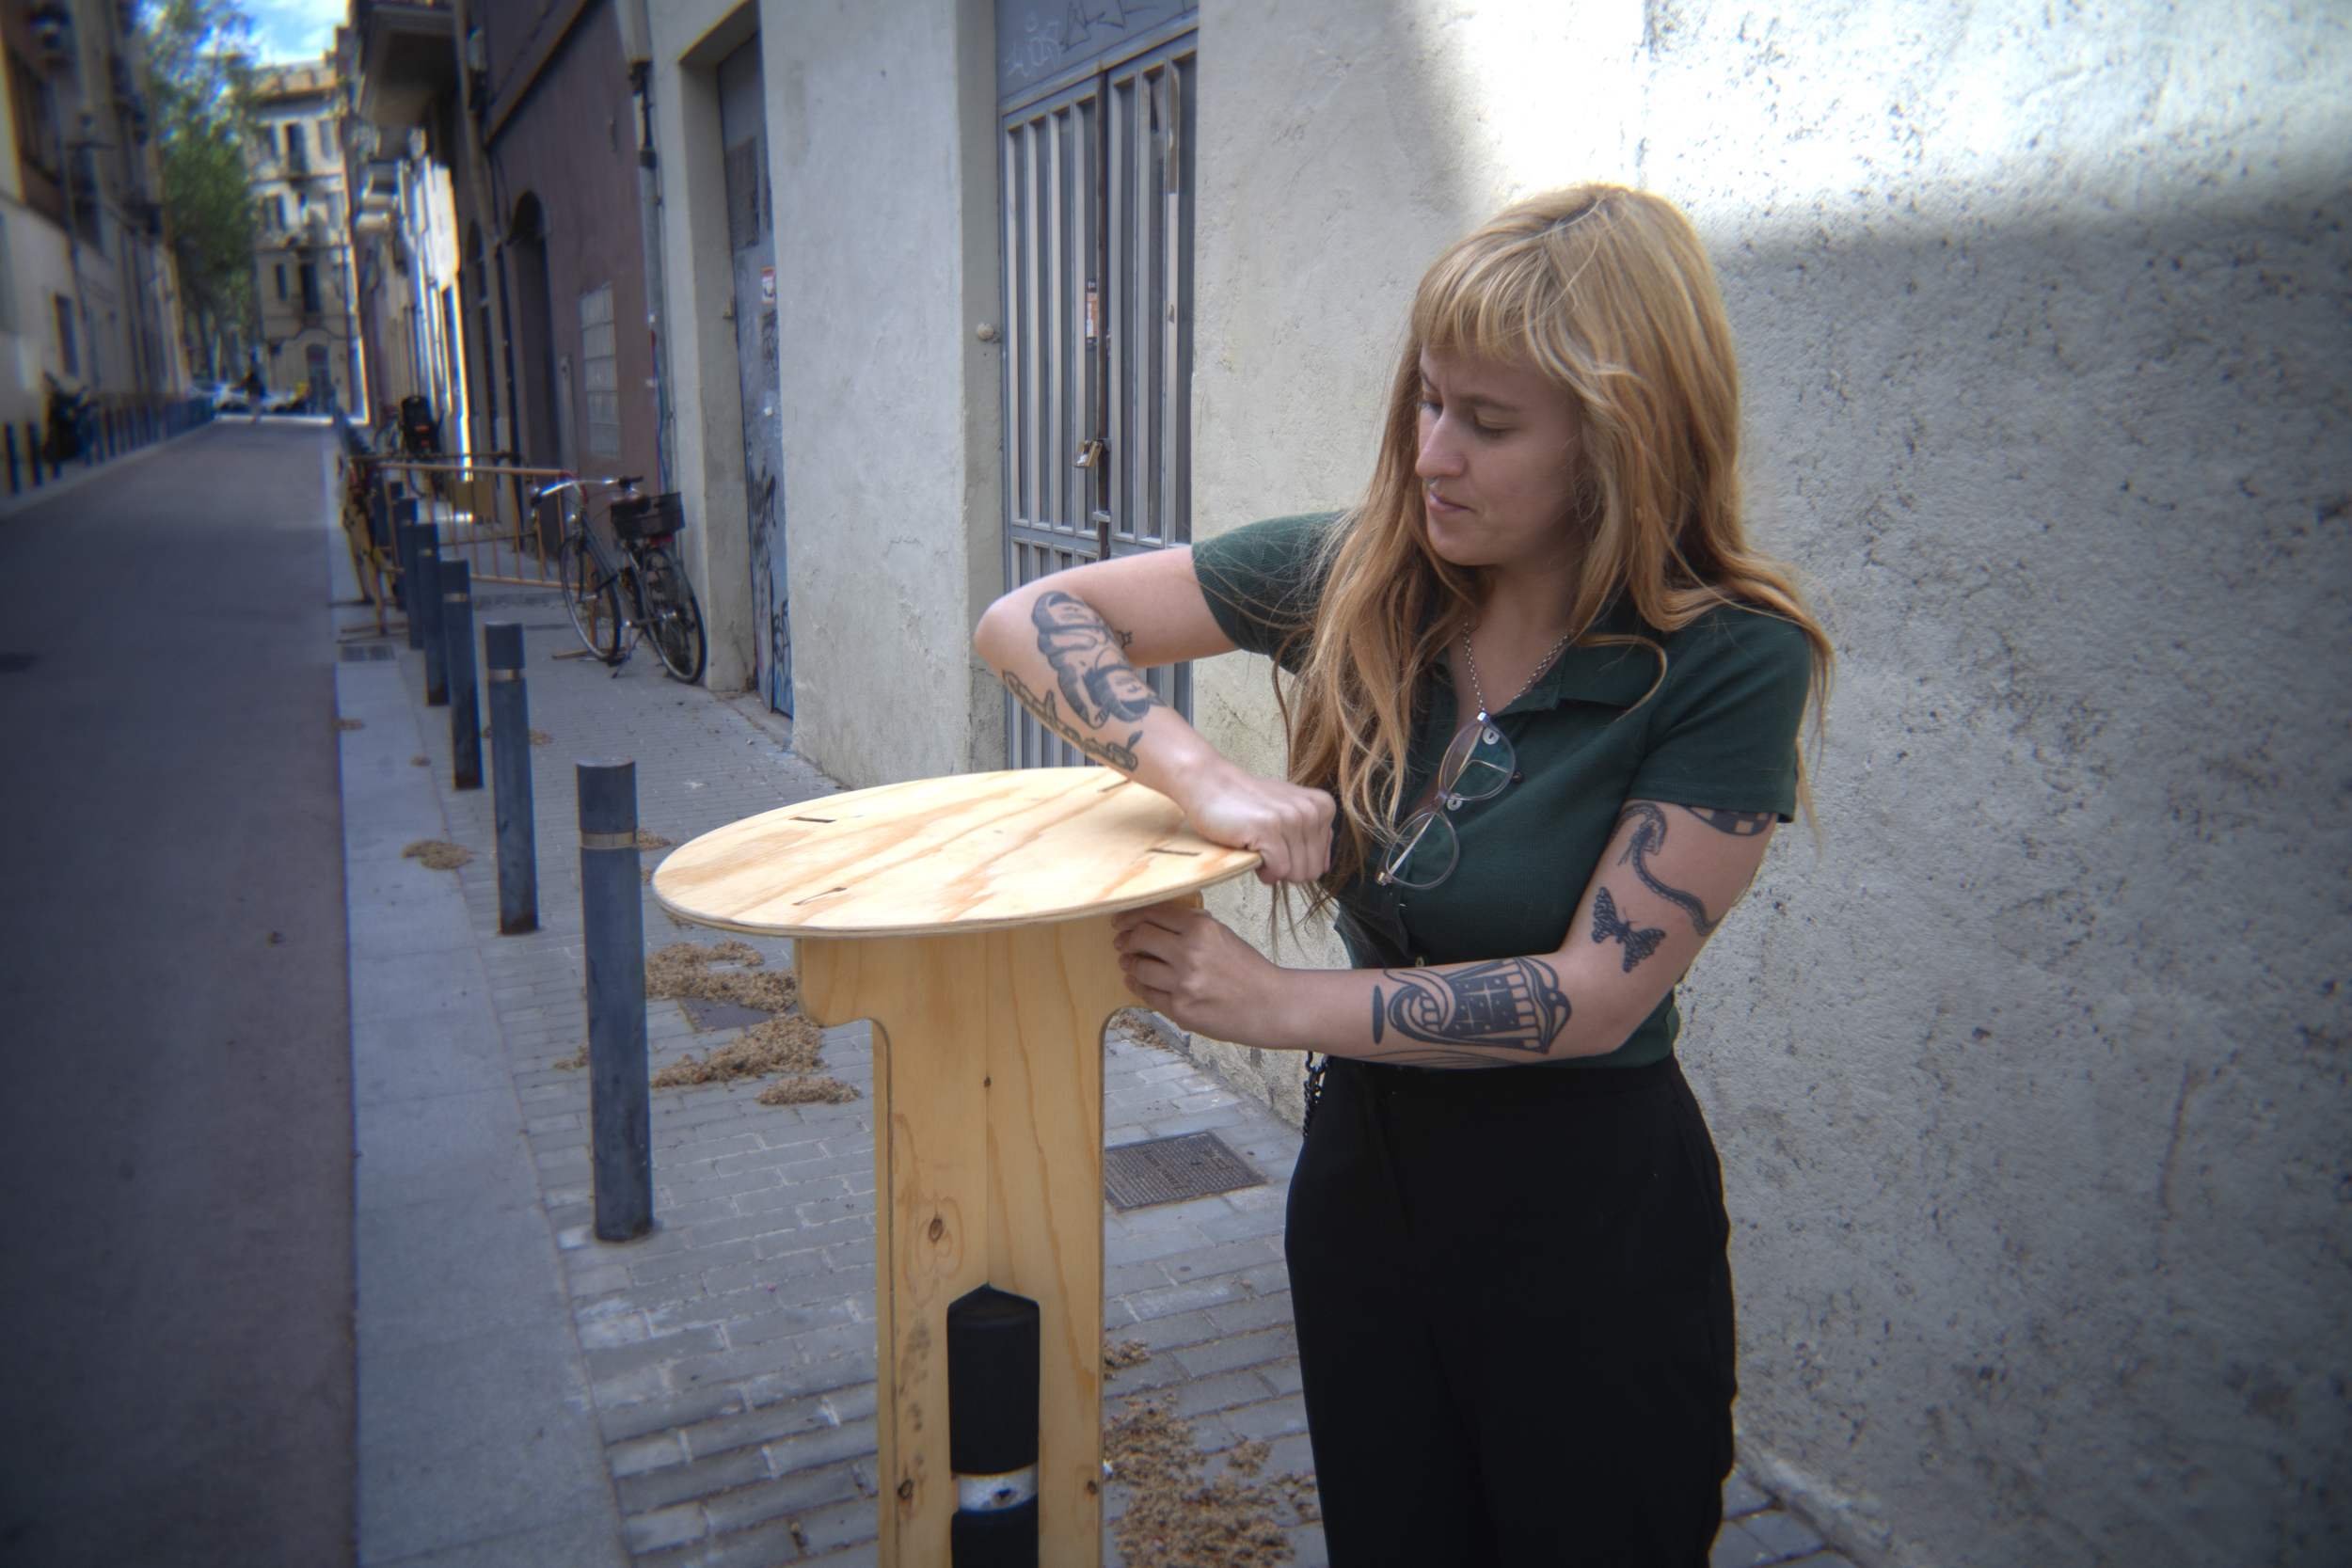
Step 04.
Final assembly – on-site
Once all the pieces were cut:
We transported the parts flat-packed to the street
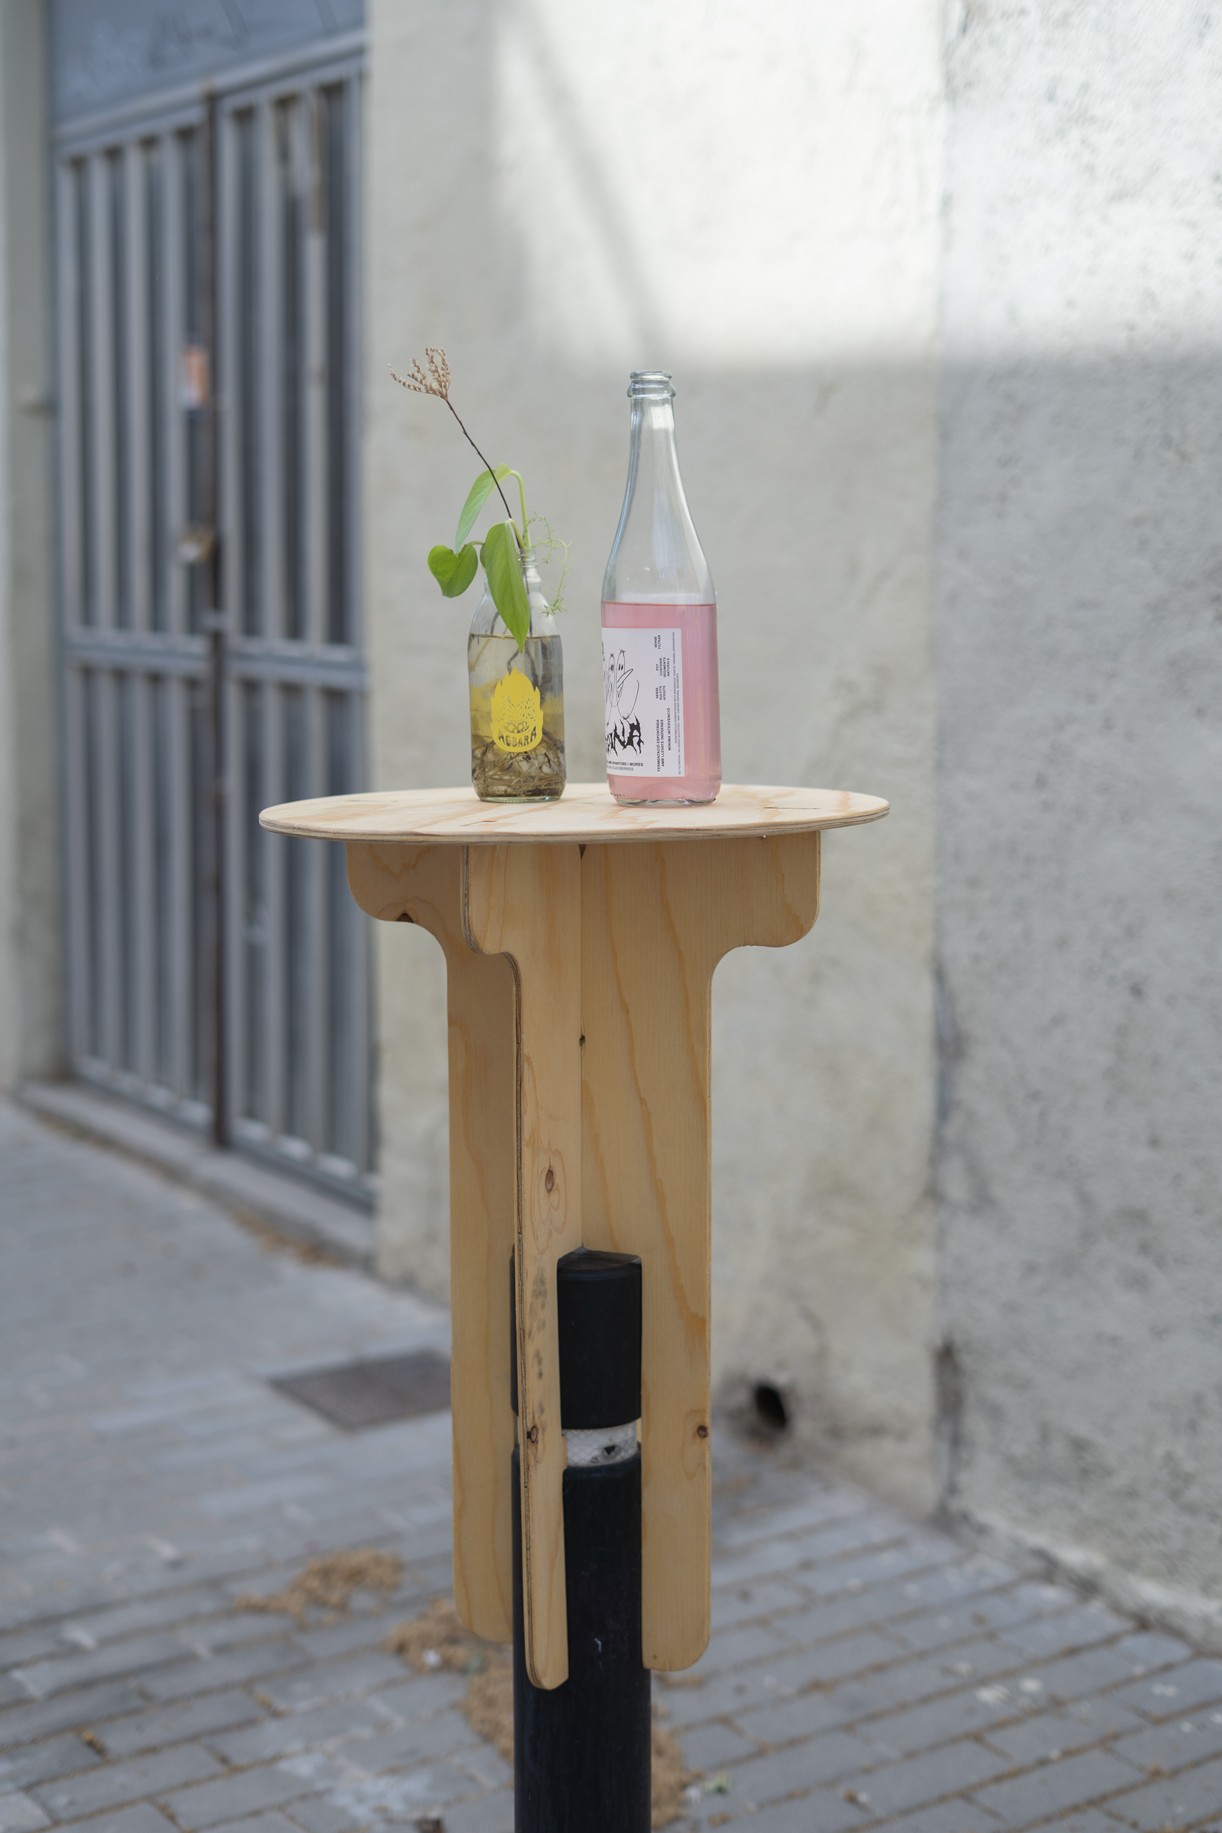
Assembly took less than 5 minutes, using only pressure-fitting and gravity
The object was stable, easy to disassemble, and left no trace when removed
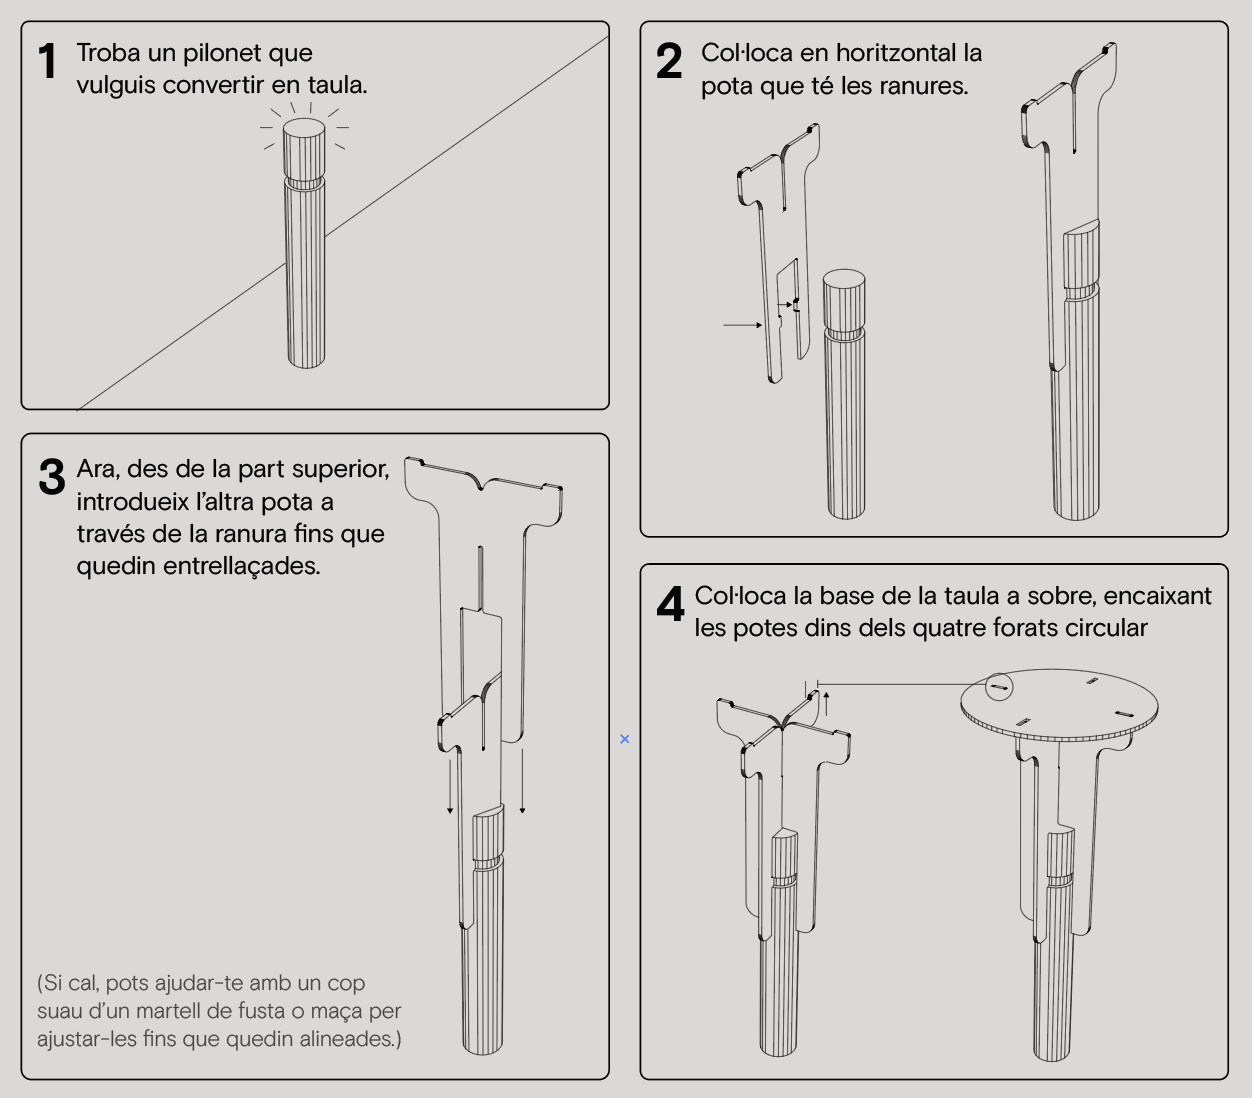
Step 05.
Assembly