Computer Aided Design
From 2D Design to 3D Modeling with CAM In this tutorial, we will explore the basic concepts of Computer-Aided Manufacturing (CAM) and guide you through the process of creating a 3D model using 2D design software and modeling tools like Rhino and Blender. We will cover essential concepts such as vectors, pixels, and the differences between mesh and NURBS modeling. Then, we'll walk through the steps of designing a glass bell and other organic shapes, transitioning from 2D to 3D, and utilizing Blender for rendering.

Steps
- Step 01. 1. Understanding Basic Concepts of CAM
- Step 02. Transitioning from 2D to 3D with Rhino
- Step 03. Exploring Blender for Final Rendering
- Difficulty
- 3
- Tools
- Blender
- Rhinoceros
- 2D programs (Illustrator, DrawSVG)
Step 01.
1. Understanding Basic Concepts of CAM
Vectors vs. Pixels:
Vectors are geometric representations of images that can be scaled without loss of quality and are lightweight compared to bitmap images. Pixels, on the other hand, are the smallest unit of a bitmap image, made up of RGB colors, and are best for creating complex textures and gradients. While processing bitmaps can be faster, they are less versatile than vectors. Common programs for working with vectors include Inkscape, Illustrator, Corel Draw, and DrawSVG. Platforms like Thingiverse provide communities for discovering and sharing 3D printable designs.
Mesh vs. NURBS:
NURBS (Non-Uniform Rational B-Splines): A mathematical model for generating curves and surfaces using control points, allowing for flexible surface modeling.
Mesh Modeling: Composed of vertices, edges, and faces, this non-mathematical structure relies on polygons to define shapes and their dimensions.
Step 02.
Transitioning from 2D to 3D with Rhino
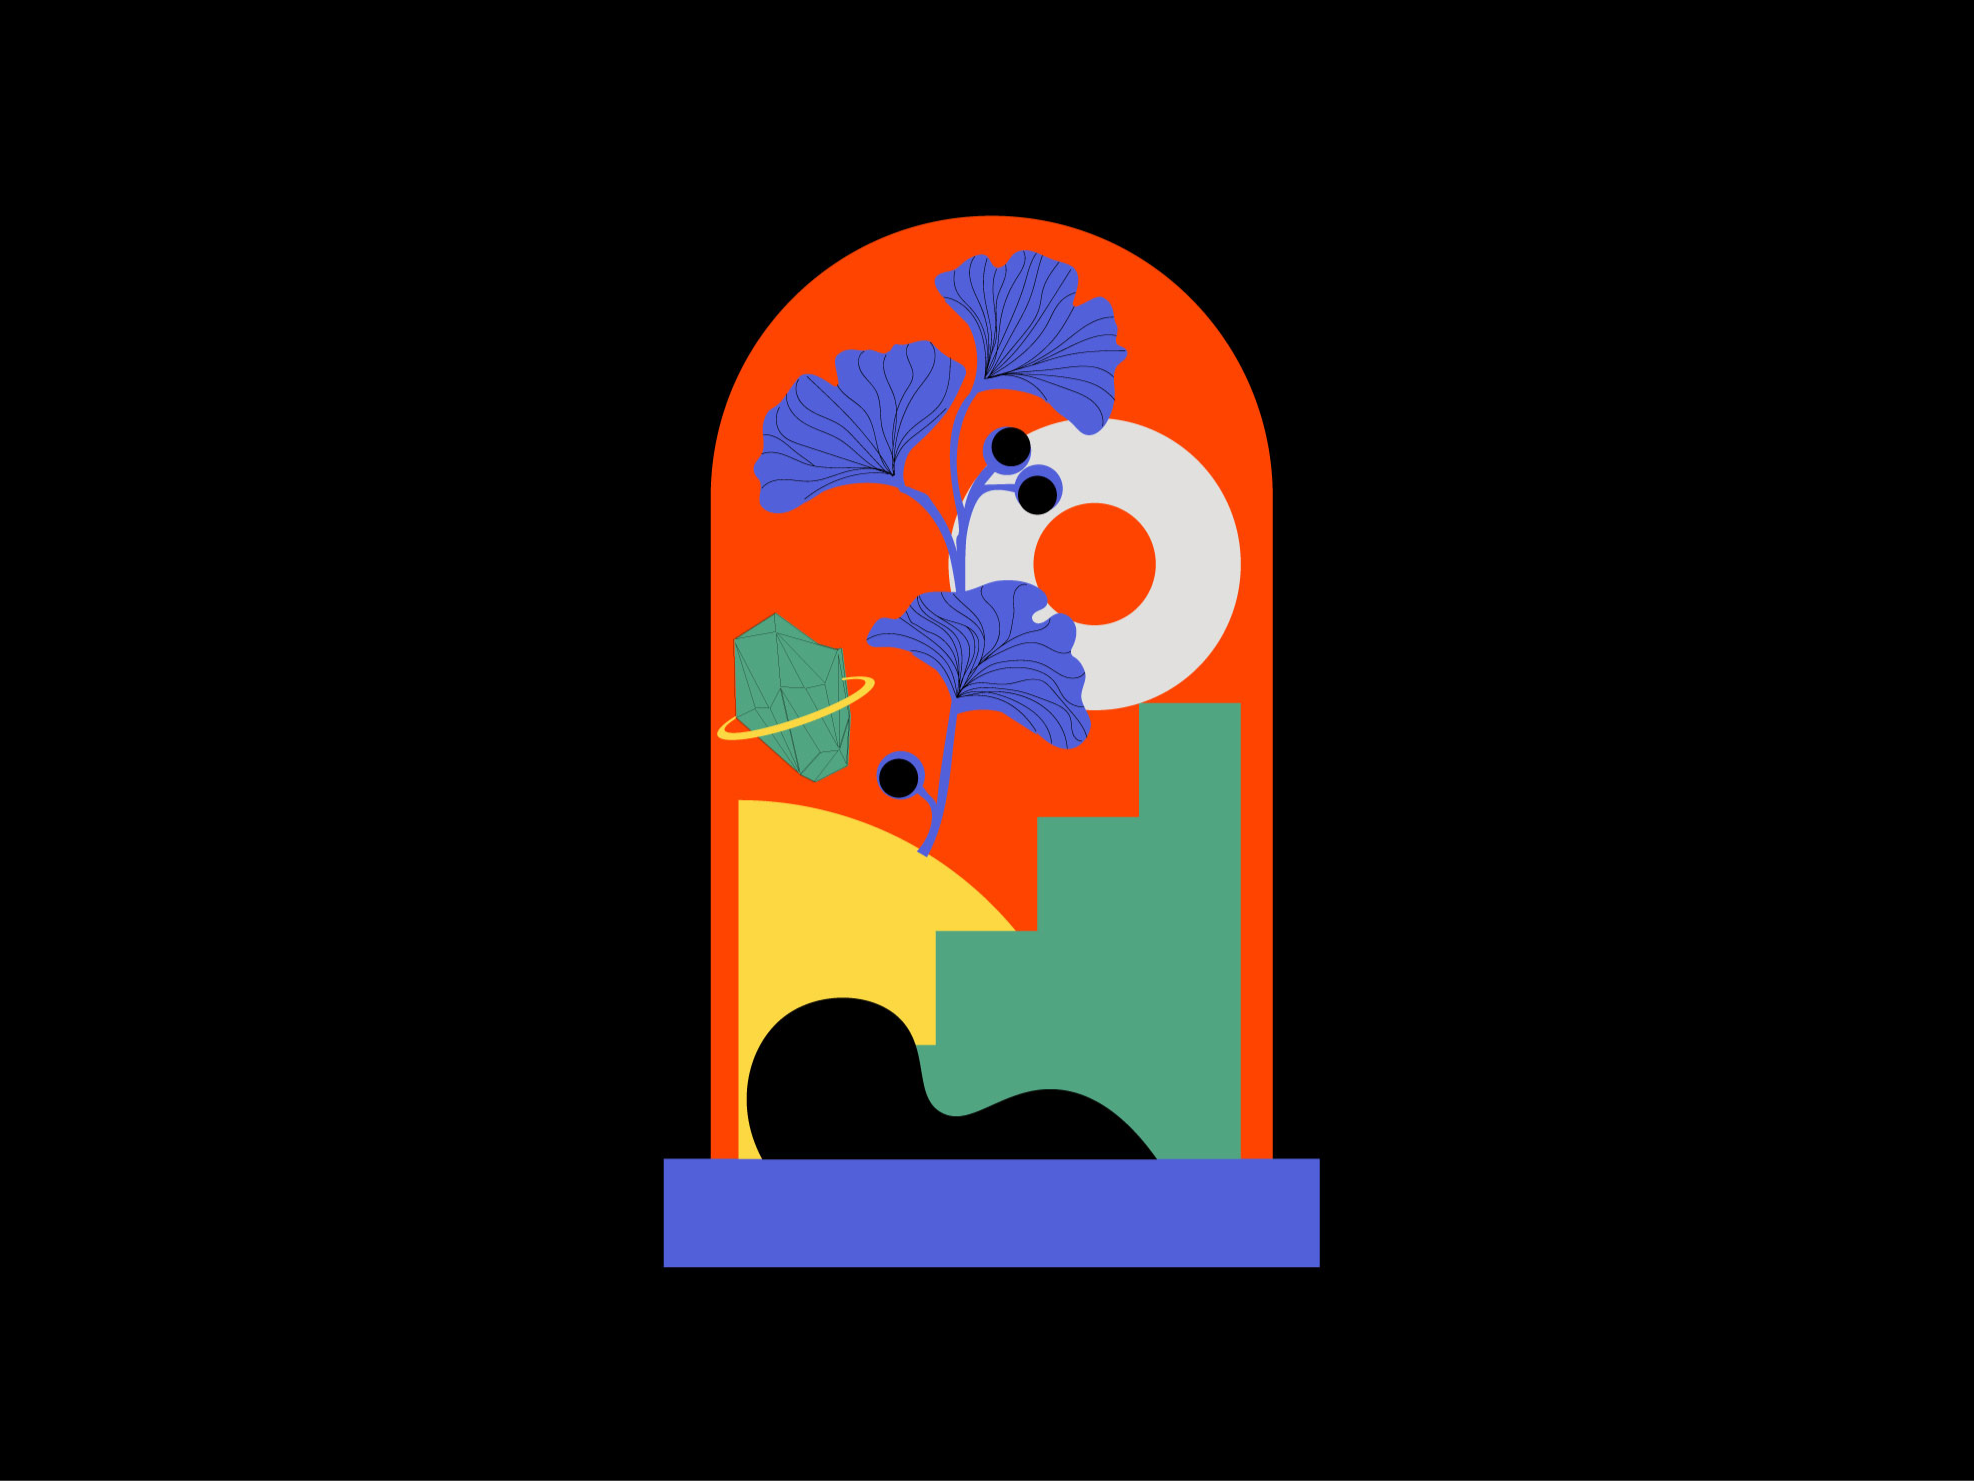
Creating a 2D Design:
Begin by designing your object in Illustrator, using vector graphics for scalability and precision. Export your design as a DXF file for Rhino.
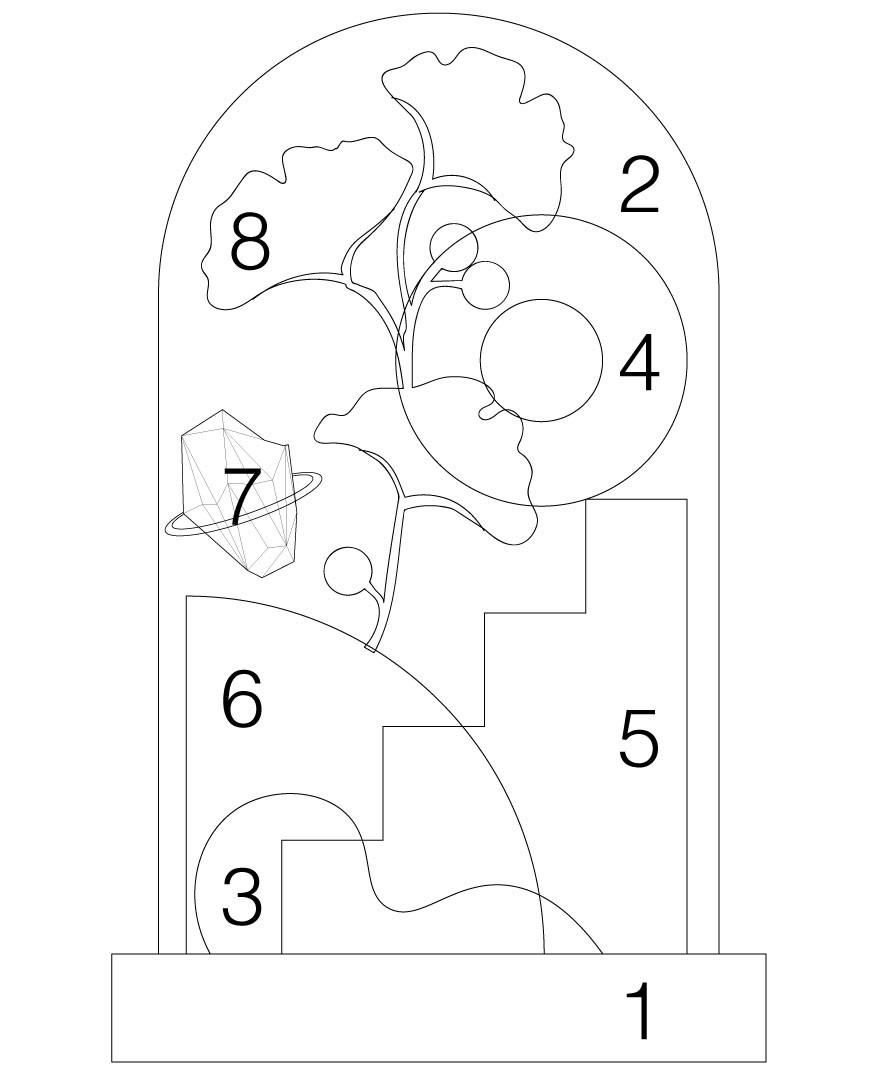
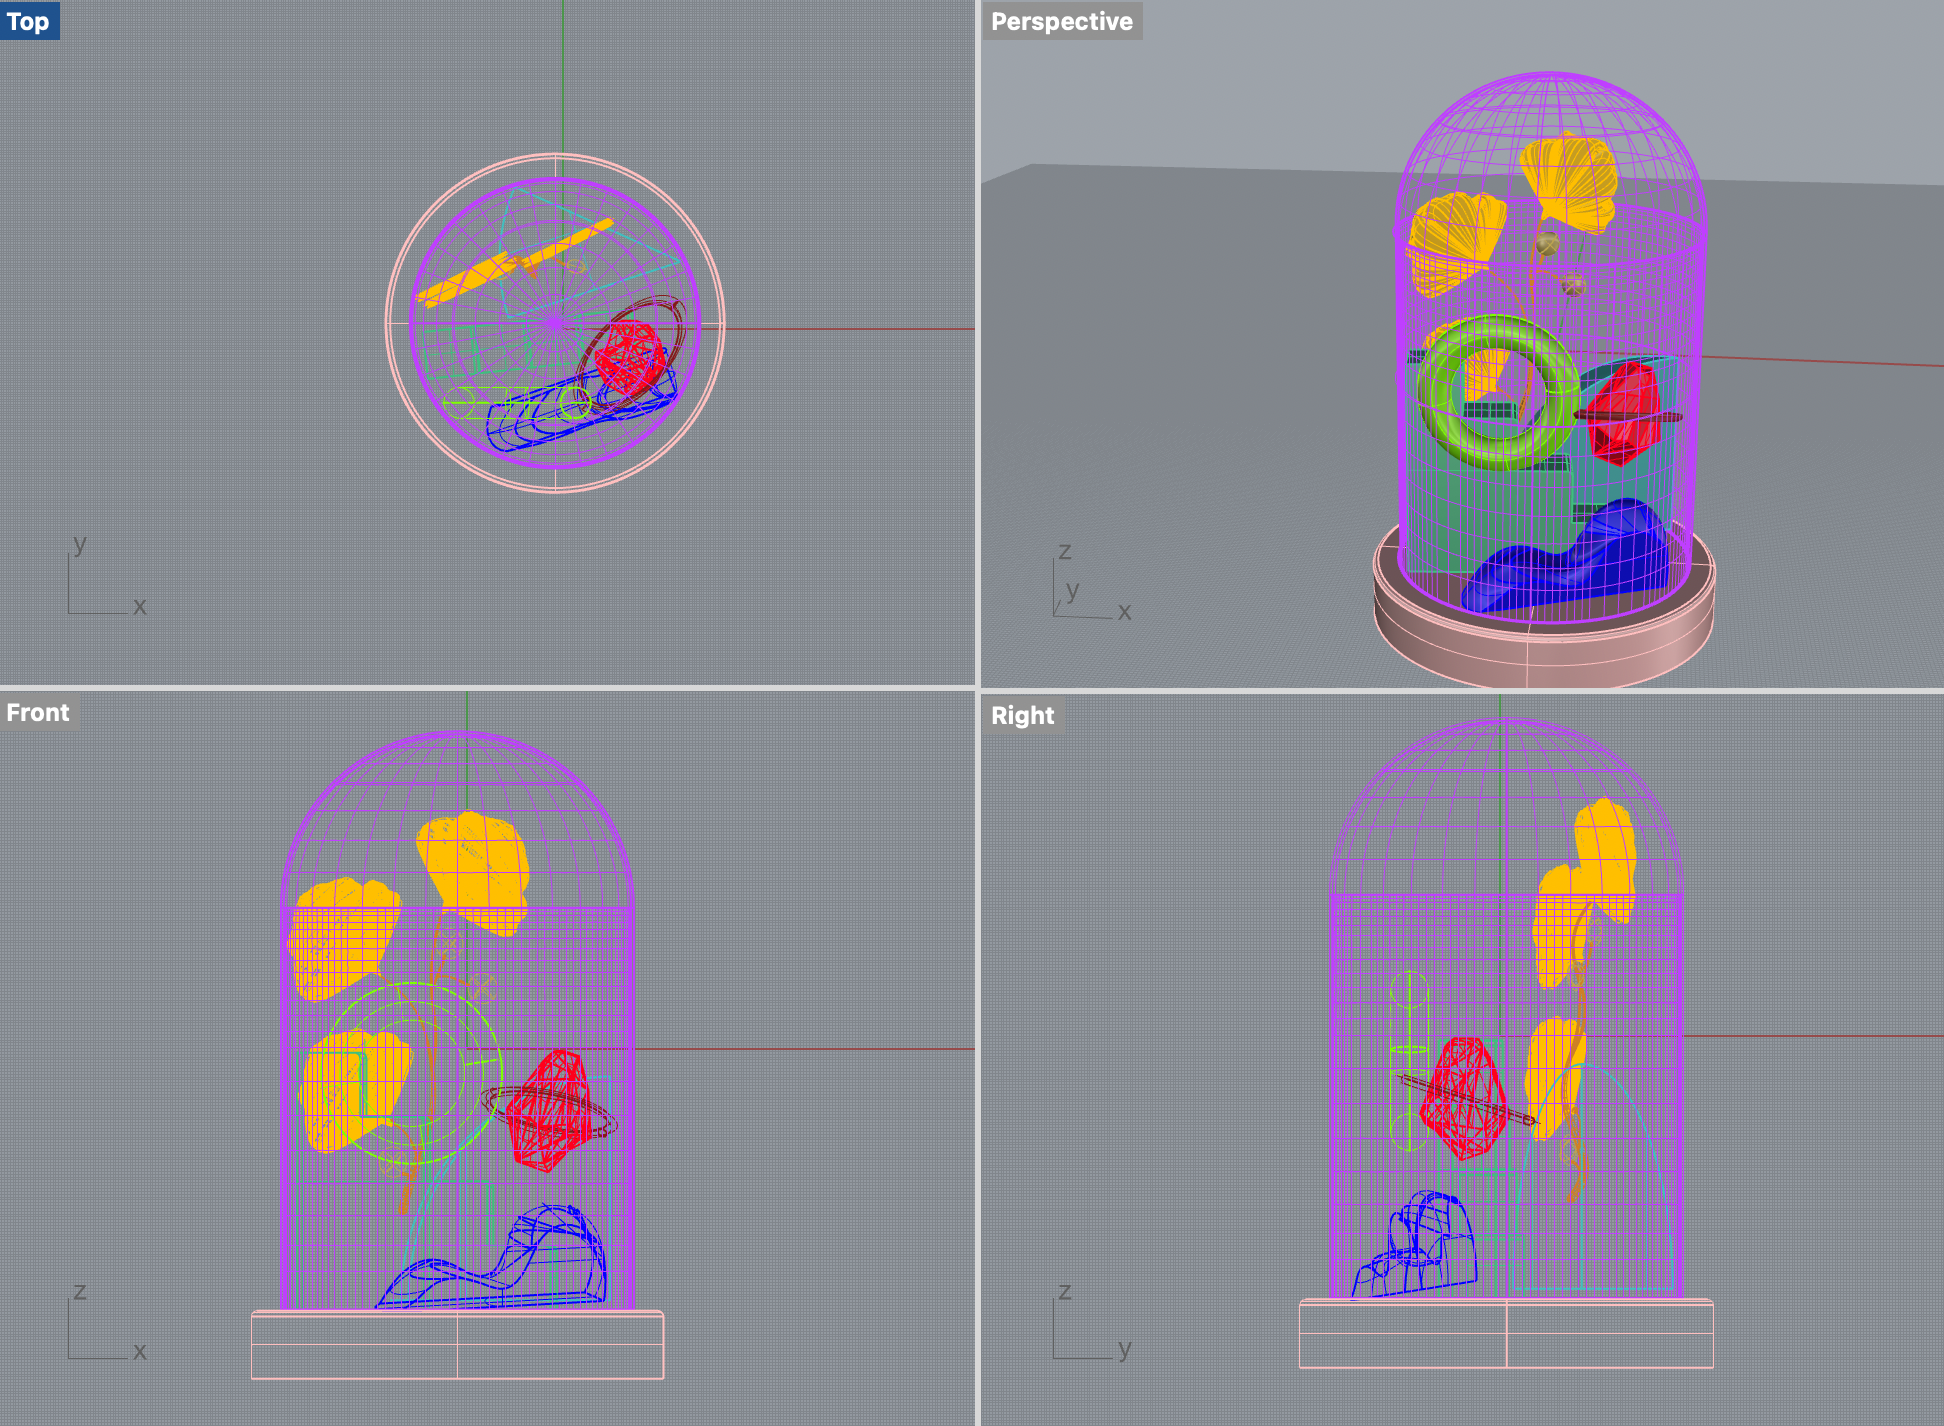
Modeling in Rhino
Base Creation: Start with a flat circle and extrude it into a cylinder for the bell’s base. Round the top edge.
Glass Bell: Use the trim tool to divide the line in the middle and revolve it to create the bell shape. Add an offset for thickness.
Curved Bush: Duplicate the original curve on the Y-plane, modify the two copies for an organic look, and use the loft command.
Adding a Torus: Introduce a simple torus shape into your design.
Creating Stairs: Extrude a stair shape on the Y-plane, close it with the cap command, and fillet corners for a softer appearance.
Quadrant Design: Start with a sphere, add lines, extrude them inward, and trim the shape to achieve the desired look.
Modeling Crystals: Create polygons with varying side numbers, connect them with surfaces from points, and add a ring detail using the loft tool.
Ginkgo Biloba Shape: Design the stem using curves, create pipes with rounded corners, and modify leaves for a natural appearance.
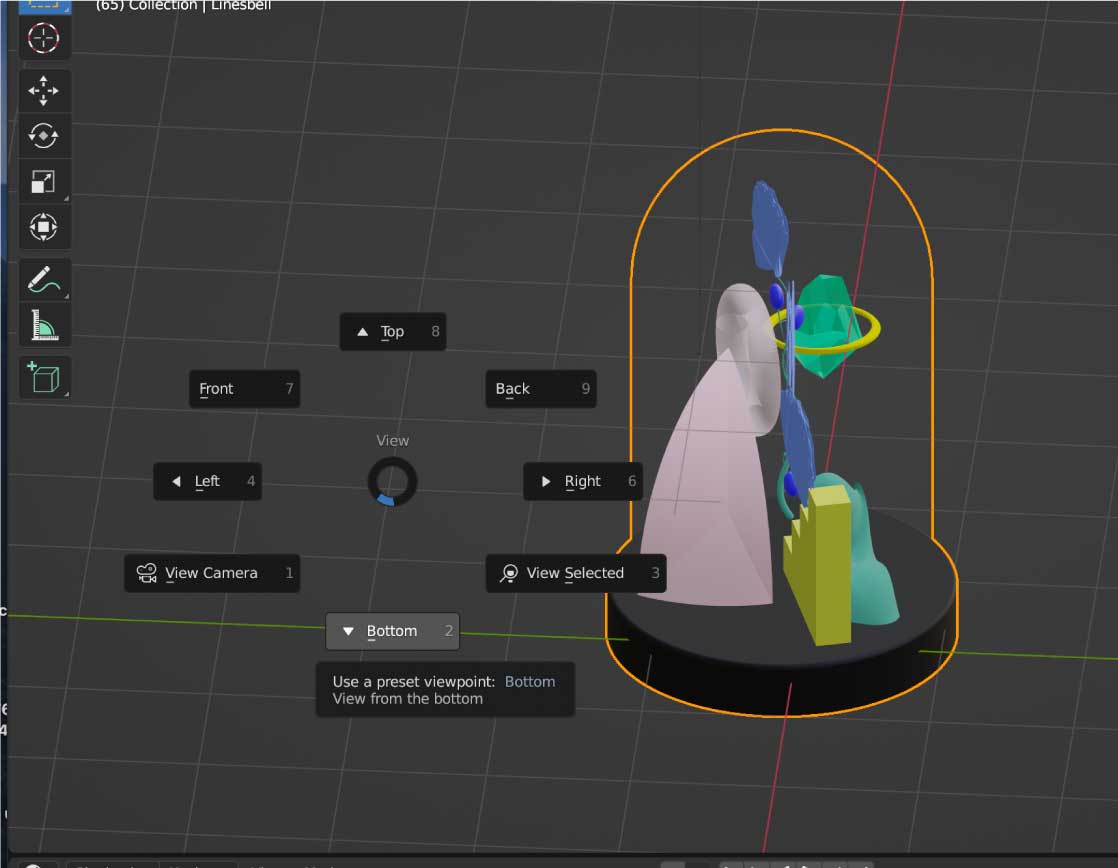
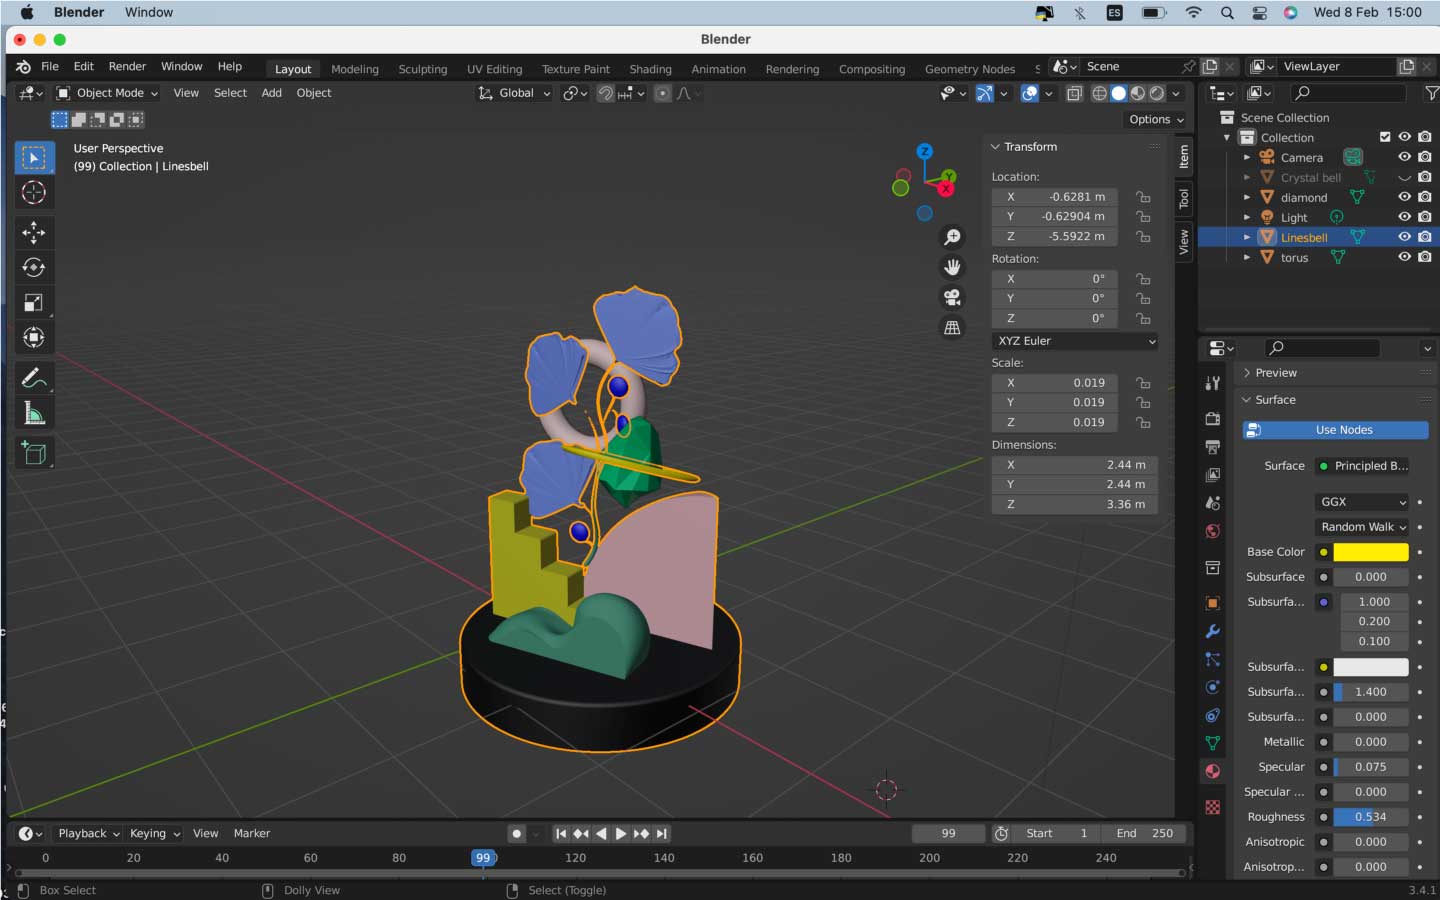
Step 03.
Exploring Blender for Final Rendering
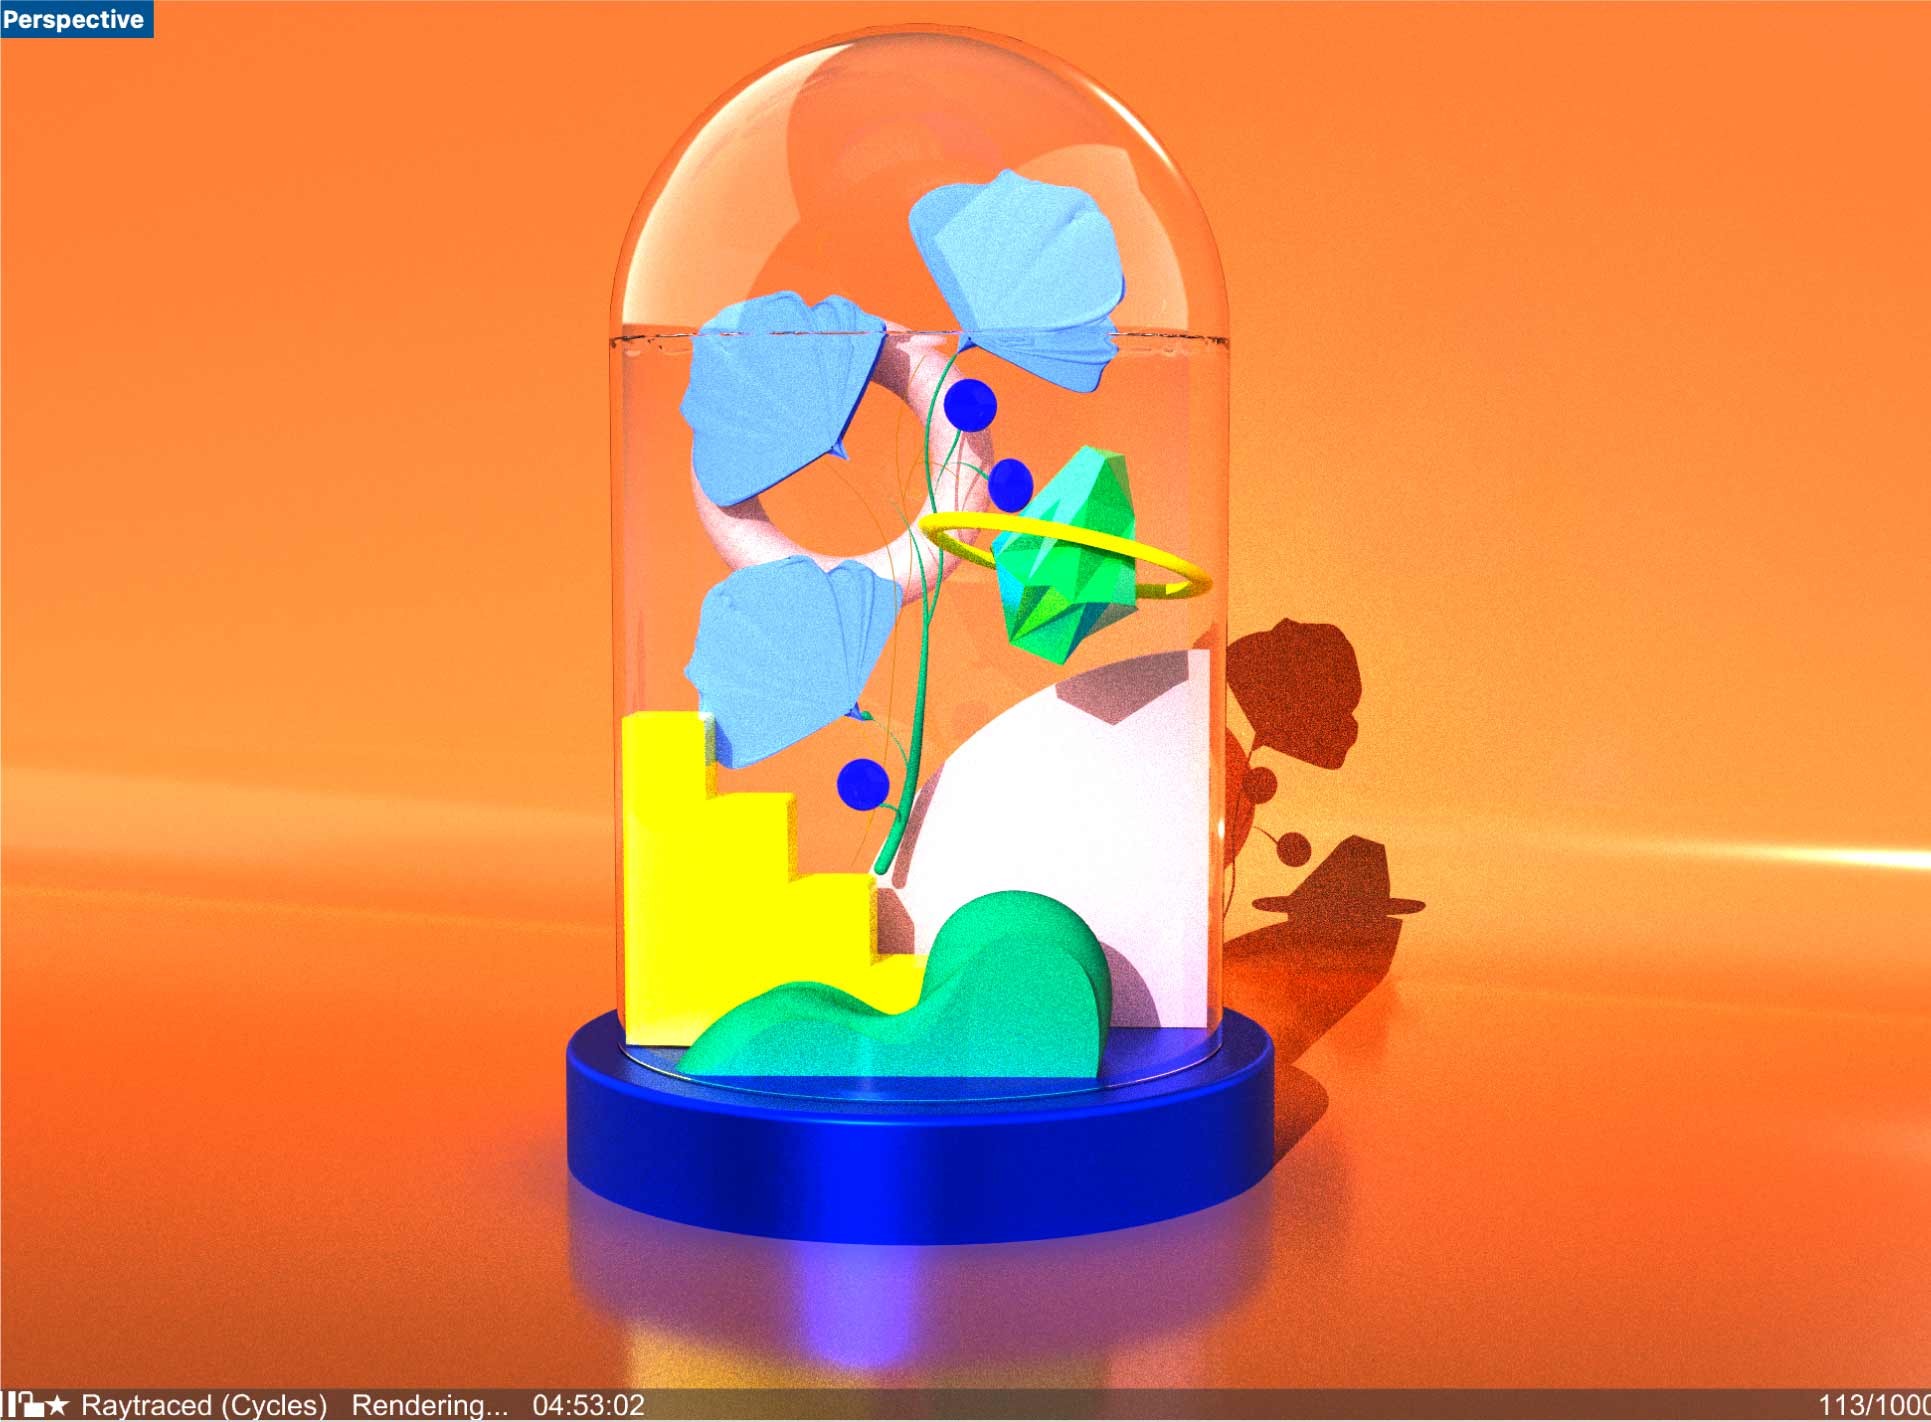
Introduction to Blender:
Blender is a powerful open-source platform for 3D modeling and rendering. Start with introductory videos, like those from Blender Guru, to familiarize yourself with the interface and tools.
Learning Keyboard Shortcuts:
Understanding keyboard shortcuts is crucial for efficient navigation in Blender. Key shortcuts to remember include: