Artisanal Circuit
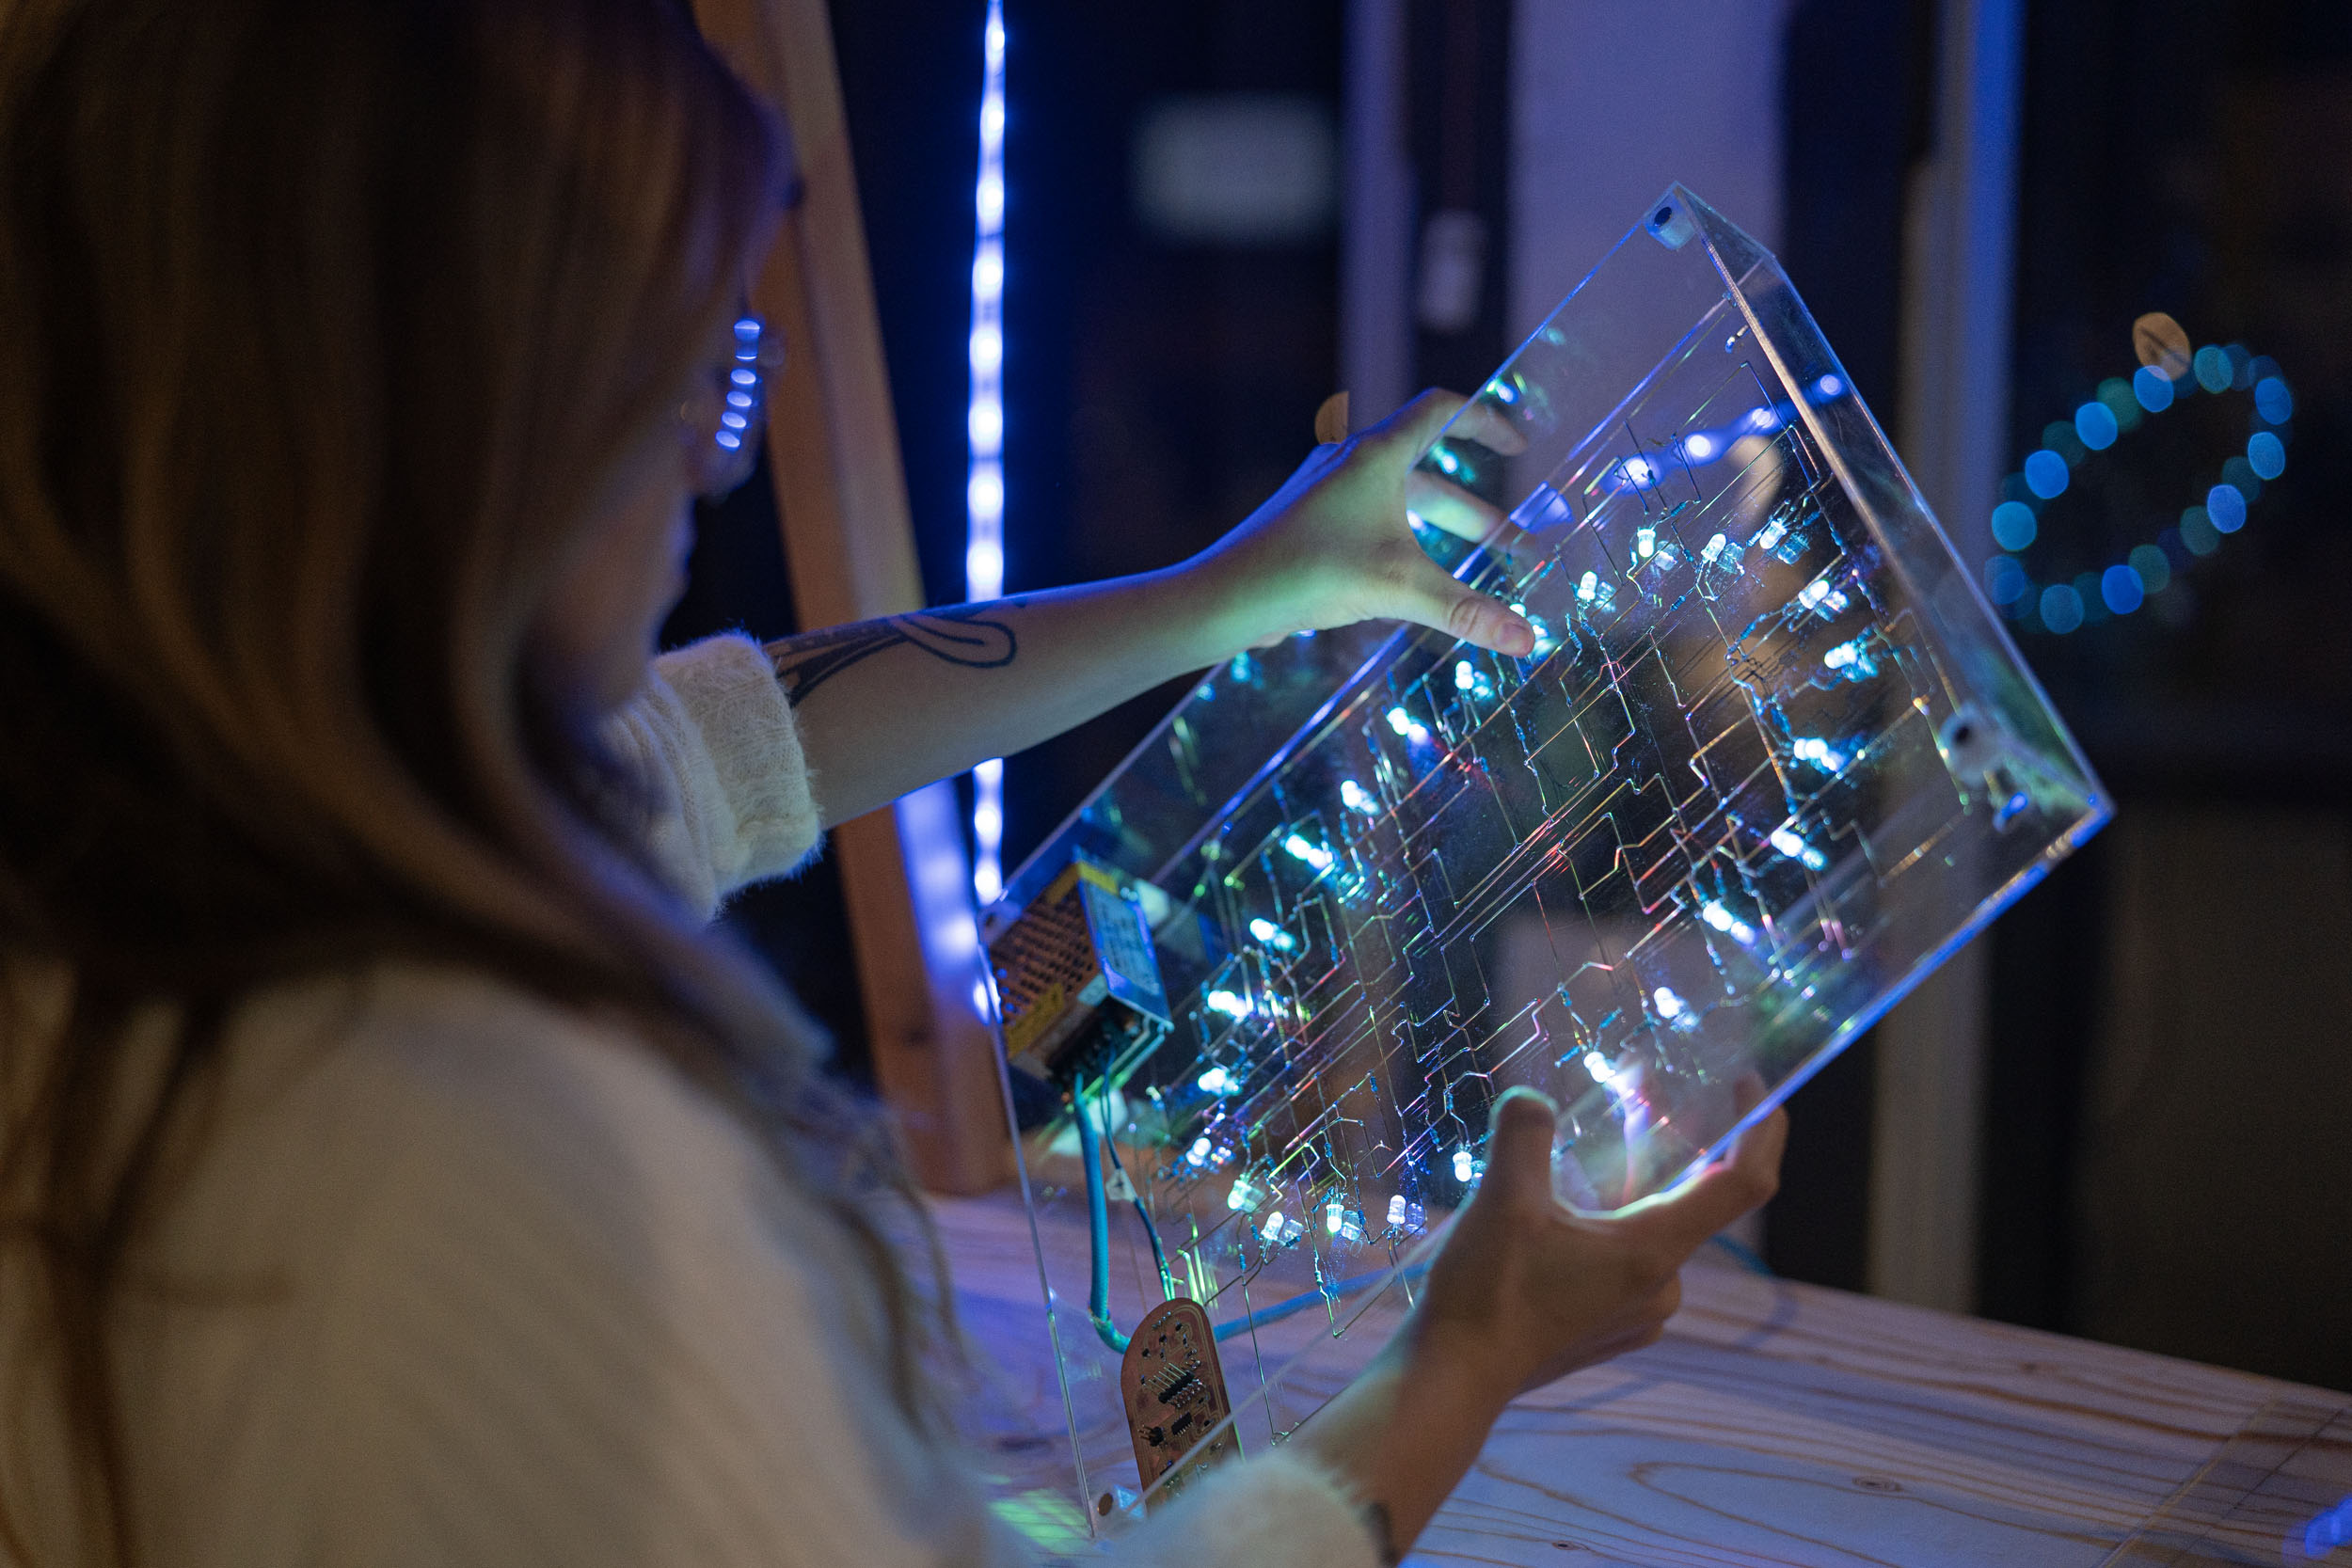
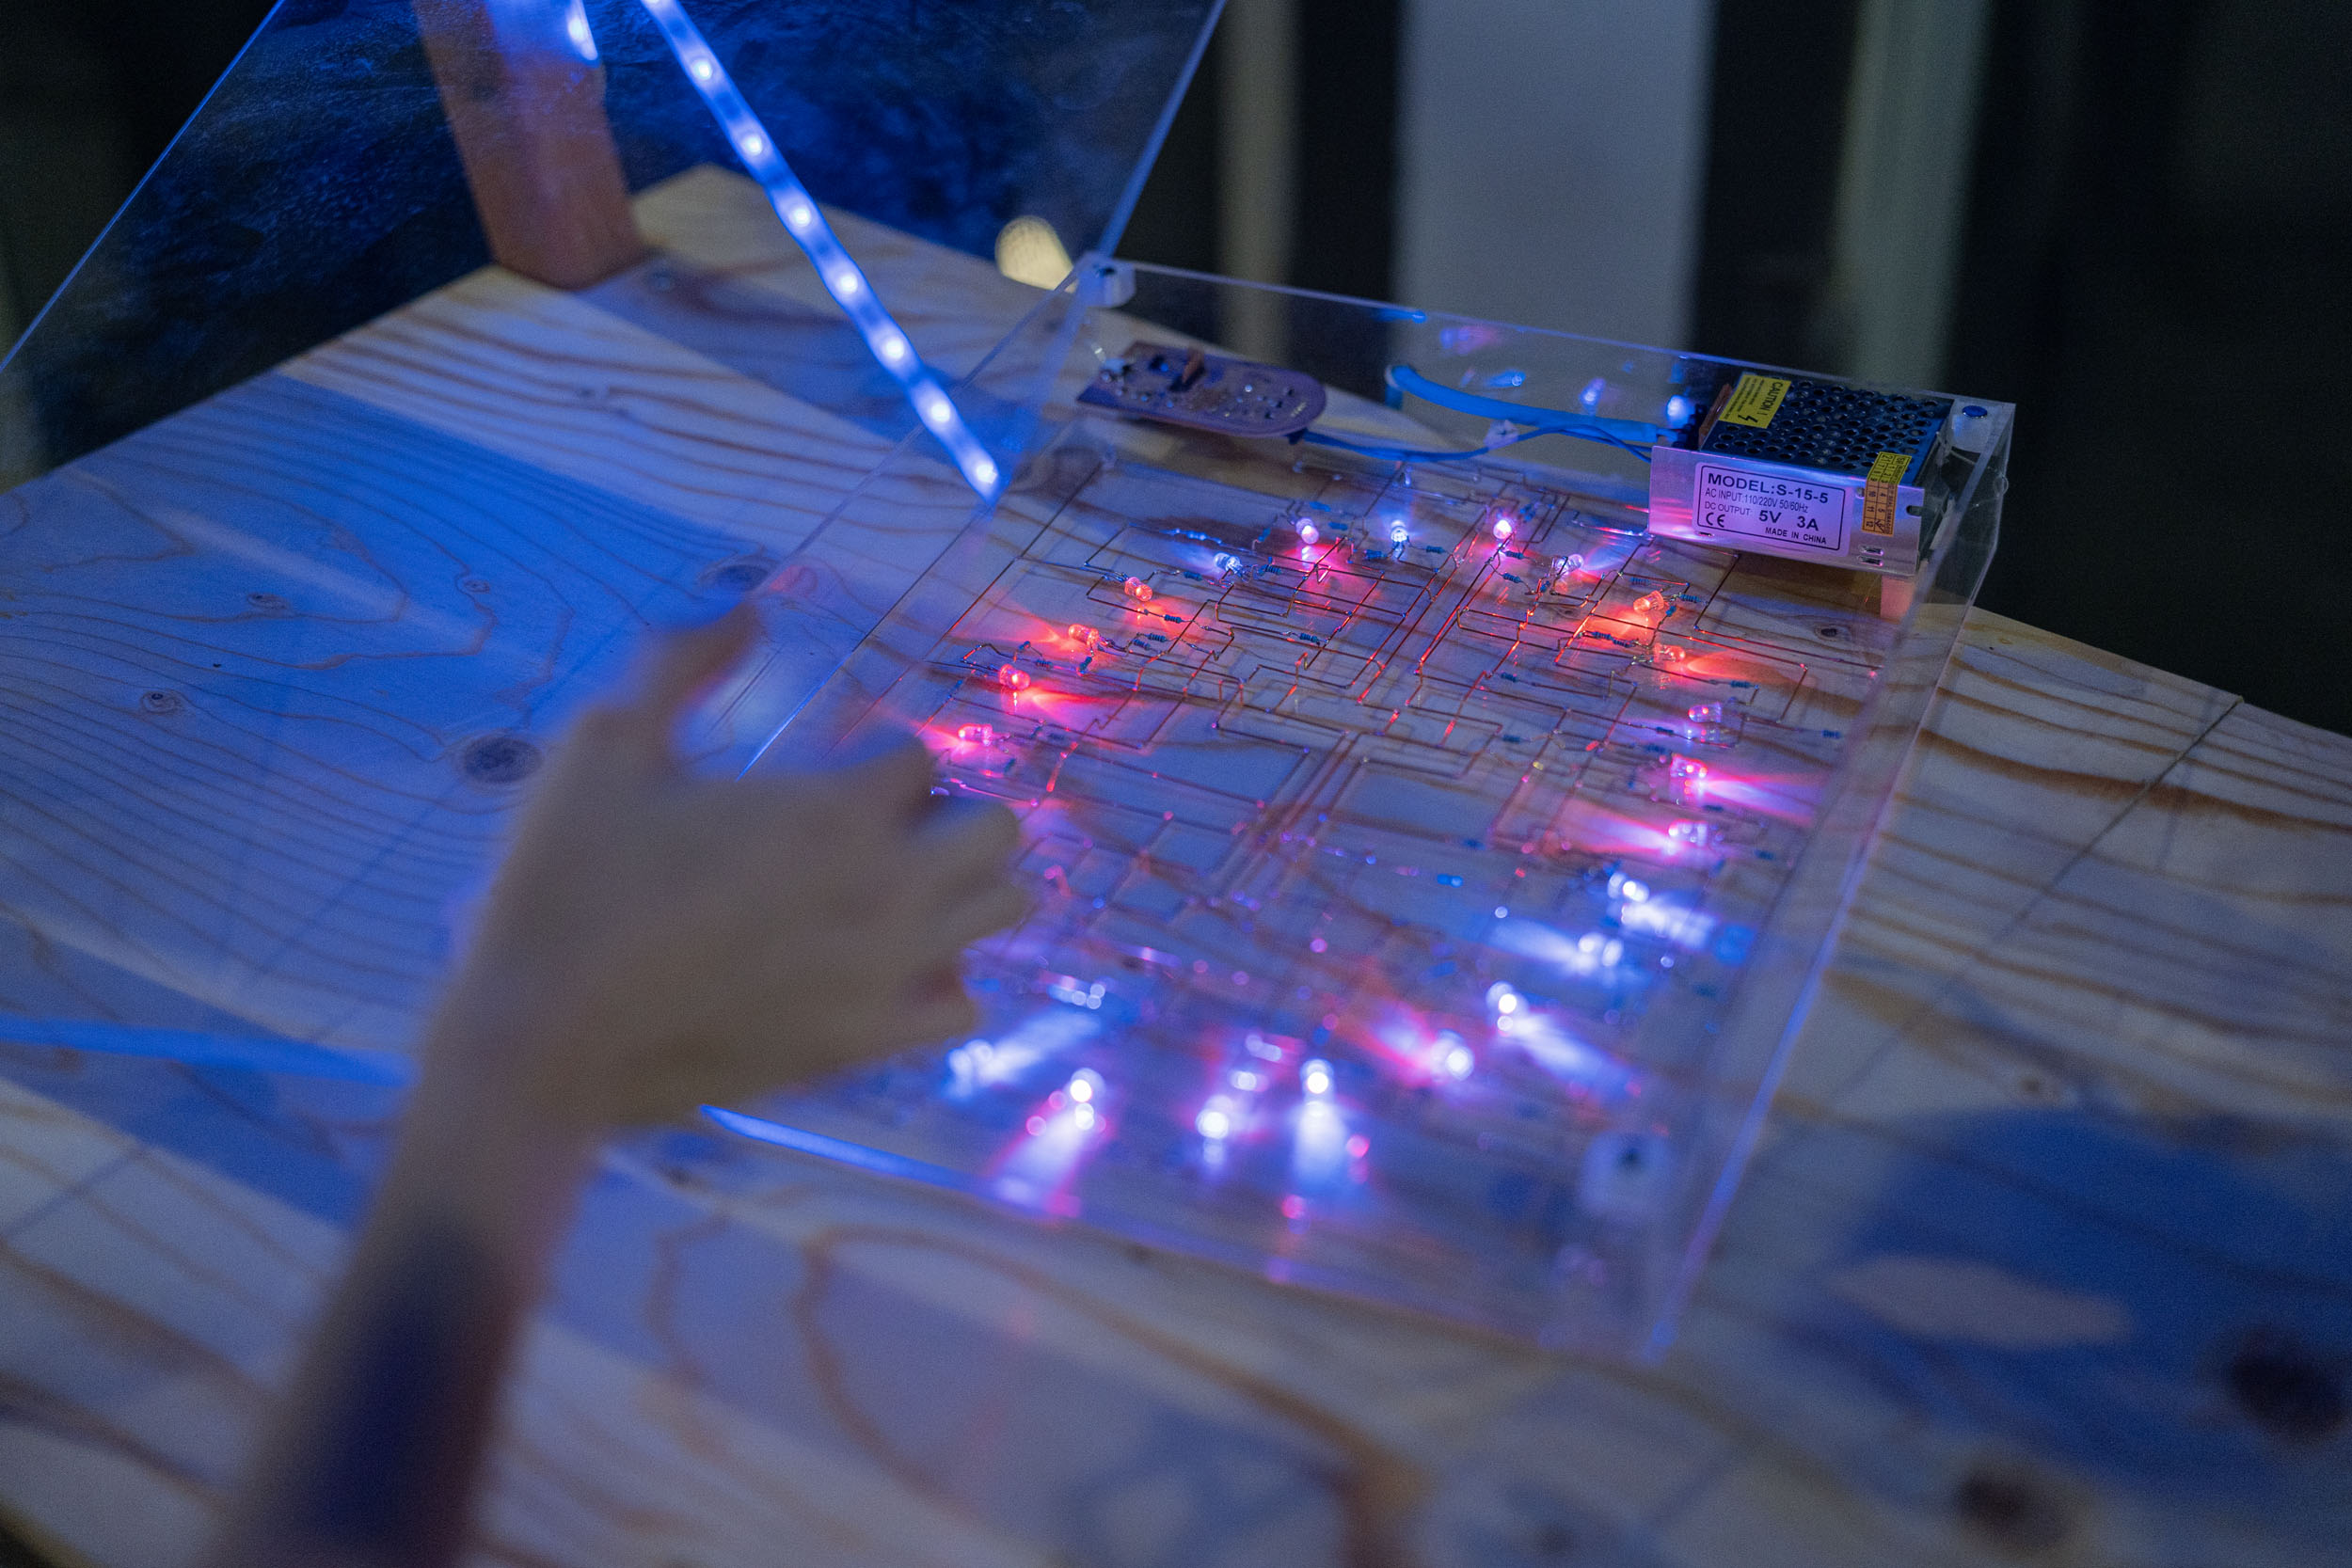
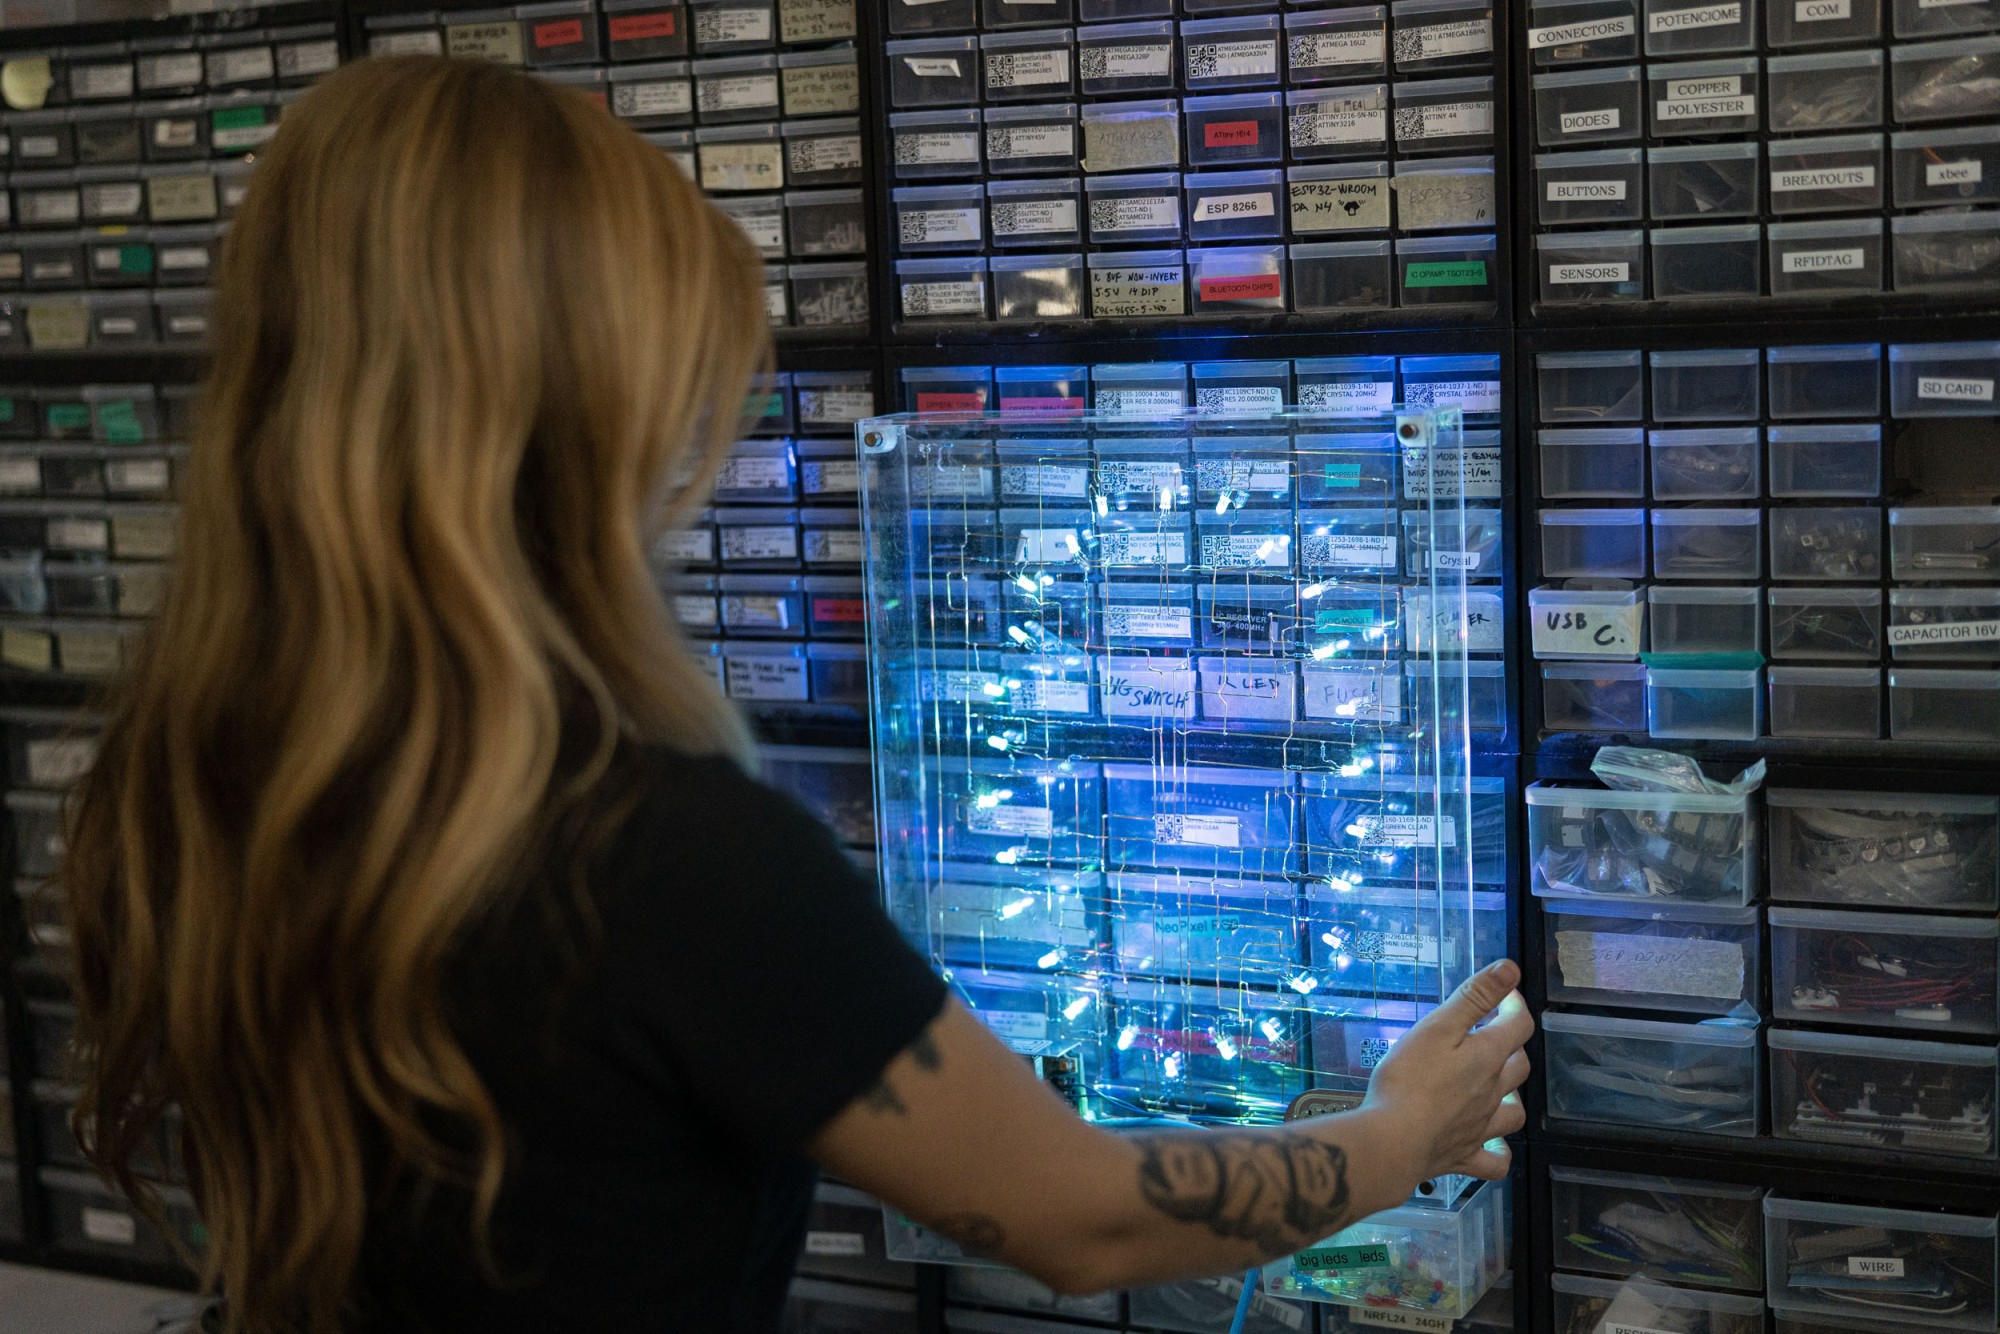
The "Artisanal Circuit" is an electronic sculpture that blends traditional craftsmanship with modern digital techniques. It consists of freeform wiring, RGB LEDs, and a light sensor, creating an interactive artwork that reacts to ambient light. The piece demonstrates how contrasting concepts can coexist, merging artistic expression with functional electronics.
Steps
- Step 01. Planning
- Step 02. Prototyping
- Step 03. PCB Design and Fabrication
- Step 04. Programming the Microcontroller
- Step 05. Designing the Sculpture
- Step 06. Creating a Wooden Guide
- Step 07. Assembly
- Step 08. Final Programming
- Step 09. Building the Case
- Difficulty
- 9
- Tools
- KiCad
- Rhino
- Illustrator
- Arduino IDE
- Mods
- CNC Software
- 3D Printer Software
- Laser Cutter Software
- Terminal/Command Line Tools
- Multimeter
- Materials
- Wood: A3 3mm plywood sheet
- Electronics: RGB LEDs, resistors, voltage regulator, USB mini, etc.
- Others: Brass copper tubes, masking tape, blue fabric cable
- Duration
- 4 h
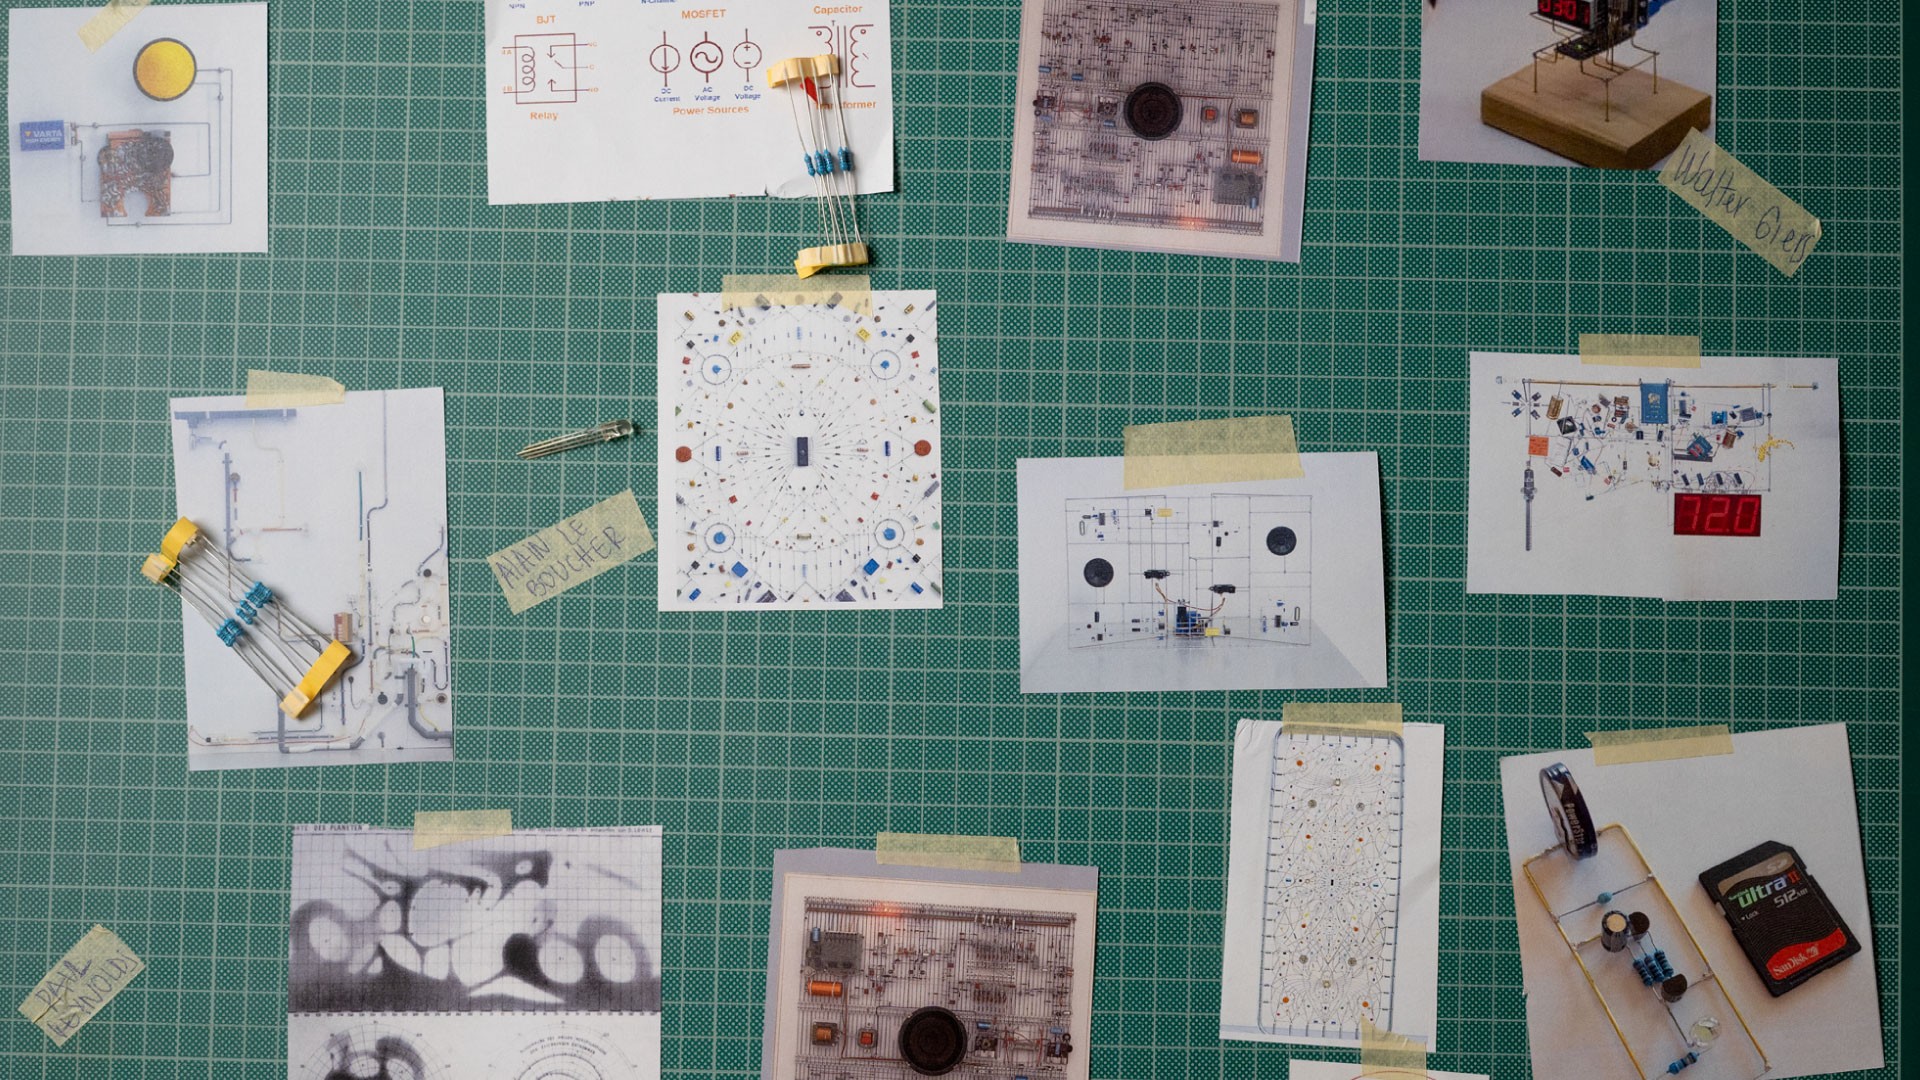
Step 01.
Planning
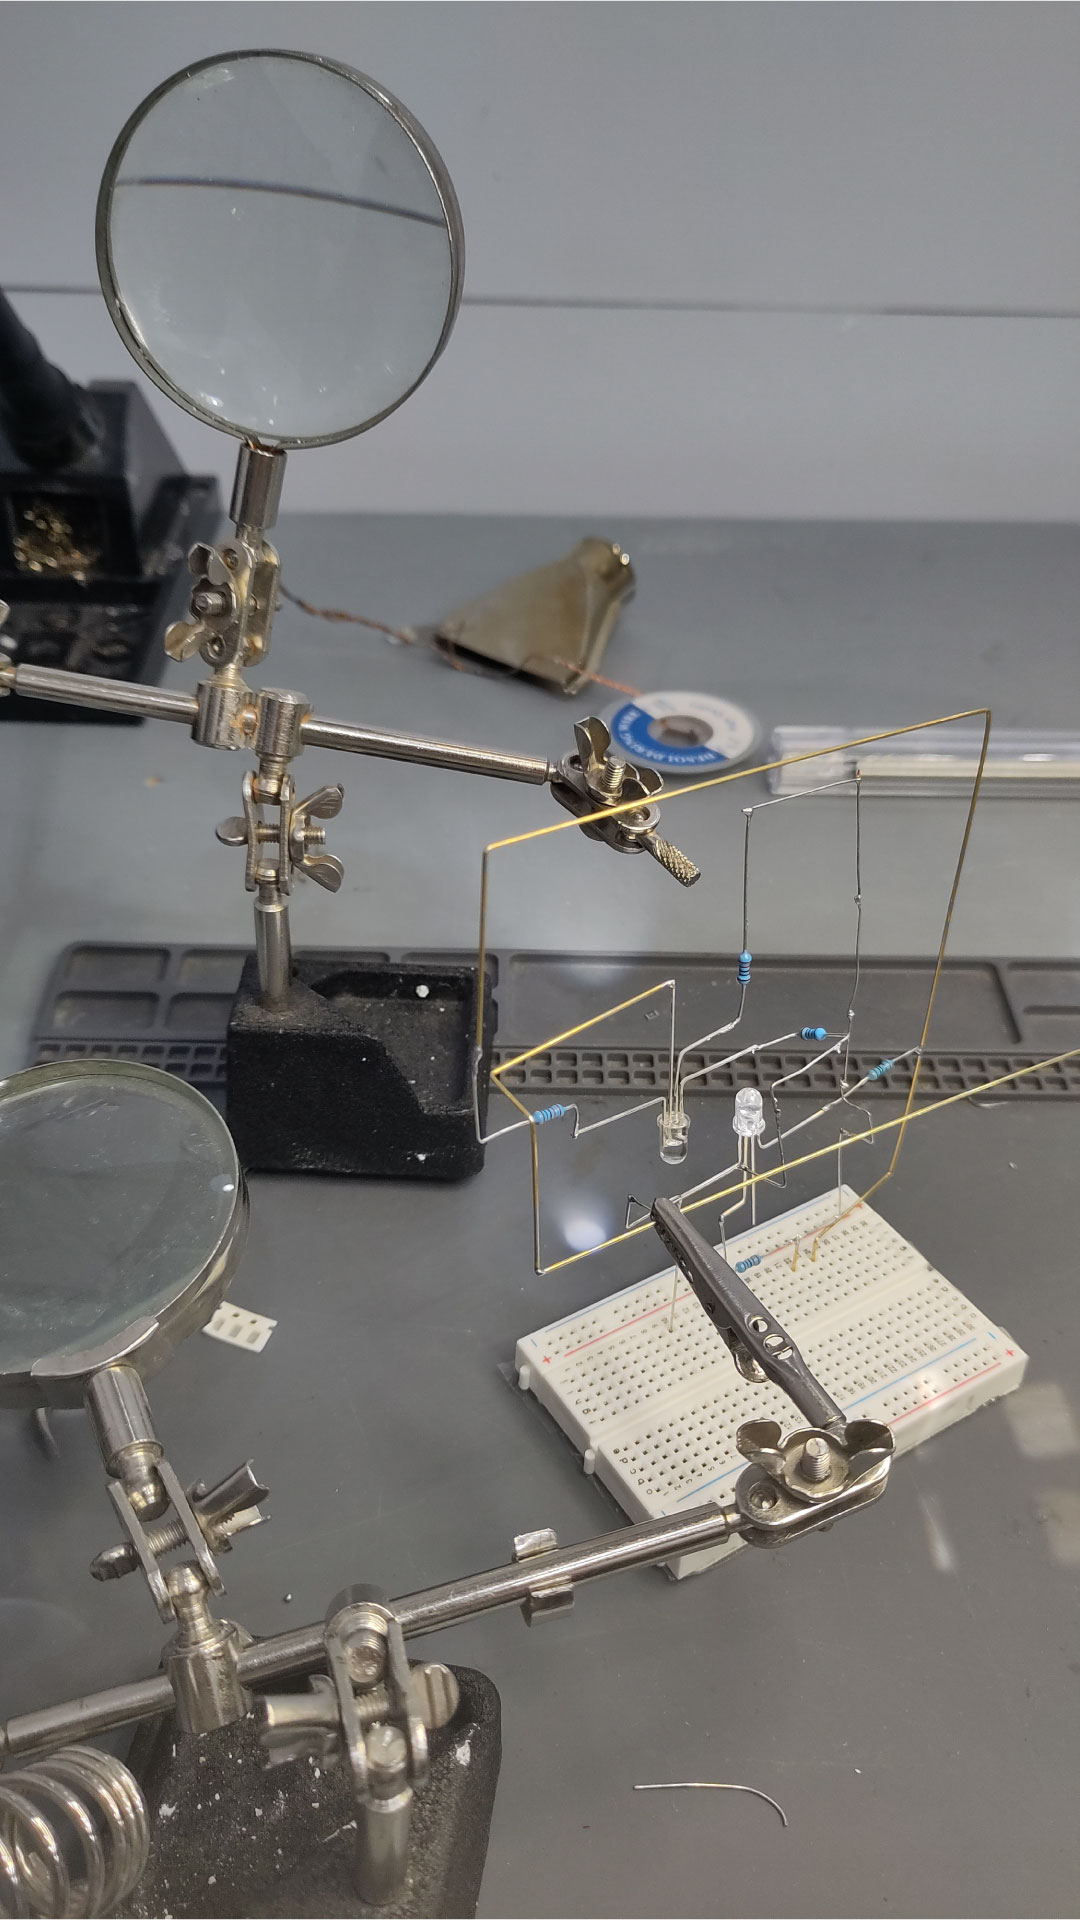
Step 02.
Prototyping
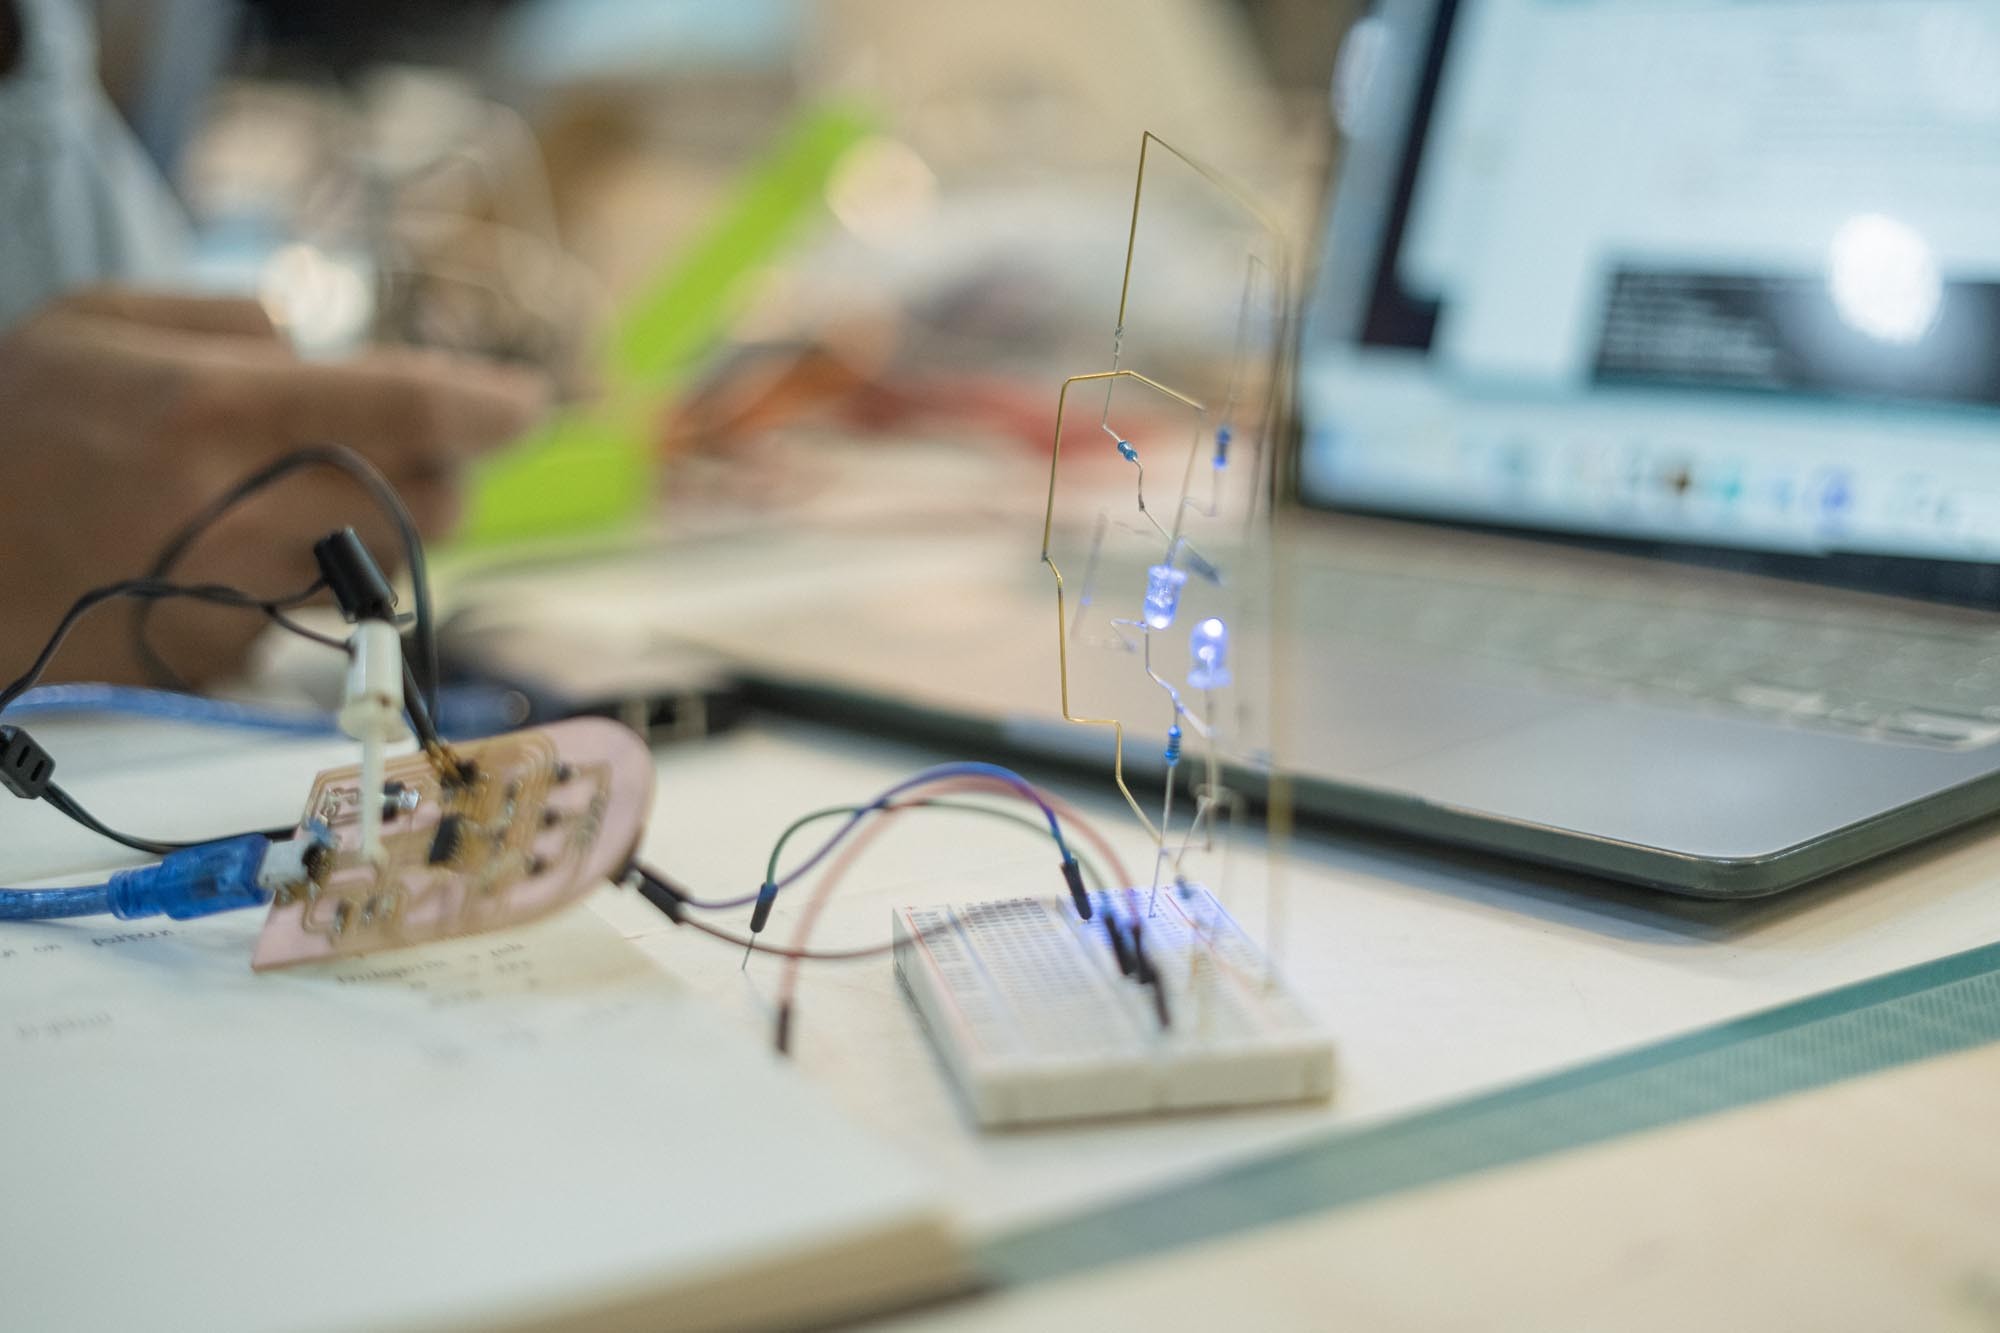
Start with a simple prototype using a breadboard:
Use two RGB LEDs and connect each one with a corresponding resistor.
Test connections and practice soldering wires in the air, ensuring connections don’t touch.
Choose appropriate resistor values: typically, 220 ohms for green and blue, and 330 ohms for red.

Step 03.
PCB Design and Fabrication
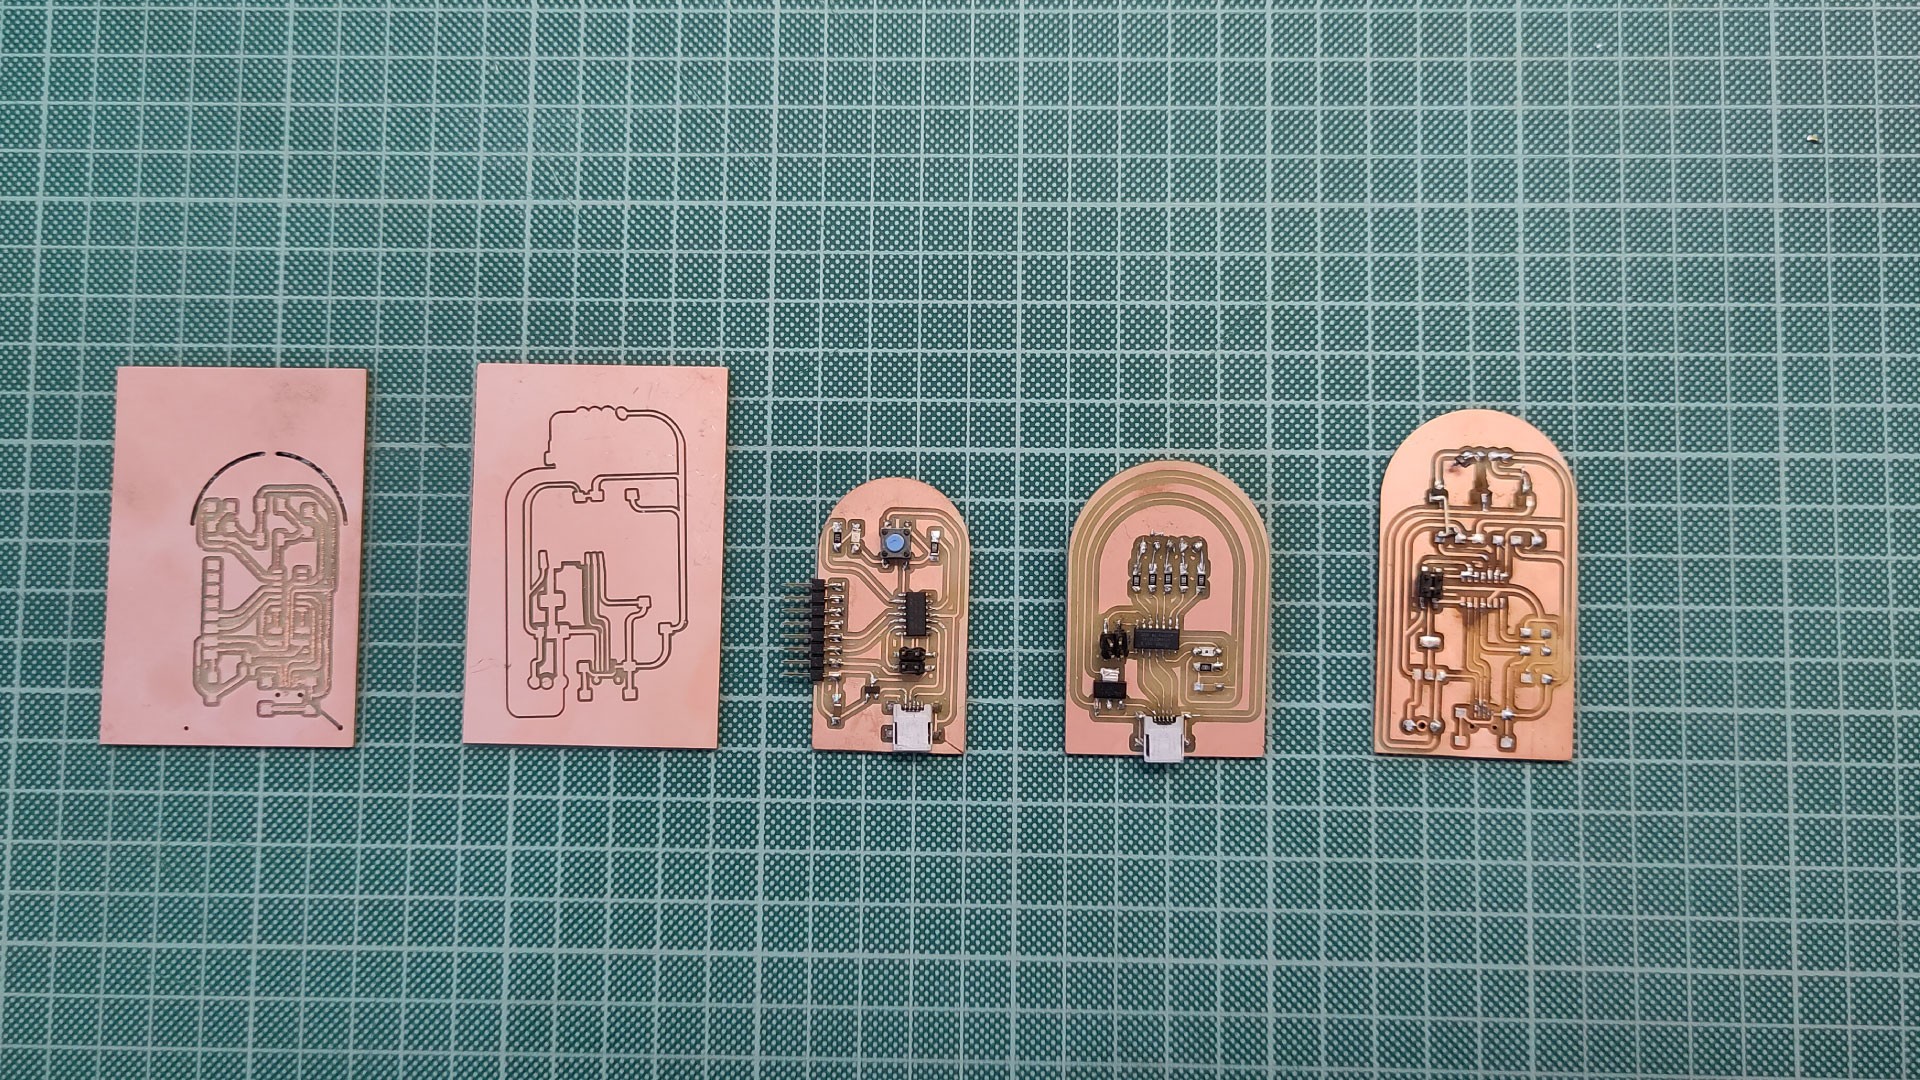
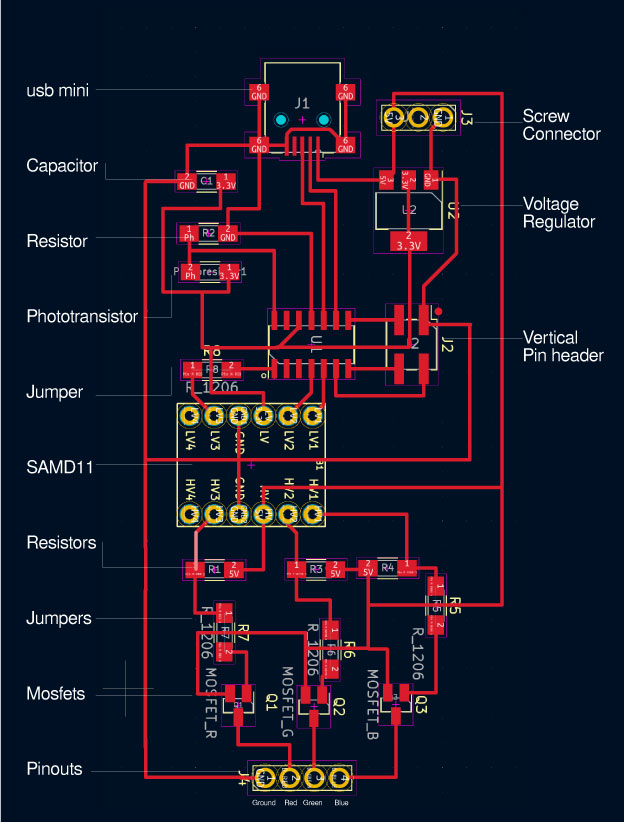
Design the circuit board using KiCad:
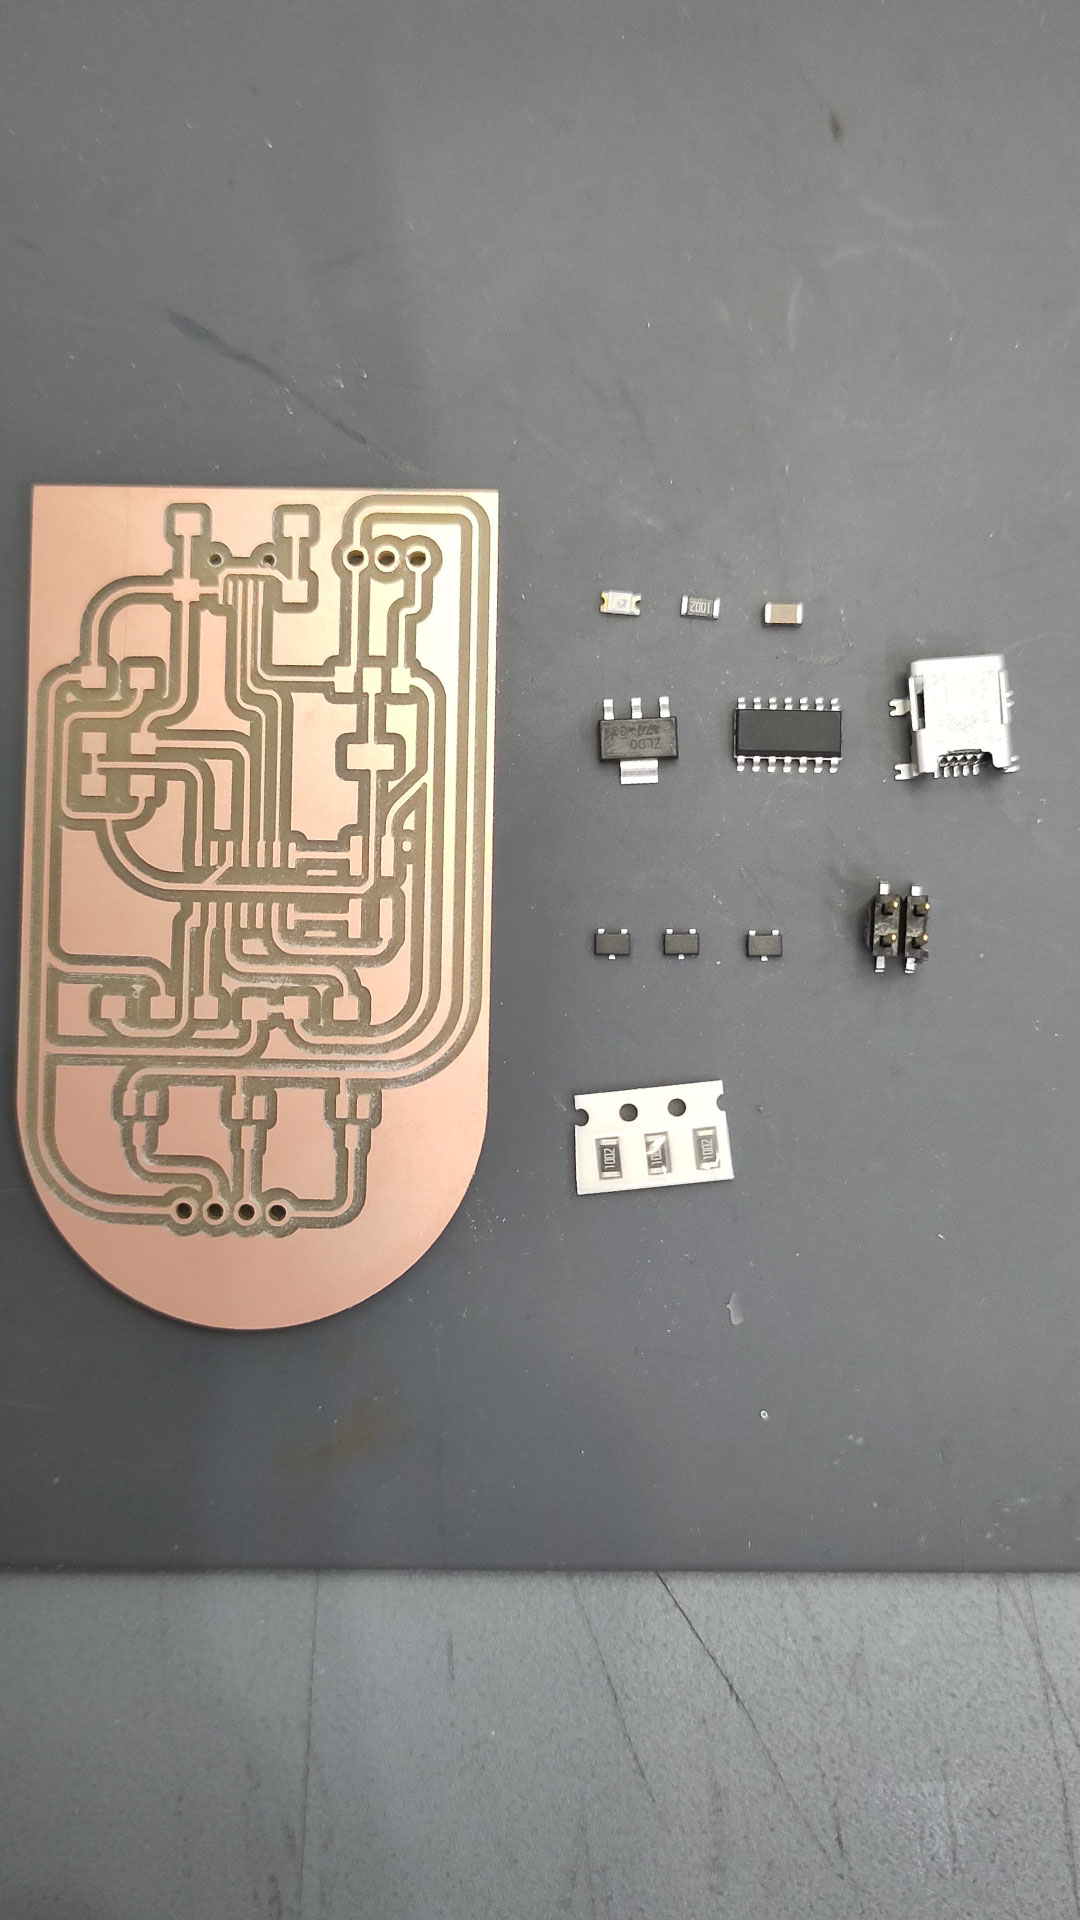
Choose a microcontroller (SAMD11), a voltage regulator, and other necessary components (photoresistor, MOSFETs, etc.).
Create traces, outlines, and holes for the board, considering component placement.
Cut the PCB using a CNC machine. Use different end mills for traces (1/64) and outlines/holes (1/32).
Solder components onto the board and test connections with a multimeter.
Bill of Materials
2D and 3D design A3 3mm Plywood sheet: 3€ A3 3mm Plywood sheet: 20€ Electronics 26 RGB Leds: 25,56€ 52 220ohms resistors: 15,16€(0.30€ each) 26 220ohms resistors: 10,4€(0.40€ each) USB mini: 0.57€ Multilayer Ceramic Capacitor: 0.11€ ATSAMD10D13A-SSUT: 1.62€ 4 Resistors: 0.44€ 3 Mosfets: 0.57€ Screw Connector: 2.20€ Voltage Regulator: 0.79€ Screw Connector: 2.20€ Vertical Pin header: 0.82€ Others Blue cable fabric: 9.9€ 2A Single Pole Switch Mounted Transparent: 1.95€ Masking tape: 2€ 100 pieces Multi Hole Brass Copper Tubes(0.8mmX400mm):5,05€
Step 04.
Programming the Microcontroller

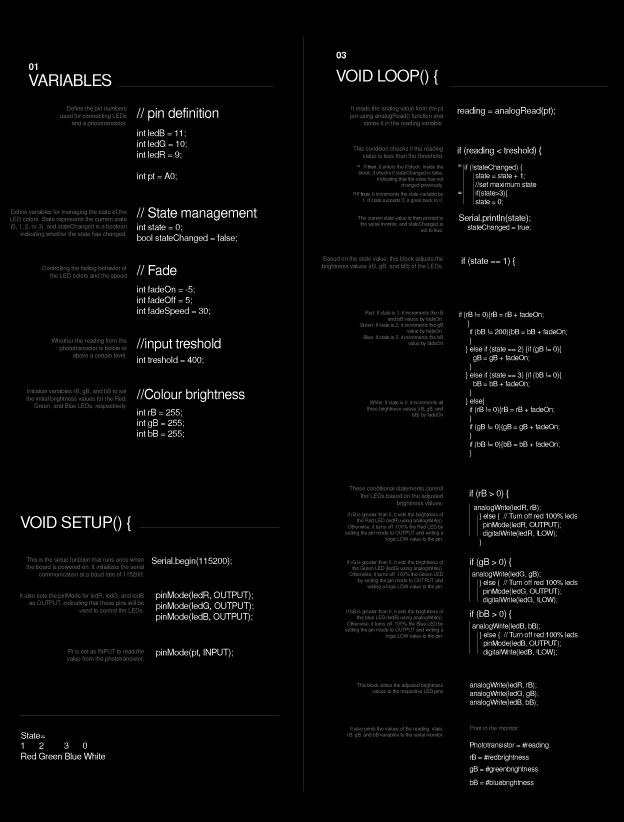
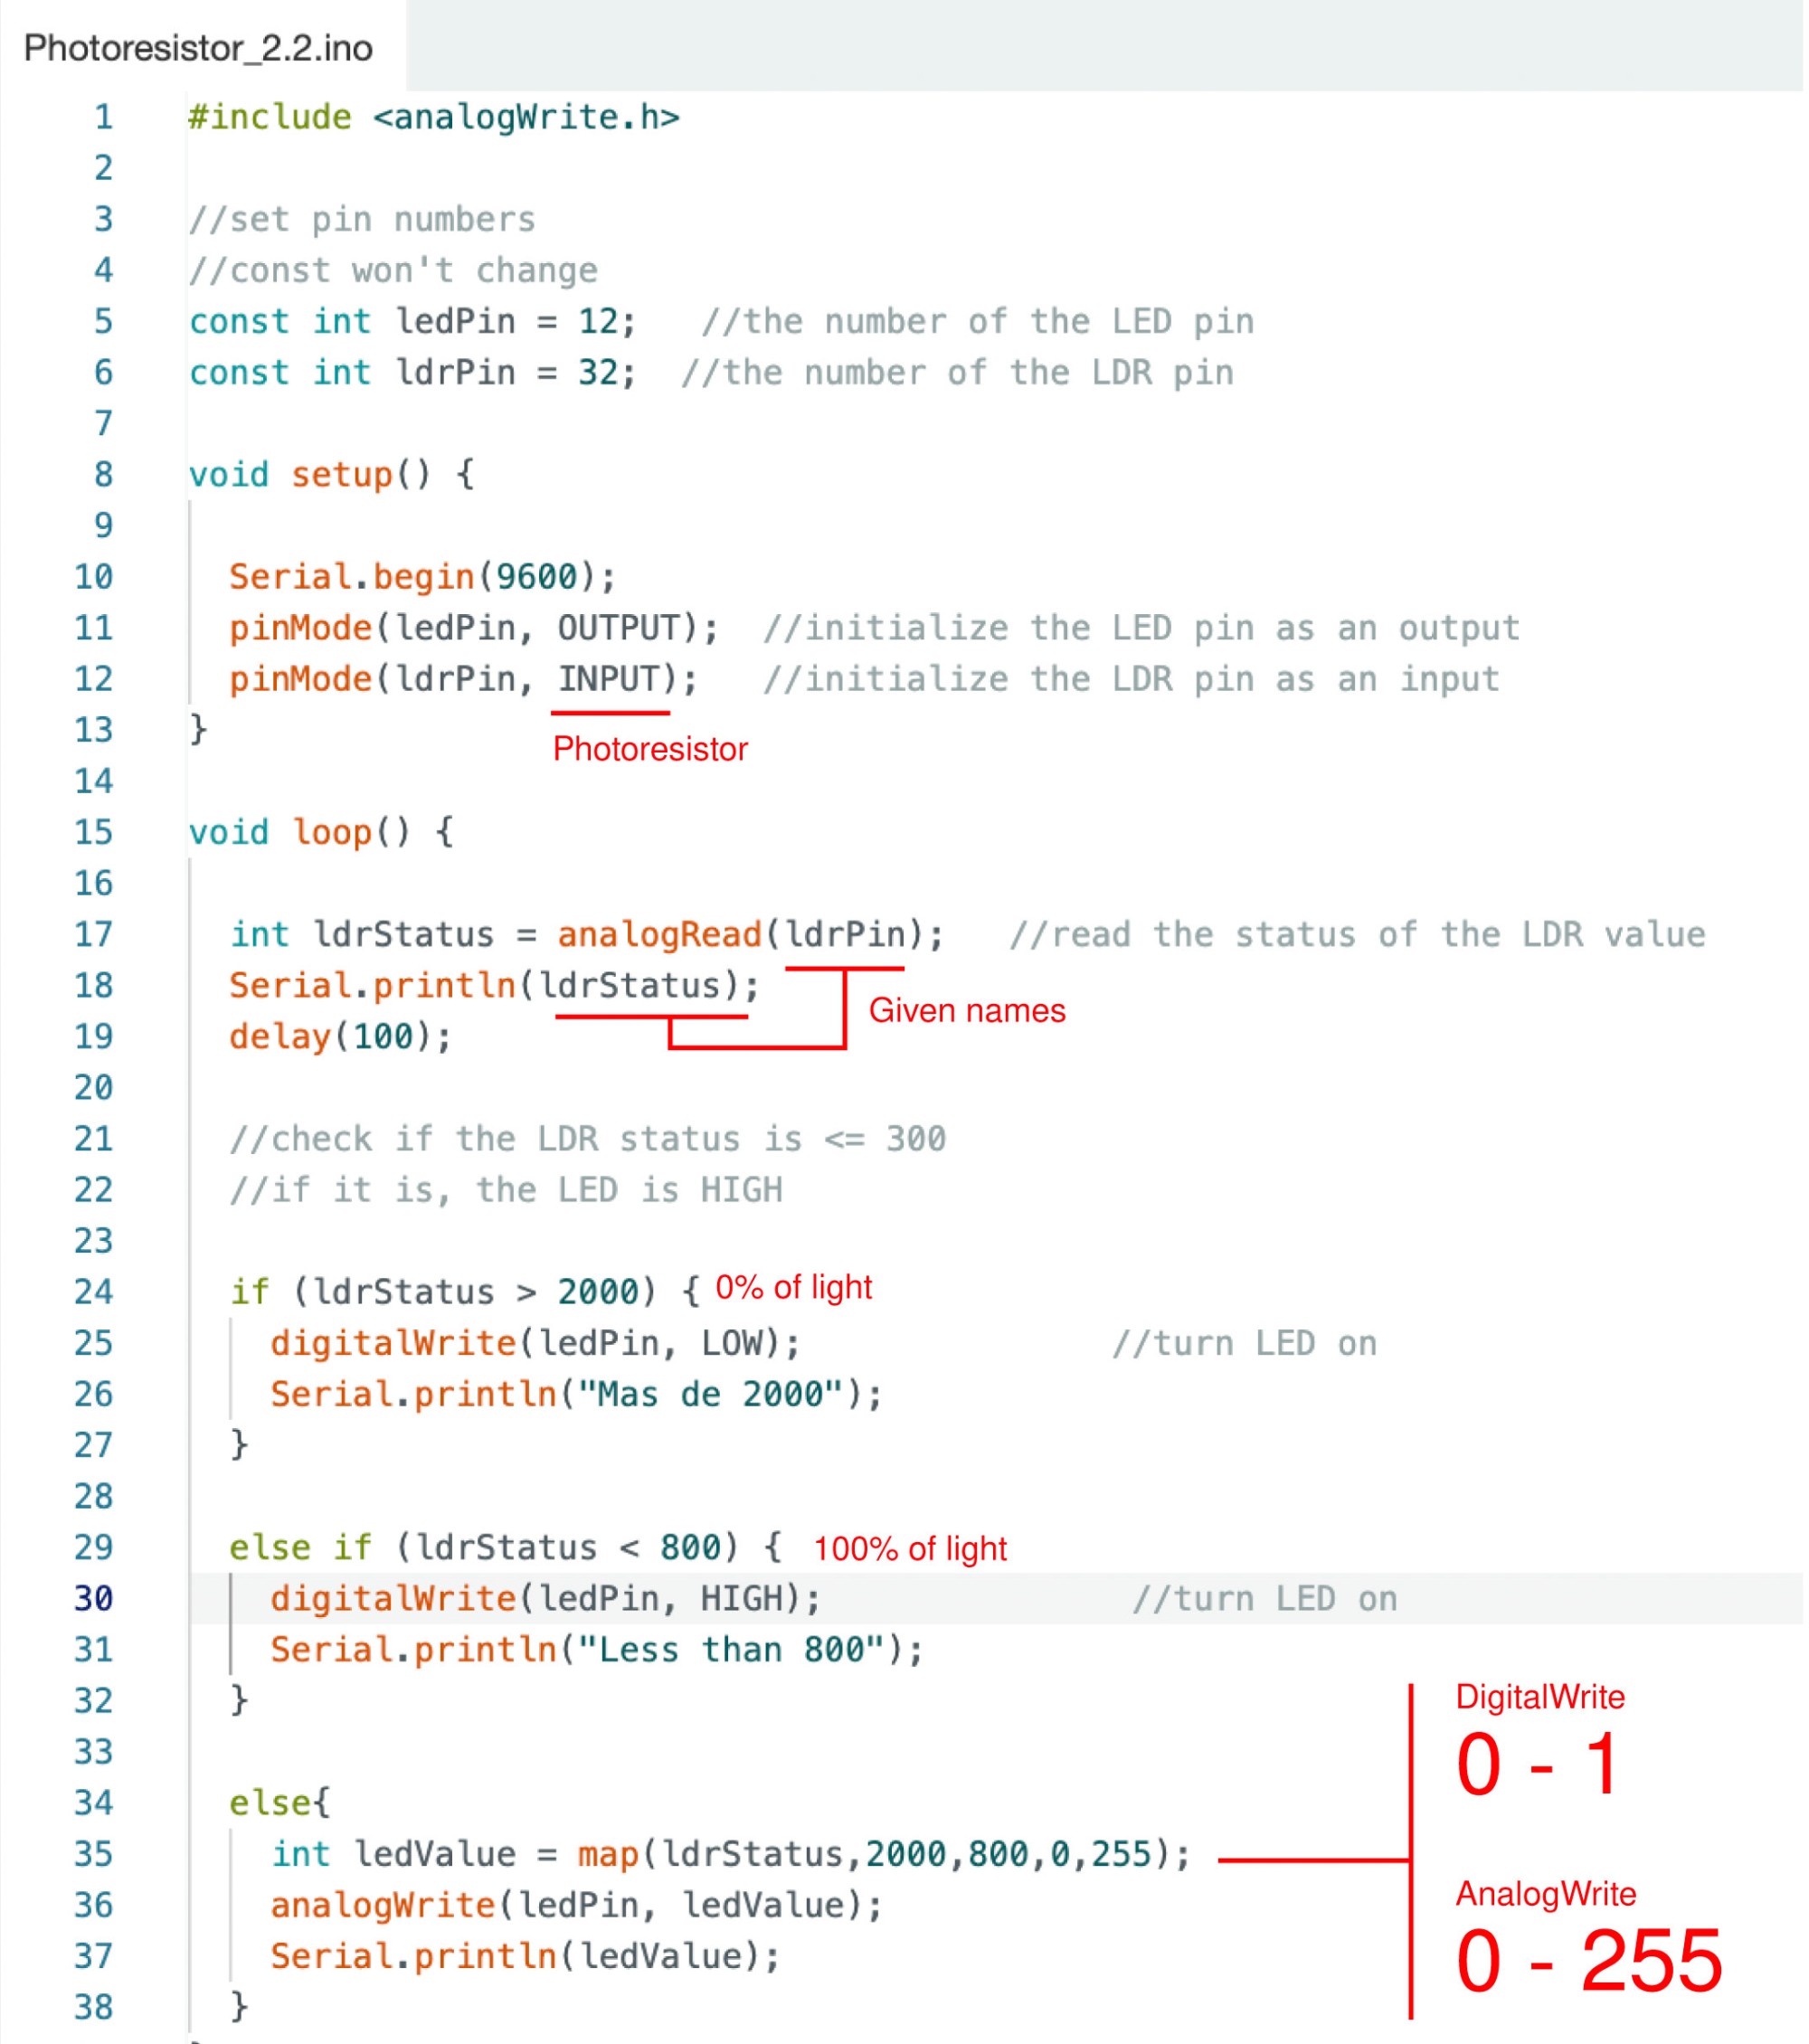
Program the microcontroller using Arduino:
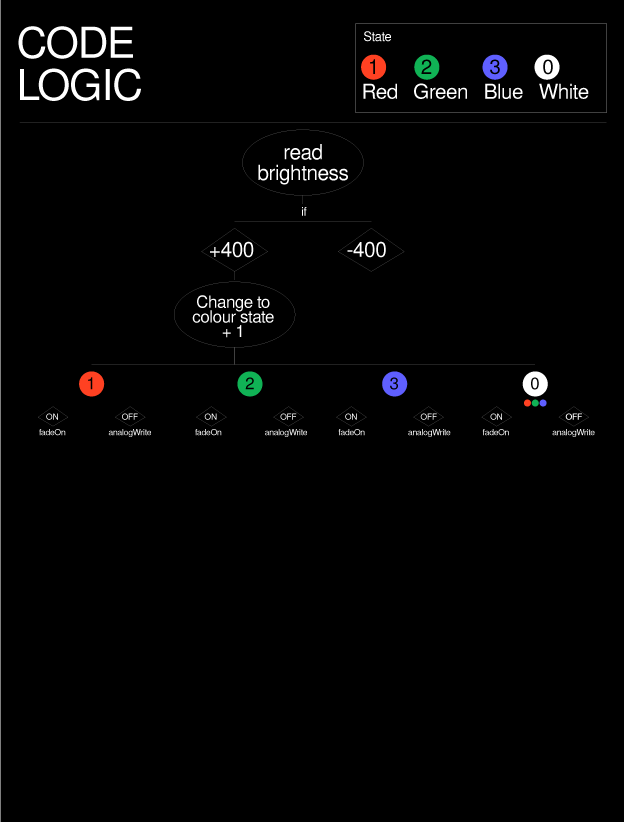
Write code that reads the ambient light using a photoresistor.
Program the RGB LEDs to gradually fade on when light levels fall below a certain threshold, and change color with each cycle.
Test and debug the program to ensure proper LED behavior.
int led = 14;         // the PWM pin the LED is attached to
int brightness = 0;  // how bright the LED is
int fadeAmount = 5;  // how many points to fade the LED by

// the setup routine runs once when you press reset:
void setup() {
  // declare pin 9 to be an output:
  pinMode(led, OUTPUT);
  Serial.begin(9600)
}

// the loop routine runs over and over again forever:
void loop() {
  // set the brightness of pin 9:
  analogWrite(led, brightness);

  Serial.println(brightness)

  // change the brightness for next time through the loop:
  brightness = brightness + fadeAmount;

  // reverse the direction of the fading at the ends of the fade:
  if (brightness <= 0 || brightness >= 255) {
    fadeAmount = -fadeAmount;
  }
  // wait for 30 milliseconds to see the dimming effect
  delay(30);
}
Step 05.
Designing the Sculpture
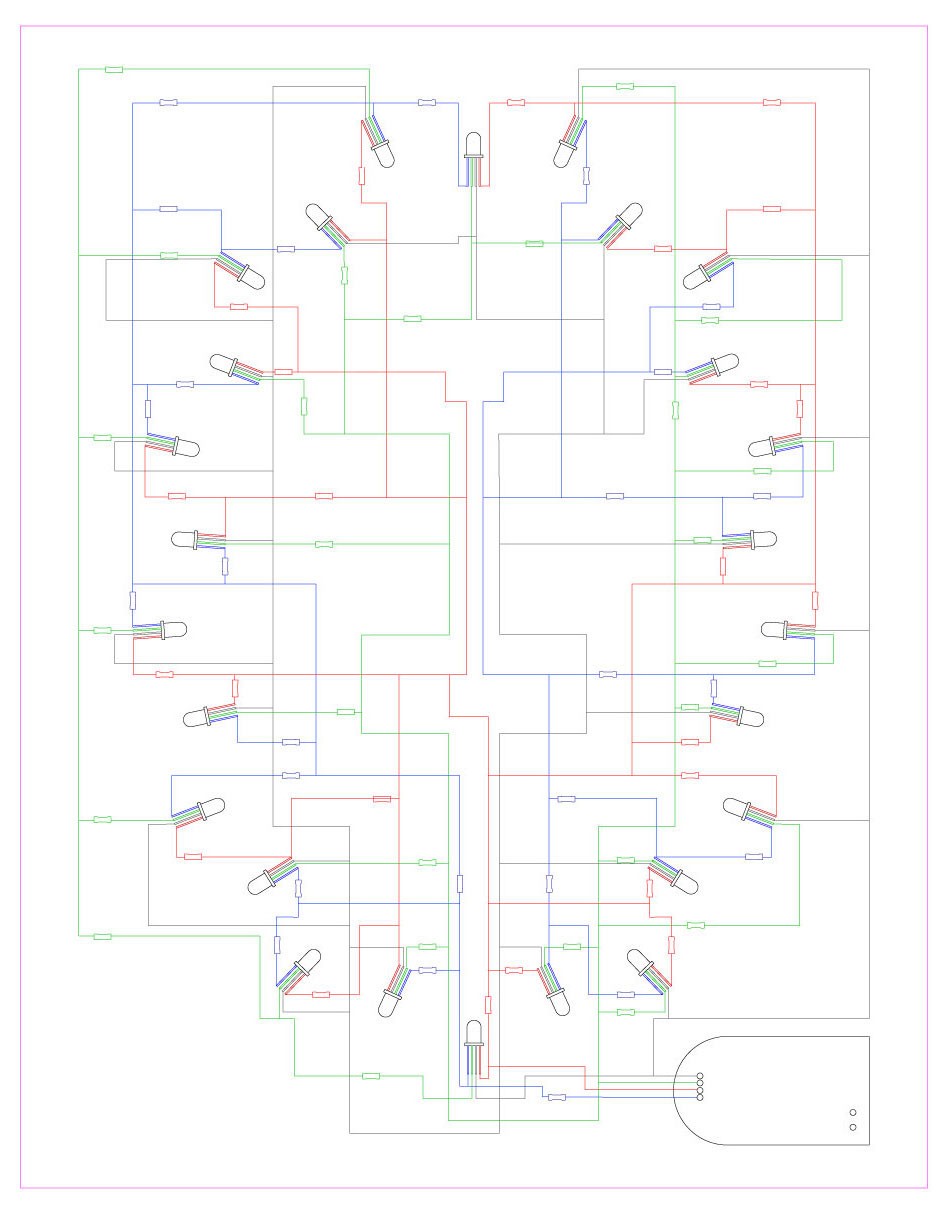
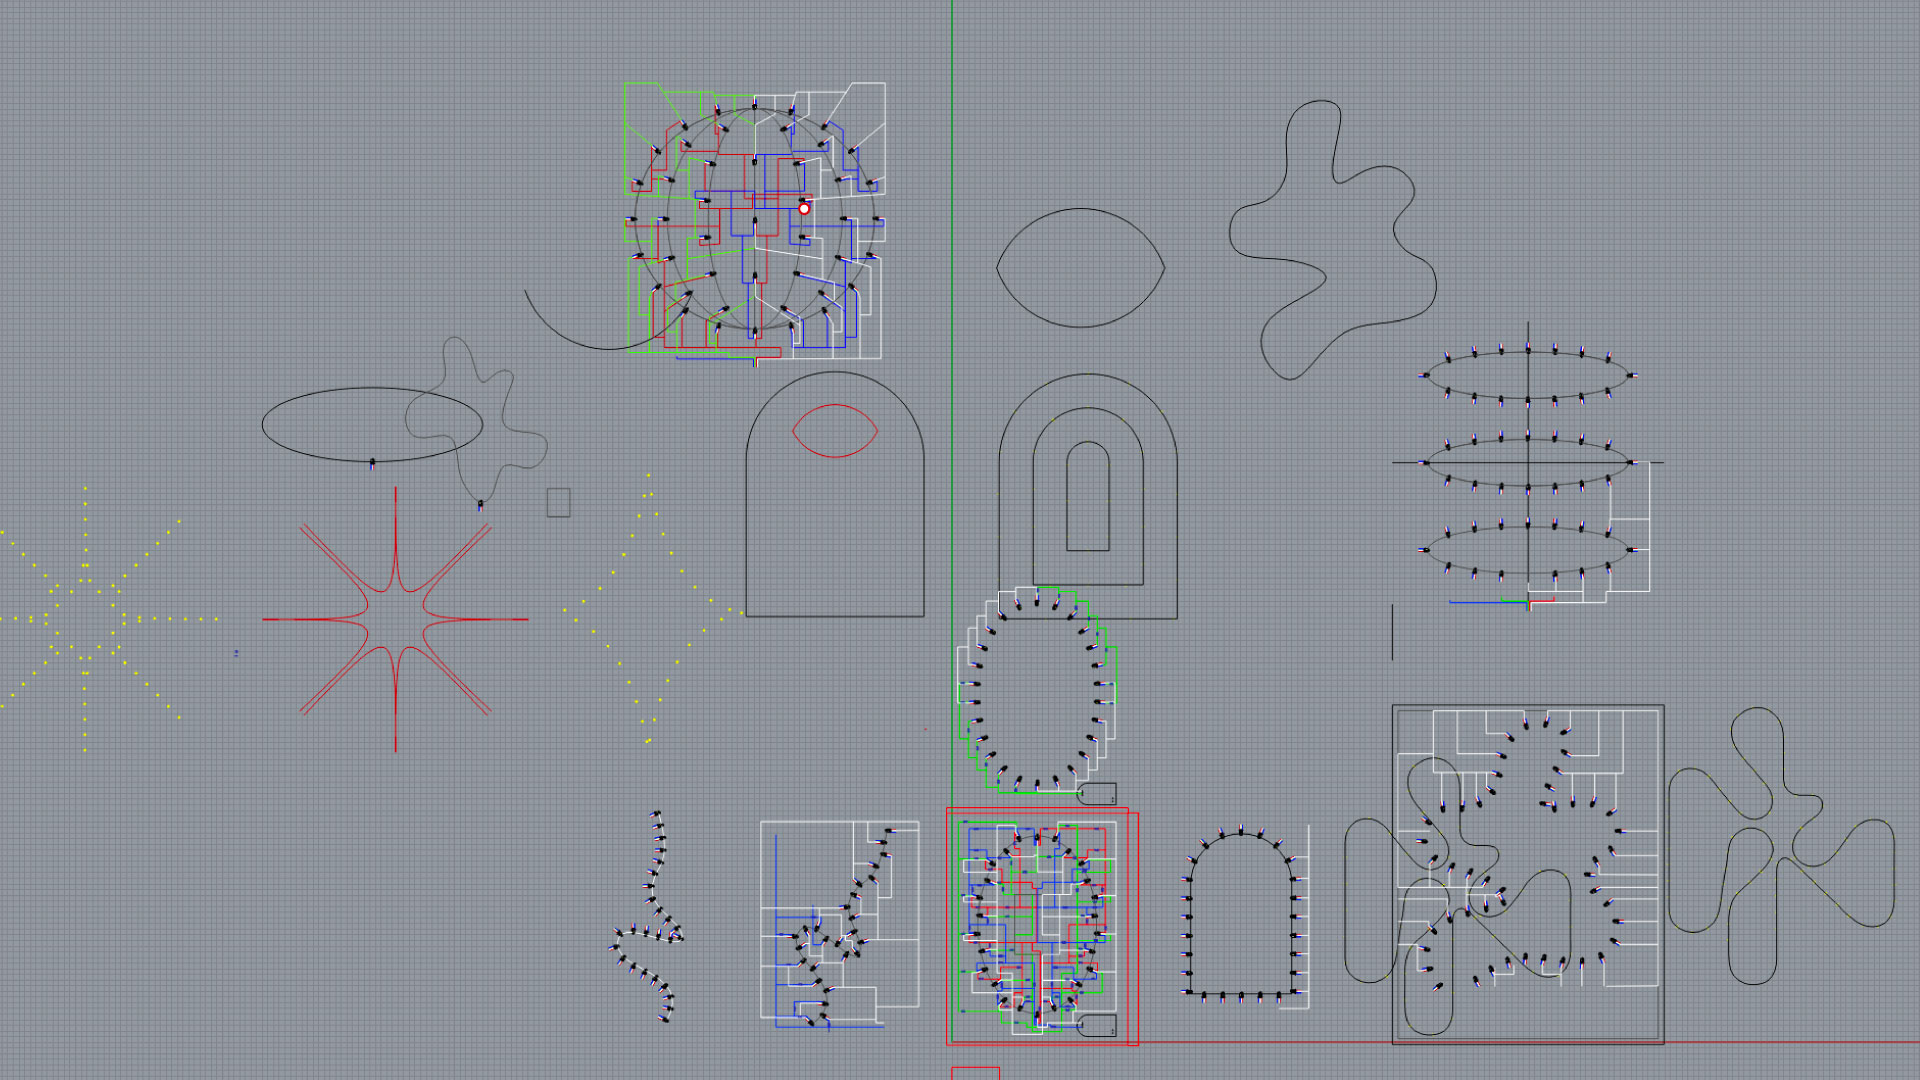
Design the layout and shape of the sculpture using Rhino:
Plan the positions of the 26 LEDs and create a symmetrical pattern.
Design the wiring paths for ground, red, green, and blue connections.
Create a simplified oval layout for consistency and to manage complexity.
Step 06.
Creating a Wooden Guide
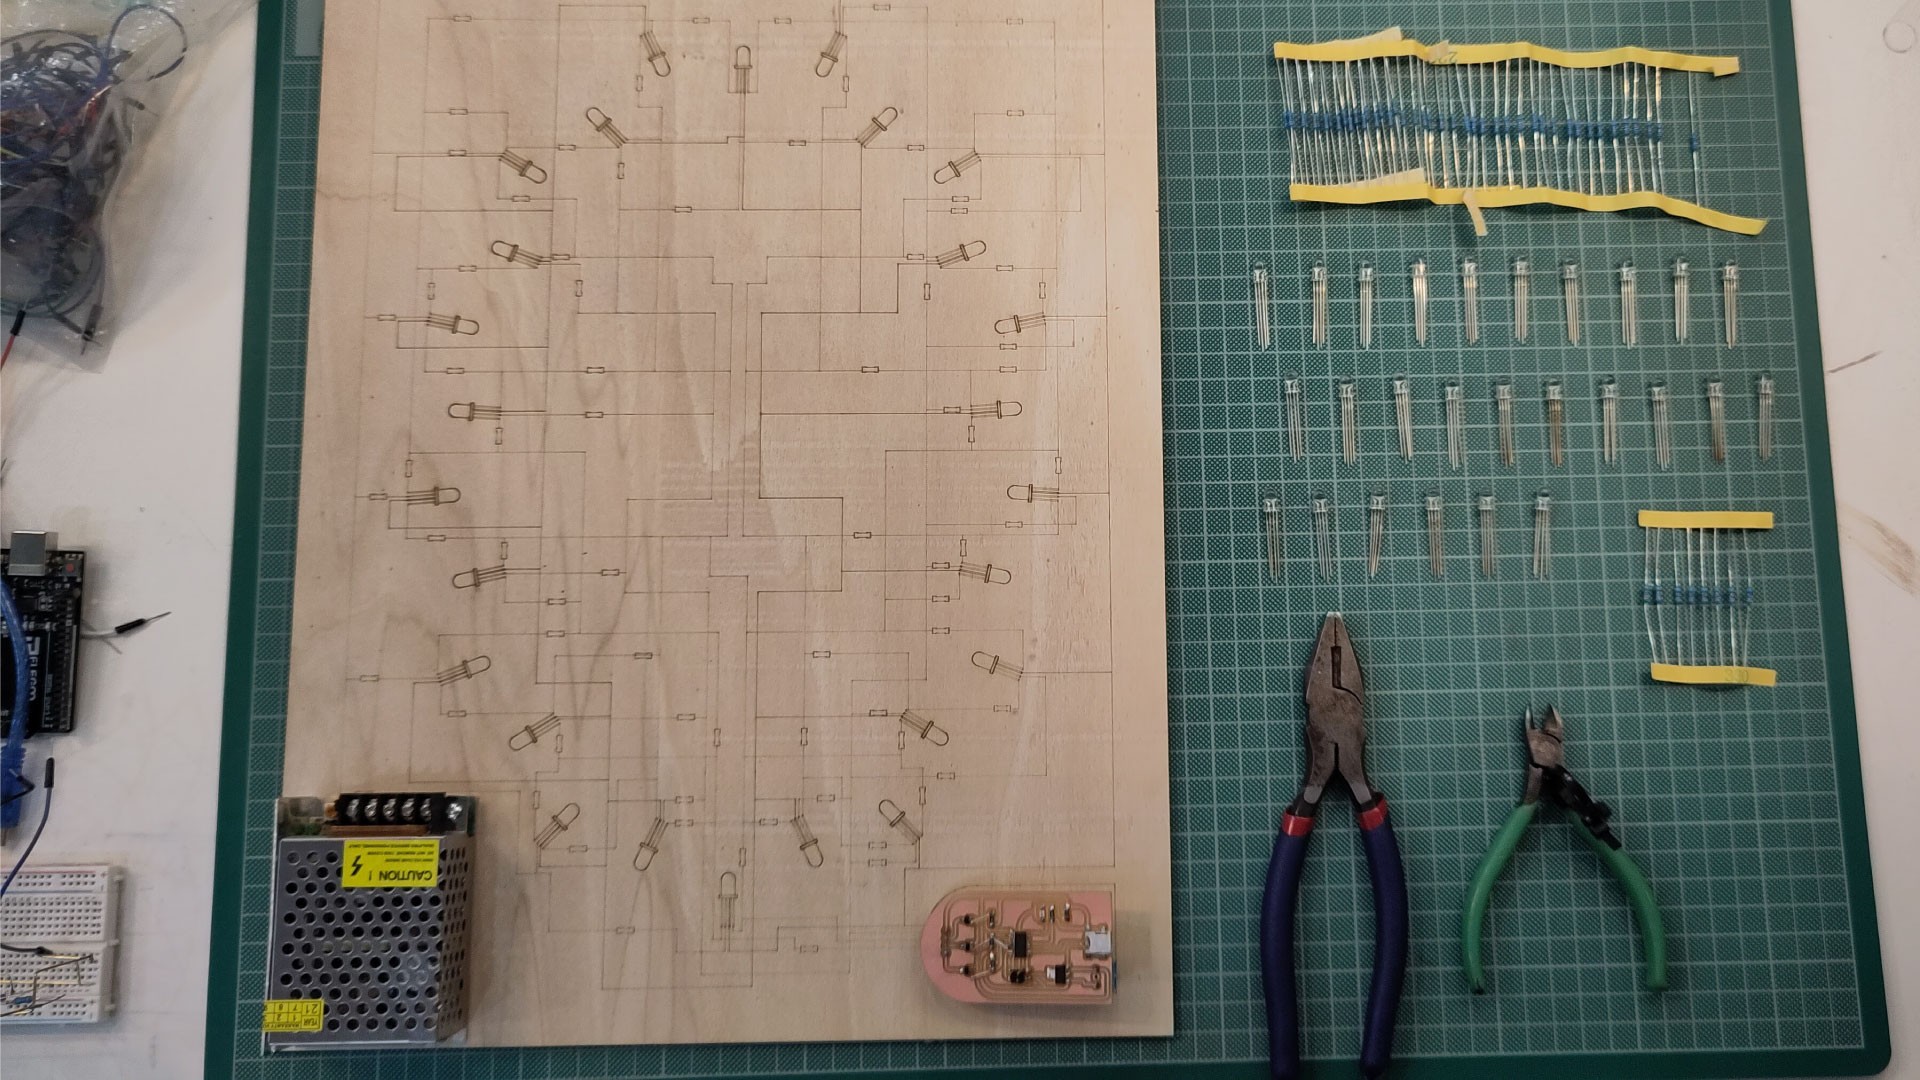
Prepare a wooden guide using laser cutting:
Export the design from Rhino to Illustrator, cleaning up the lines and organizing layers for LEDs, wires, and outlines.
Laser cut the guide from 4mm MDF wood.
Use color markers to label different sections for RGB connections.
Step 07.
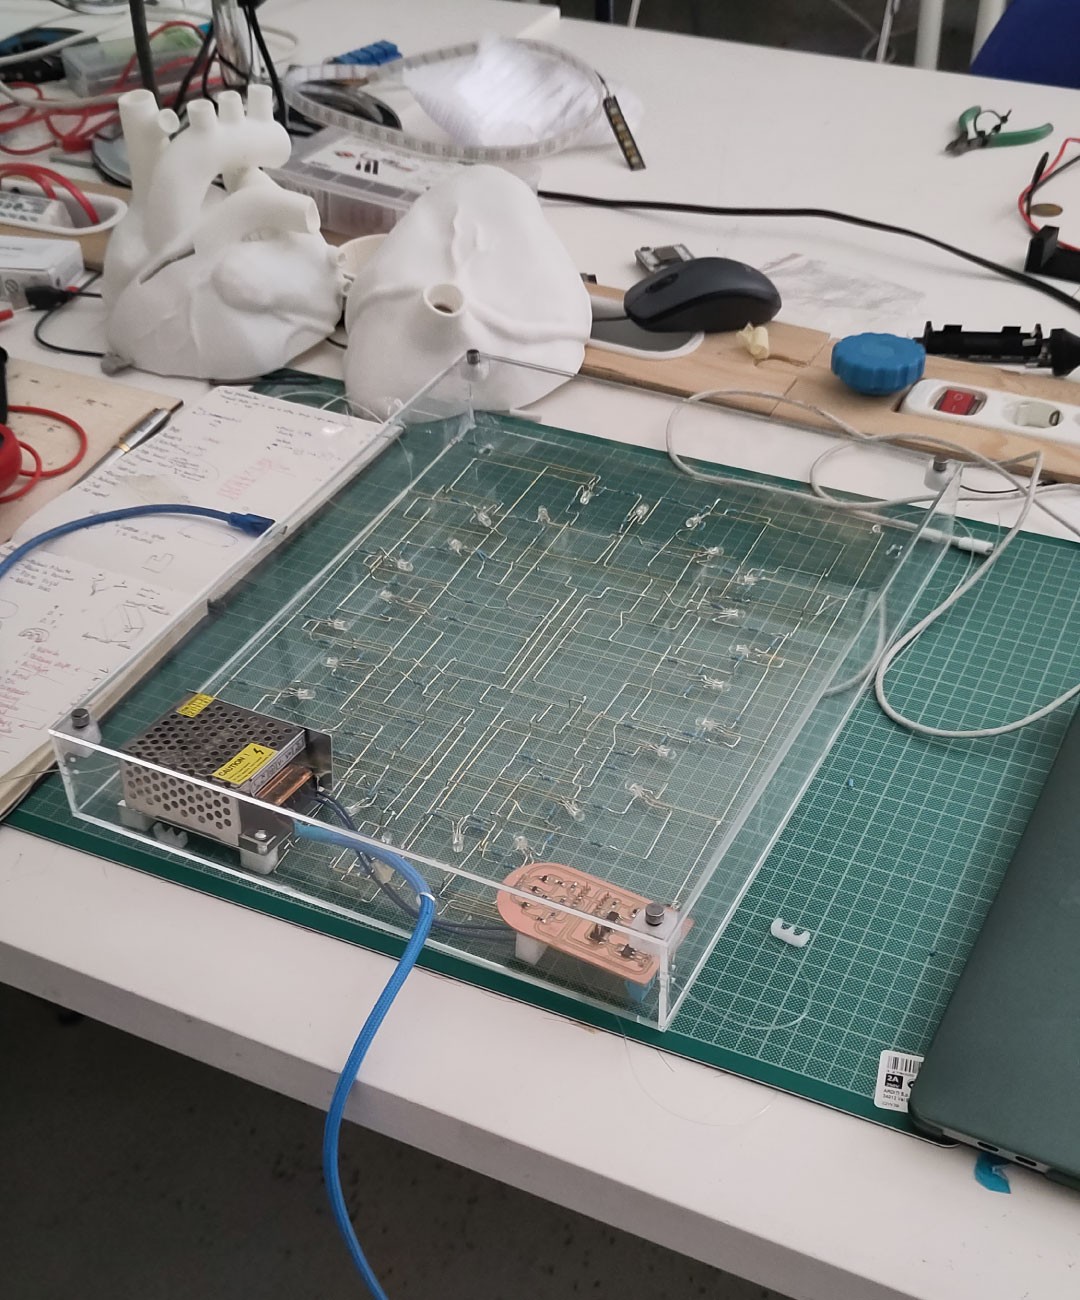
Assembly
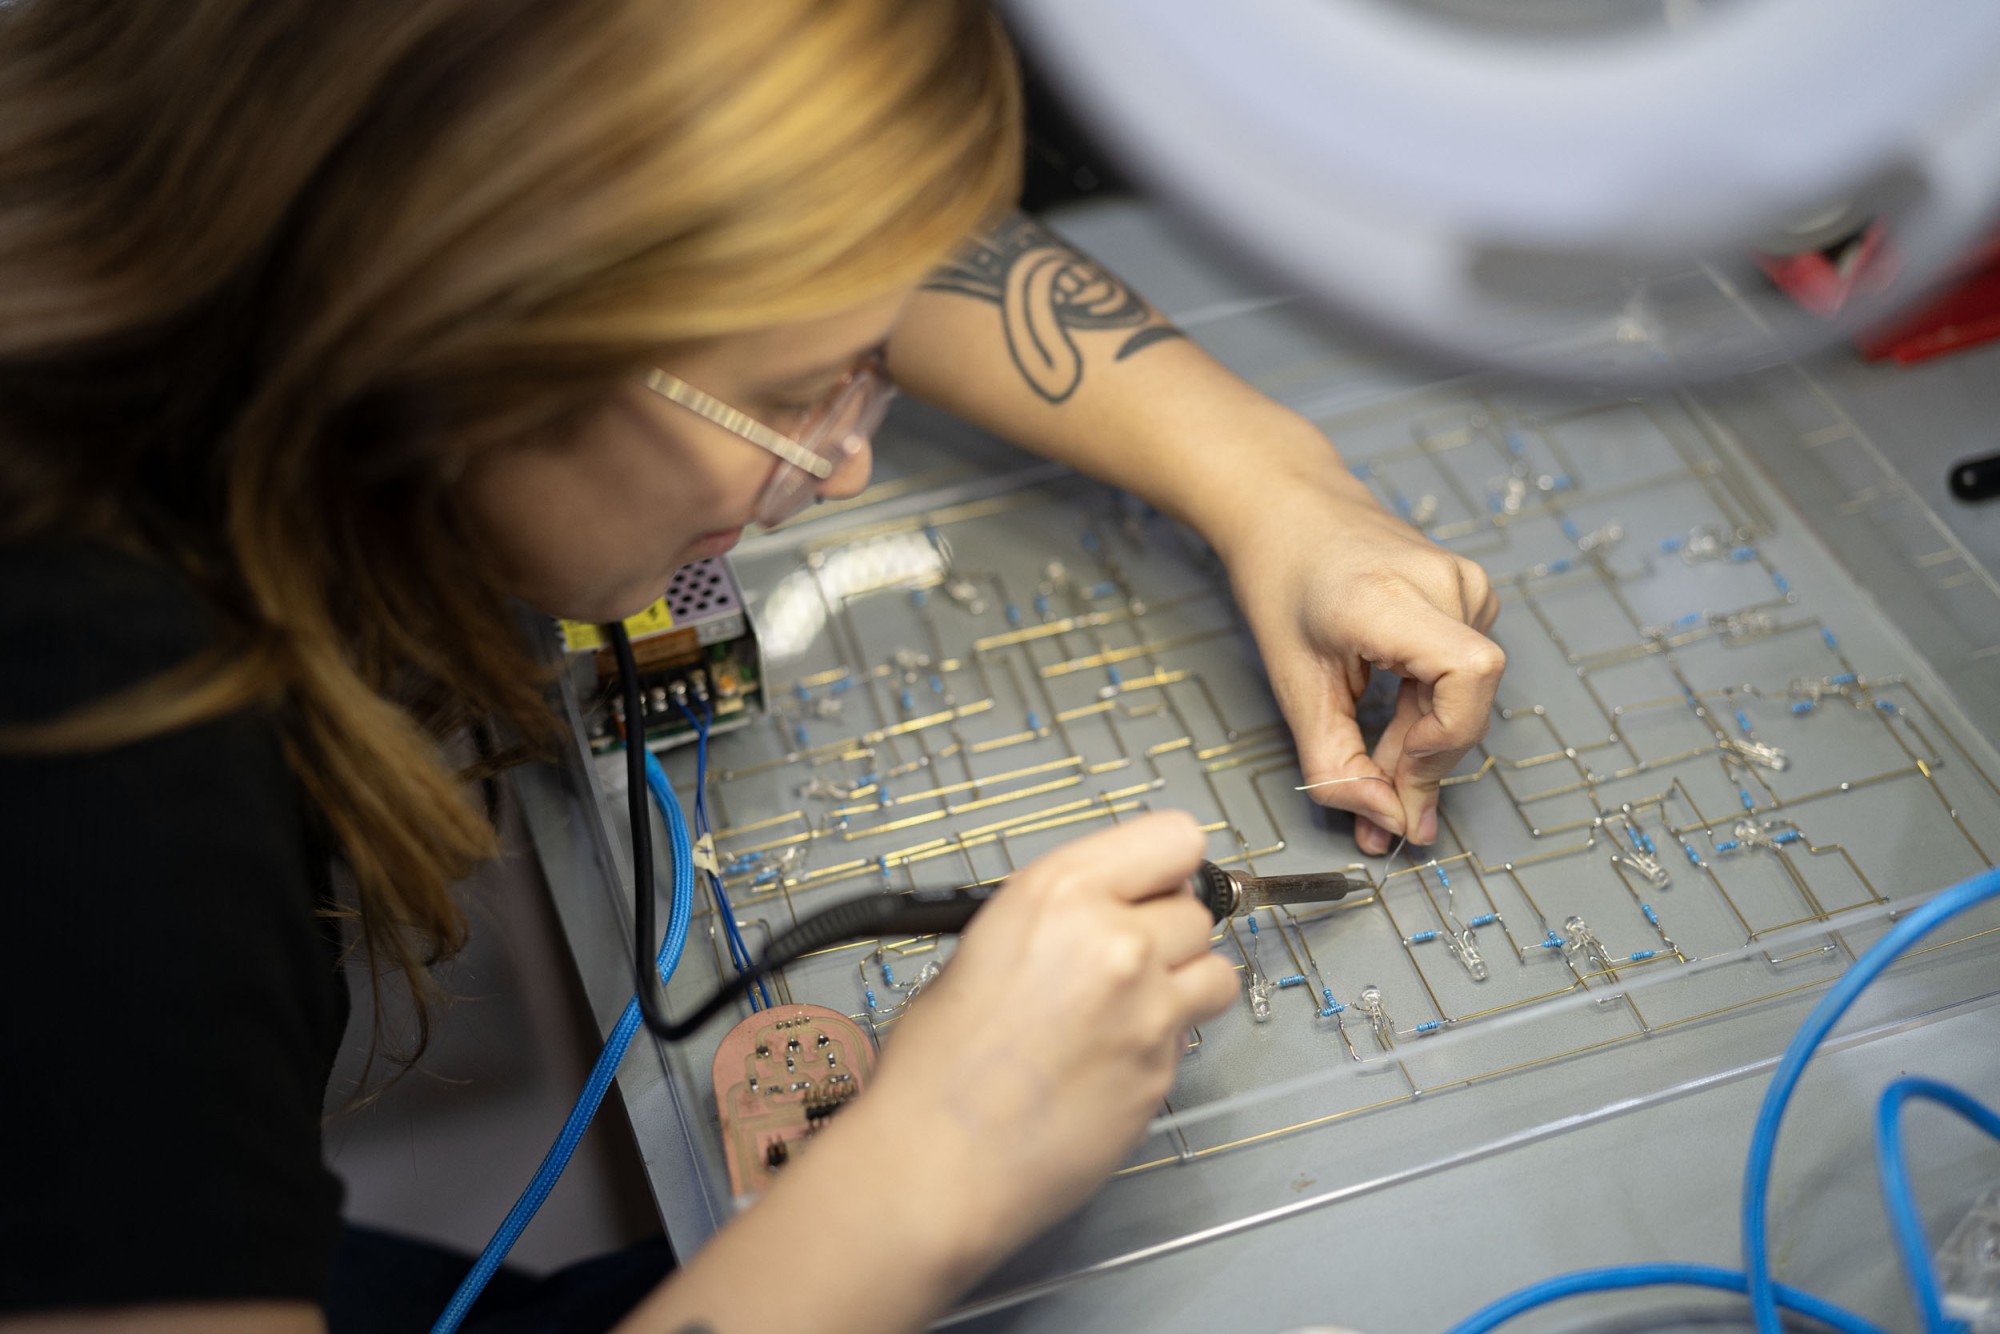
Assemble the sculpture using brass copper tubes:
Cut and bend the tubes, securing them to the MDF guide with masking tape.
Solder the ground wires first, followed by the RGB connections.
Add resistors to the connections and ensure that intersecting wires are properly insulated.
Step 08.
Final Programming
Finish programming the Arduino:
Refine the code for smoother fading effects and precise color transitions.
Implement serial communication for debugging and monitoring sensor values.
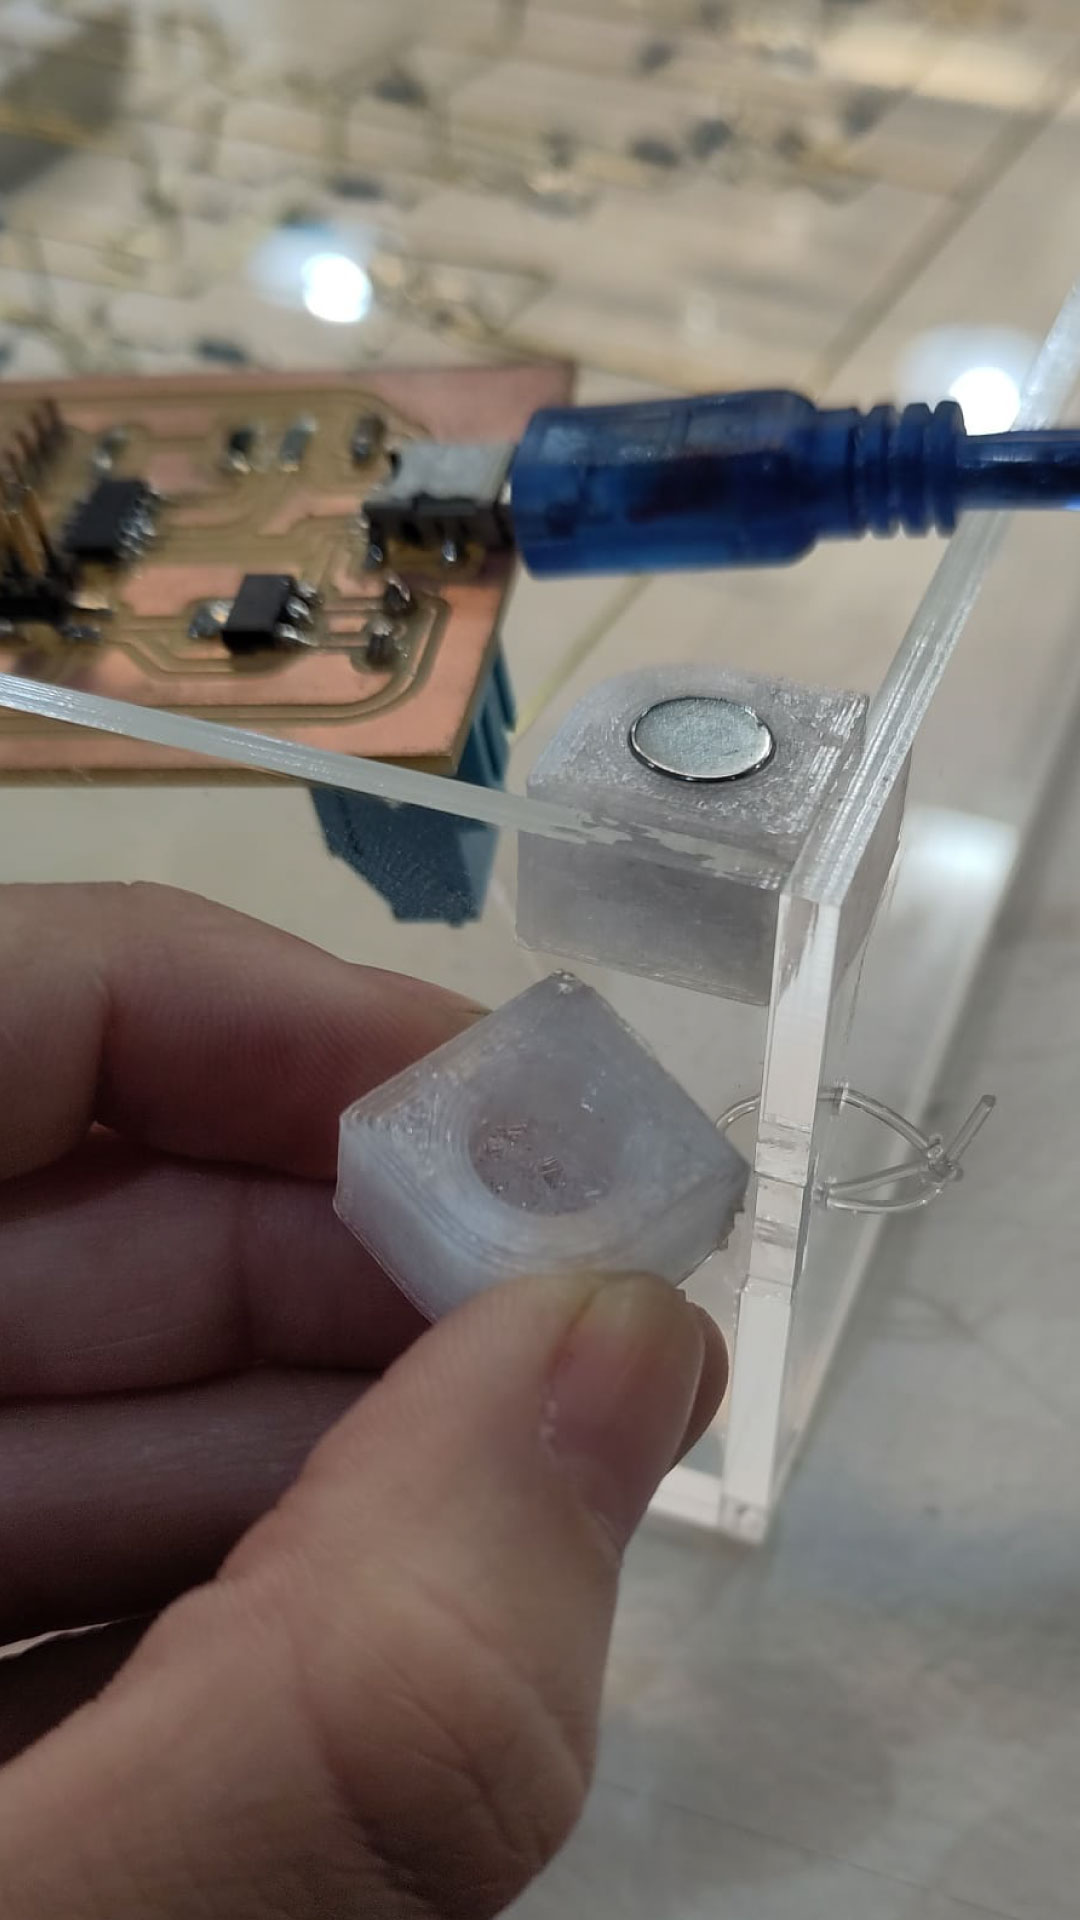
Step 09.
Building the Case
Create an acrylic case to encase the sculpture:
Design the case in Rhino and cut it with a laser cutter from 3mm acrylic.
Assemble the case using acrylic glue and 3D print corner pieces to house magnets for the lid.
Include holes for cables and wall mounting.